

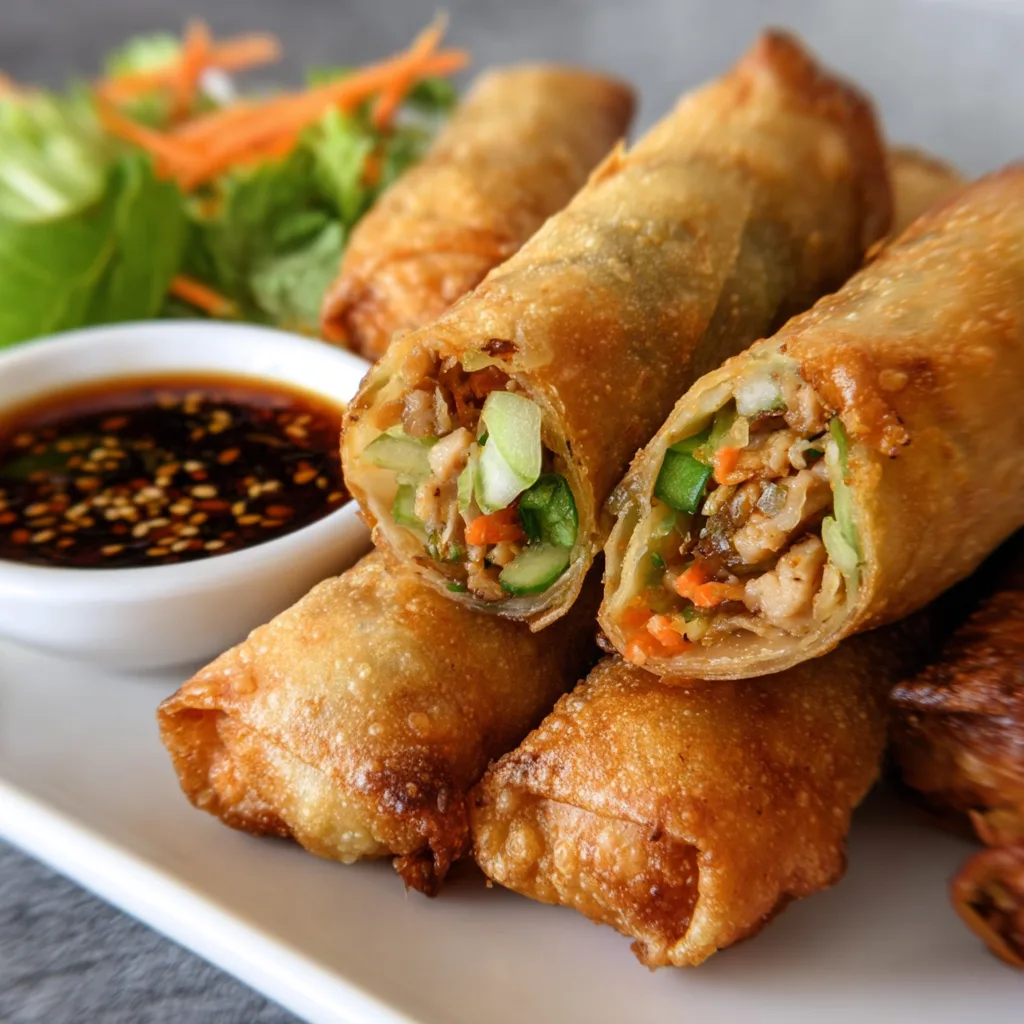
Crispy Homemade Chicken Spring Rolls have been my go-to crowd-pleaser for years, combining that perfect crackly exterior with juicy, flavor-packed filling that makes everyone reach for seconds. There’s something magical about that first bite—when the wrapper shatters and releases a puff of aromatic steam. I discovered my love for making these at home after a cooking class in Thailand where the instructor insisted that homemade spring rolls will always taste better than takeout. She was absolutely right! These handheld delights from Mug Meal Magic bring restaurant-quality appetizers right to your kitchen with minimal fuss.
Recipe
Print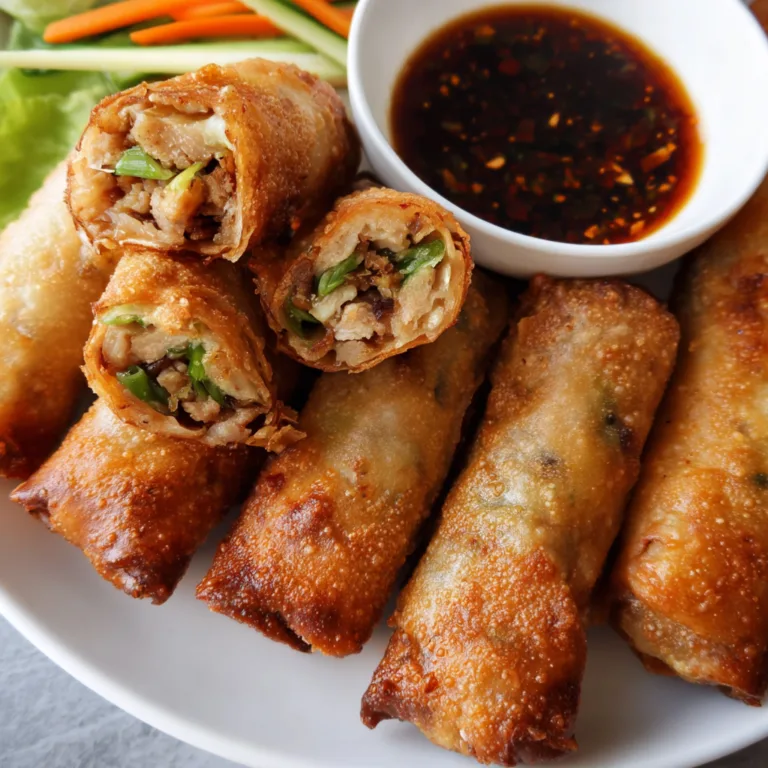
Crispy Homemade Chicken Spring Rolls Recipe | Easy & Delicious Appetizer
These Crispy Homemade Chicken Spring Rolls are crunchy on the outside and packed with savory chicken and veggie filling inside. Perfect as a party appetizer or snack, they’re surprisingly easy to make and irresistibly delicious when dipped in your favorite sauce!
- Total Time: 35
- Yield: 10 spring rolls
Ingredients
1 tablespoon oil (vegetable or sesame)
1/2 lb ground chicken or finely chopped cooked chicken
1 garlic clove, minced
1 cup shredded cabbage
1/2 cup grated carrot
2 green onions, finely chopped
1 tablespoon soy sauce
1 teaspoon oyster sauce (optional)
1/2 teaspoon ground black pepper
10 spring roll wrappers
1 egg, beaten (for sealing)
Oil for frying
**Optional for serving:** sweet chili sauce, soy sauce, or spicy mayo
Instructions
1. Heat 1 tablespoon oil in a skillet over medium heat. Add garlic and cook for 30 seconds.
2. Add ground chicken and cook until no longer pink.
3. Stir in cabbage, carrots, green onions, soy sauce, oyster sauce (if using), and pepper. Cook 3–4 minutes until veggies soften. Let cool.
4. Place a spring roll wrapper on a flat surface, with a corner pointing toward you.
5. Add 2 tablespoons of filling near the bottom. Fold the corner over, then fold in sides and roll tightly. Brush edge with egg to seal.
6. Repeat with remaining filling and wrappers.
7. Heat oil in a deep pan to 350°F (175°C). Fry spring rolls 2–3 at a time for 3–4 minutes or until golden and crisp.
8. Drain on paper towels and serve hot with dipping sauce.
Notes
• Bake at 400°F for 18–20 minutes for a lighter version.
• You can freeze un-fried rolls and cook straight from frozen.
• Add vermicelli noodles or mushrooms for more texture.
- Prep Time: 20
- Cook Time: 15
- Category: Appetizer
- Method: Fried
- Cuisine: Asian-Inspired
Why You’ll Love These Crispy Homemade Chicken Spring Rolls
Perfect Texture Combination
The contrasting textures in these spring rolls create an irresistible eating experience. That crackling wrapper giving way to tender chicken and crisp vegetables is what makes these so addictive. I remember serving these at my sister’s birthday party—everyone fell silent for a moment after the first bite, then erupted in “mmms” and “wows.” The secret is in the rolling technique that creates multiple layers of crispiness. The vegetables maintain a slight crunch even after cooking, while the chicken stays tender and juicy. When you achieve that golden-brown perfection, you’ll understand why homemade spring rolls are worth the effort.
Make-Ahead Convenience
These spring rolls are perfect for meal prep enthusiasts! You can assemble them completely, freeze them uncooked, and have ready-to-fry appetizers whenever guests drop by. I keep a batch in my freezer at all times for impromptu gatherings. The filling can be prepared up to two days ahead, making assembly quick when you’re ready. The best part? They cook straight from frozen—just add an extra minute of frying time. This flexibility makes them perfect for busy weeknights or when you’re hosting and don’t want to be stuck in the kitchen. Fresh or frozen, they deliver that same satisfying crunch.
Essential Tips & Tricks
Wrapper Management
Keeping your spring roll wrappers in prime condition is crucial for achieving that perfect crackle. I learned this the hard way after a batch turned soggy because my wrappers had dried out. Keep unused wrappers covered with a slightly damp kitchen towel while you work. When wrapping, ensure you pull the wrapper tightly around the filling—any air pockets will cause them to burst when frying. For extra insurance against tearing, I use a cornstarch slurry instead of water to seal the edges. This creates a stronger bond and helps achieve that perfectly sealed package that won’t leak during frying, similar to how I seal my Garlic Parmesan Chicken Bites.
Oil Temperature Control
Maintaining the perfect oil temperature is the difference between greasy, undercooked spring rolls and crispy, golden perfection. I always use a thermometer and aim for 350°F (175°C). Too cool, and they’ll absorb oil like a sponge; too hot, and they’ll burn before cooking through. I fry in small batches—never more than 3-4 at a time—to prevent temperature drops. If you notice the oil getting too hot (smoking) or too cool (bubbling slows), adjust accordingly before adding the next batch. After frying, place them on a wire rack rather than paper towels to maintain that crisp exterior while they cool slightly.
Serving Ideas & Creative Variations
Dipping Sauce Pairings
The right dipping sauce elevates these spring rolls from delicious to memorable. My classic trio includes sweet chili sauce, peanut sauce, and a tangy soy-vinegar blend. The sweet chili offers a perfect balance of sweet and heat, while the peanut sauce adds richness and depth. For something special, try my five-spice honey sauce—it’s unexpected and absolutely addictive. I serve the sauces in small individual ramekins so guests can try different combinations. For a beautiful presentation, add fresh cilantro sprigs and lime wedges around the serving platter, similar to how I garnish my Crispy Bang Bang Chicken.
Filling Variations
While chicken is classic, these spring rolls welcome creative fillings. Try shrimp with mango for a sweet-savory combination, or mushroom and tofu for vegetarian guests. My personal favorite variation uses five-spice pork with shredded apple—the sweetness of the apple balances the warm spices beautifully. For a breakfast twist, try scrambled eggs with cheese and spinach. Keep the vegetables finely julienned for quick cooking and even texture. Whatever filling you choose, remember to keep it relatively dry to prevent soggy wrappers. Drain any marinated ingredients well before wrapping.
Storage & Troubleshooting Guide
Proper Storage Methods
Storing spring rolls correctly maintains their crispy texture even hours after cooking. For serving later the same day, place cooked spring rolls on a wire rack at room temperature—never cover them while warm or condensation will soften the wrappers. For longer storage, cool completely, then refrigerate in a container lined with paper towels for up to 3 days. To reheat, avoid the microwave which makes them soggy. Instead, place them in a 350°F oven for 8-10 minutes until heated through and crispy again. Uncooked rolls can be frozen in a single layer, then transferred to freezer bags for up to 3 months.
Fixing Common Problems
Even experienced cooks encounter spring roll challenges, but most are easily fixable. If your wrappers tear during rolling, double-wrap them for reinforcement. Filling spilling during frying usually means you’ve overstuffed them—aim for about 2-3 tablespoons of filling per roll. If your spring rolls are browning too quickly but remain raw inside, your oil is too hot. Lower the temperature and try again. For rolls that aren’t browning properly, your oil likely isn’t hot enough. The perfect spring roll should be evenly golden with tiny bubbles across the surface. If they’re greasy, drain them longer on paper towels after frying.
Frequently Asked Questions
Can I bake these Crispy Homemade Chicken Spring Rolls instead of frying?
Yes! Brush them lightly with oil and bake at 425°F for 15-20 minutes, turning halfway. They won’t be quite as crispy as fried, but still delicious with significantly less oil.
How do I prevent my spring rolls from getting soggy?
Ensure your filling isn’t too wet by draining thoroughly. Let cooked filling cool completely before wrapping, and make sure your oil is hot enough (350°F) when frying.
Can I make these ahead for a party?
Absolutely! Either prepare the filling ahead and assemble before guests arrive, or fully prepare and freeze uncooked rolls up to 3 months ahead. Fry directly from frozen.
What’s the best way to julienne vegetables thinly?
A mandoline slicer with julienne attachment works best. Alternatively, slice vegetables thinly, stack the slices, and cut into matchsticks with a sharp knife.
How do I know when my spring rolls are done cooking?
They should be golden brown with small bubbles on the wrapper and float to the oil’s surface. This usually takes 3-4 minutes at 350°F.
Final Thoughts
These Crispy Homemade Chicken Spring Rolls have become my signature appetizer for good reason—they combine impressive presentation with incredible flavor and that satisfying crunch we all crave. While they require some practice to master, the techniques you’ll learn make them endlessly customizable for any occasion. I’d love to see your creations on Pinterest! Whether you’re making them for a quiet family dinner or a festive gathering, these spring rolls bring a touch of global cuisine right to your table with that unmistakable homemade quality that just can’t be matched.