

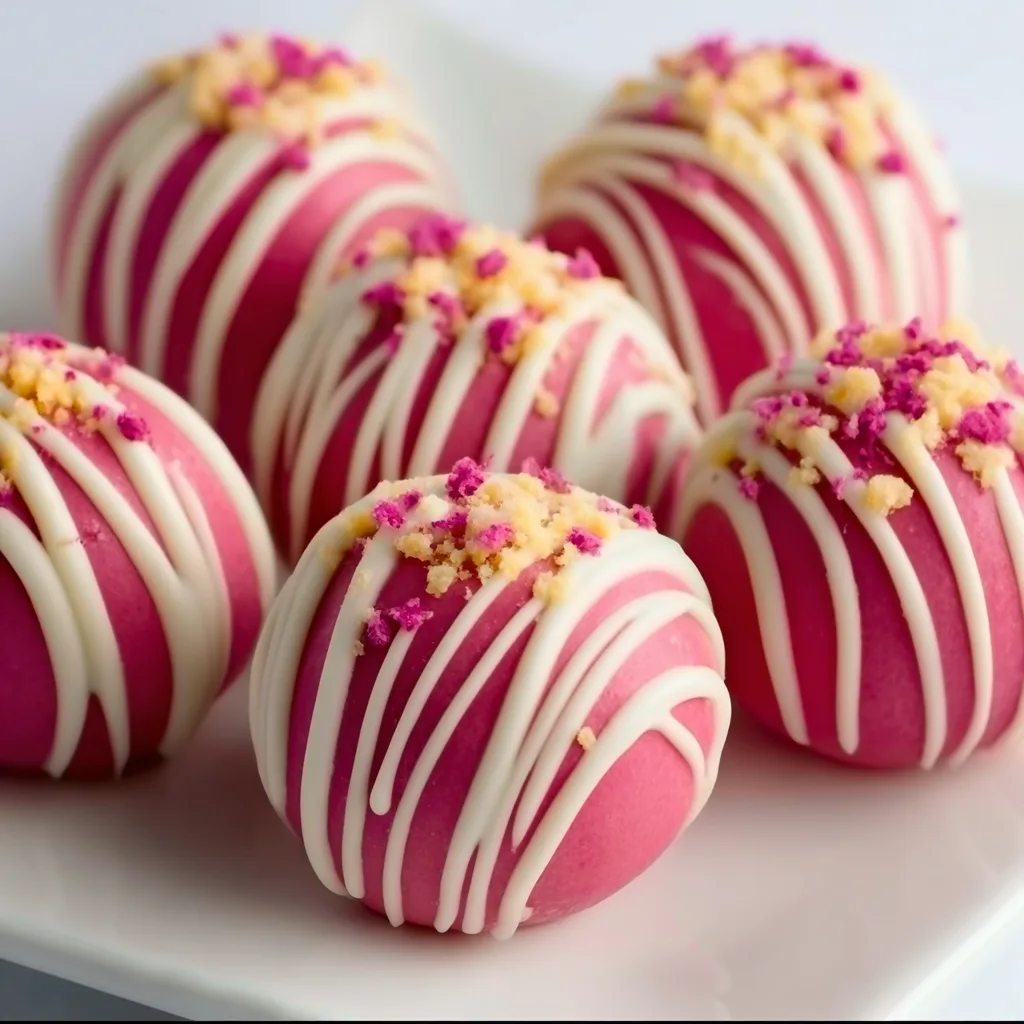
Strawberry Cheesecake Truffle Balls have completely transformed my dessert game! These bite-sized treats combine the creamy richness of cheesecake with the sweet-tart punch of fresh strawberries, all rolled into perfect little spheres of bliss. The first time I made these for my sister’s birthday brunch, they disappeared within minutes—even faster than my Snickerdoodle Cobbler! There’s something magical about the way these truffles melt in your mouth, leaving behind notes of vanilla, graham cracker, and bright berry flavor.
Recipe
Print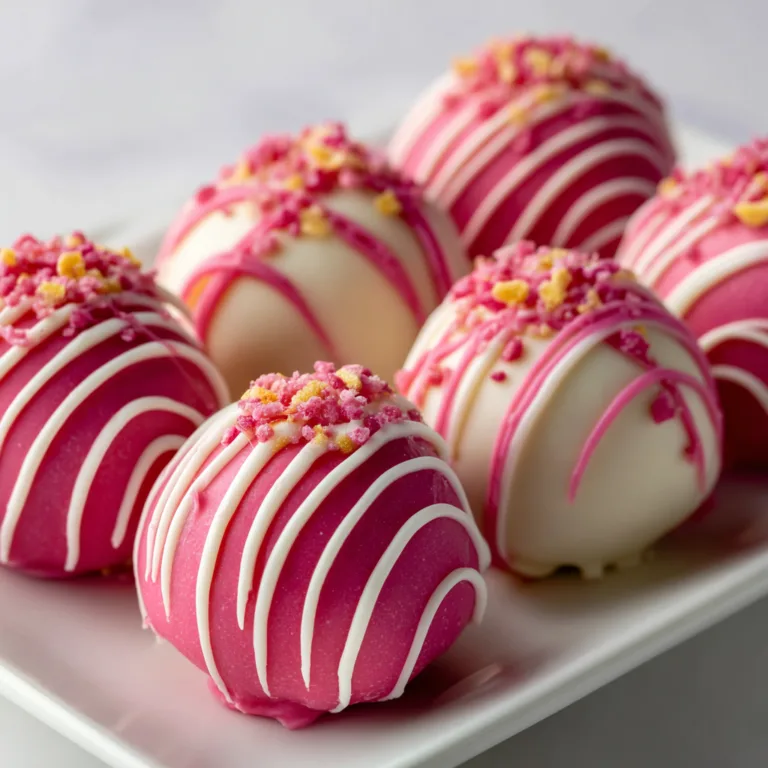
Delicious Strawberry Cheesecake Truffle Balls
These strawberry cheesecake truffle balls are rich, creamy, and no-bake. With crushed cookies, cream cheese, and freeze-dried strawberries, each bite tastes like a mini cheesecake covered in sweet white chocolate.
- Total Time: 20 mins
- Yield: 18 truffle balls
Ingredients
8 oz (225g) cream cheese, softened
1 1/4 cups crushed graham crackers or vanilla wafers
1/2 cup powdered sugar
1/2 cup freeze-dried strawberries, crushed into powder
1 tsp vanilla extract
1 1/2 cups white chocolate chips or melting wafers (for coating)
Optional: extra crushed freeze-dried strawberries for garnish
Instructions
1. In a mixing bowl, combine cream cheese, crushed cookies, powdered sugar, freeze-dried strawberry powder, and vanilla. Mix until smooth and thick.
2. Chill mixture in the fridge for 20–30 minutes.
3. Scoop and roll into 1-inch balls. Place on a parchment-lined tray and freeze for 15 minutes.
4. Meanwhile, melt white chocolate chips in a microwave-safe bowl, stirring every 20–30 seconds until smooth.
5. Dip each truffle into melted chocolate using a fork or skewer. Tap off excess and place back on tray.
6. Sprinkle tops with extra crushed strawberry powder if desired.
7. Refrigerate for 10–15 minutes to set.
8. Store in an airtight container in the fridge.
Notes
Use gloves when rolling the truffles to avoid stickiness.
You can swap white chocolate for dark or milk if preferred.
Freeze for up to 1 month—great for make-ahead desserts.
- Prep Time: 20 mins
- Cook Time: 0 mins
- Category: Dessert
- Method: No-Bake
- Cuisine: American
- Diet: Vegetarian
Why You’ll Love These Strawberry Cheesecake Truffle Balls
Perfect Make-Ahead Dessert
These truffle balls are a time-management dream! I love making them the day before a gathering, which actually improves their flavor as the ingredients meld together overnight. The cream cheese base firms up beautifully in the refrigerator, making them easier to handle when serving. Last summer, I prepared a batch for a backyard BBQ and stored them overnight—the next day, they were perfectly chilled and ready to wow my guests without any last-minute fussing or stress. The strawberry flavor had intensified, creating an even more vibrant taste experience.
No-Bake Convenience
As someone who melts in summer heat, I’m always looking for no-bake solutions that keep my kitchen cool. These truffle balls require zero oven time—just mix, roll, and chill! On those sweltering July afternoons when turning on the oven feels like torture, I can still whip up these impressive little desserts without breaking a sweat. The simple process of crushing graham crackers and mixing them with cream cheese becomes almost meditative, a cool and calm kitchen project that results in something spectacular without heating up your home.
Essential Tips & Tricks
Ingredient Temperature Matters
Always start with room temperature cream cheese—I can’t stress this enough! Cold cream cheese will leave you with lumps and frustration, while properly softened cream cheese blends into silky perfection. I learned this the hard way during a rushed holiday gathering preparation. Set your cream cheese out at least 30 minutes before starting, or microwave unwrapped for 20-second intervals if you’re in a hurry. The same goes for butter if your recipe variation includes it. When ingredients blend smoothly, your truffles will have that professional texture that makes them irresistible.
Rolling Techniques
The secret to perfectly round truffles is all in the rolling technique. I keep a small bowl of water nearby to dampen my hands slightly—this prevents the mixture from sticking while rolling. For uniform size (which looks more professional and ensures even chilling), I use a cookie scoop or measuring spoon. When coating in graham cracker crumbs or white chocolate, work quickly and use a fork to maintain the truffle’s shape and ensure even coverage. The gentle pressure of your palms creates that perfect spherical shape that makes these treats so appealing.
Serving Ideas & Creative Variations
Presentation Possibilities
Transform these simple truffles into showstopping centerpieces with thoughtful presentation. I love arranging them on a tiered dessert stand, alternating with fresh strawberries and mint leaves for color contrast. For special occasions, place each truffle in a mini cupcake liner and arrange in a gift box—they make incredible homemade presents! At my friend’s baby shower, I served them on a mirror platter surrounded by edible flower petals, and guests thought they came from a high-end bakery. The visual appeal of these little gems is half the experience!
Flavor Twists
While the classic strawberry version holds a special place in my heart, these truffles are incredibly versatile canvases for flavor experimentation. Try swapping strawberries for raspberries or blueberries depending on the season. Adding lemon or orange zest brings a citrusy brightness that cuts through the richness. For chocolate lovers, fold in mini chocolate chips or coat in melted chocolate instead of graham crackers. During the holidays, I add cinnamon and nutmeg for a festive twist that pairs beautifully with mulled wine or hot cocoa.
Storage & Troubleshooting Guide
Proper Storage Methods
The key to maintaining the perfect texture of your truffle balls is proper refrigeration. Store them in an airtight container with parchment paper between layers to prevent sticking. They’ll keep beautifully for up to 5 days in the refrigerator, though they rarely last that long in my house! For longer storage, these truffles freeze exceptionally well—place them on a baking sheet until frozen solid, then transfer to a freezer bag. This method prevents them from sticking together. I’ve found they maintain their flavor and texture for up to 3 months when properly frozen.
Common Issues & Solutions
If your truffle mixture seems too soft for rolling, don’t panic! This is easily fixed by chilling the mixture for 30-45 minutes before attempting to form balls. Conversely, if the mixture becomes too firm after refrigeration, let it sit at room temperature for 10-15 minutes until workable. For coating issues, try freezing the formed balls for 15 minutes before rolling in graham cracker crumbs—the slightly frozen exterior helps the coating stick more evenly. When I’m in a hurry, I sometimes use this quick-chill method to speed up the entire process.
Frequently Asked Questions
Can I make Strawberry Cheesecake Truffle Balls ahead of time?
Absolutely! These actually improve with time as flavors meld. Make them up to 3 days ahead and store in the refrigerator for best results.
Can I use frozen strawberries?
Yes, but thaw completely and drain excess moisture before chopping and adding to the mixture to prevent a soggy texture.
Are these suitable for people with gluten intolerance?
Simply substitute regular graham crackers with gluten-free ones, and you’ll have a gluten-free version that’s just as delicious!
How long can these sit out at room temperature?
They can remain at room temperature for up to 2 hours. Beyond that, refrigerate to maintain food safety and texture.
Can I add white chocolate to my Strawberry Cheesecake Truffle Balls?
Definitely! White chocolate pairs beautifully with the strawberry flavor. Melt it for dipping or mix in chips for texture variation.
Final Thoughts
These Strawberry Cheesecake Truffle Balls have become my signature dessert for good reason—they’re impressive yet simple, elegant yet approachable, and absolutely bursting with flavor. The combination of creamy cheesecake, sweet strawberries, and crunchy graham cracker coating creates a textural symphony that delights with every bite. Whether you’re making them for a special occasion or just because it’s Tuesday, these little treasures bring a touch of joy to any moment. Find more inspiration for your truffle creations on my Pinterest board where I’m always adding new ideas!