

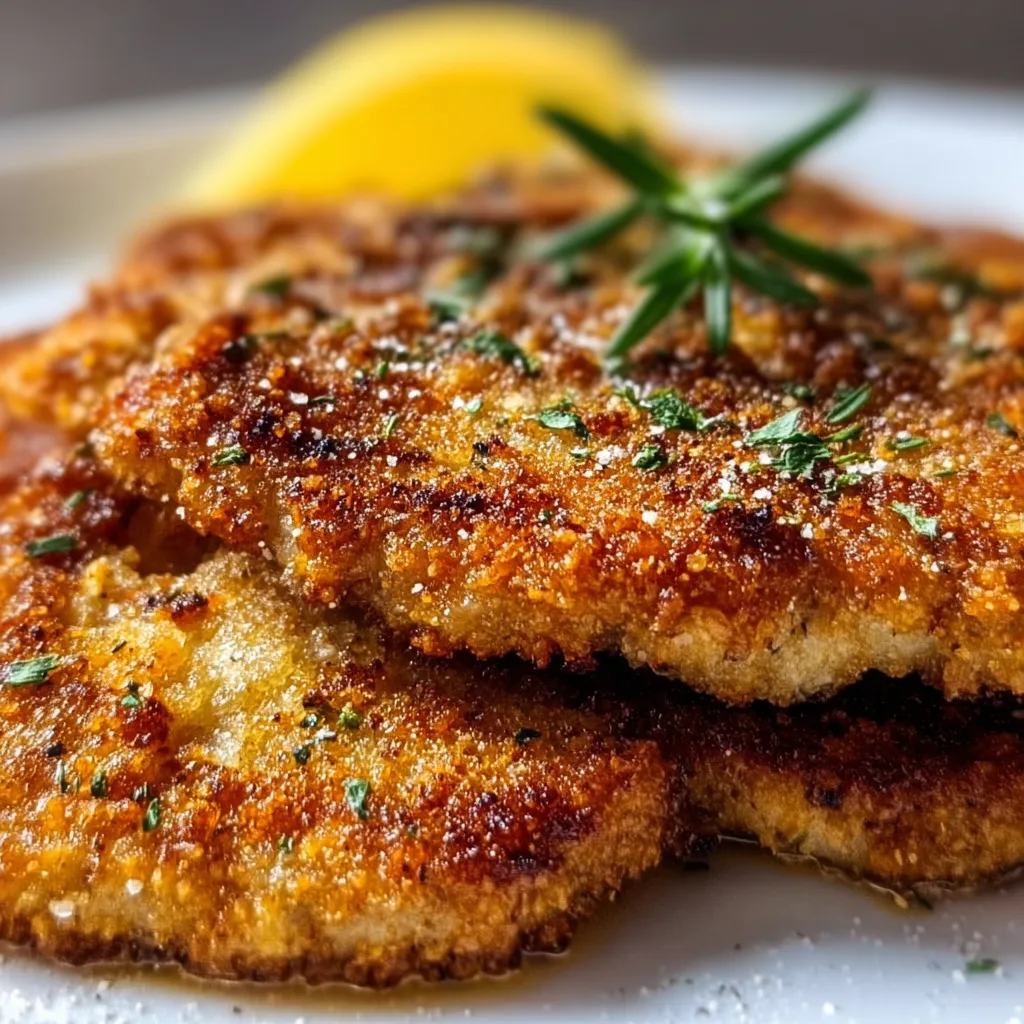
Crispy Italian Chicken Cutlets transform ordinary chicken breasts into a golden masterpiece that’s crispy outside and juicy inside. The first time I made these for my family, the kitchen filled with that unmistakable aroma of herbs and Parmesan that instantly transports you to a cozy Italian trattoria. There’s something magical about that first bite through the crunchy exterior to the tender chicken beneath. These cutlets have become my go-to recipe when I want to impress without spending hours in the kitchen—perfect alongside pasta or nestled into a sandwich. Let me show you how to create this Italian classic that’s sure to become a staple in your dinner rotation.
Recipe
Print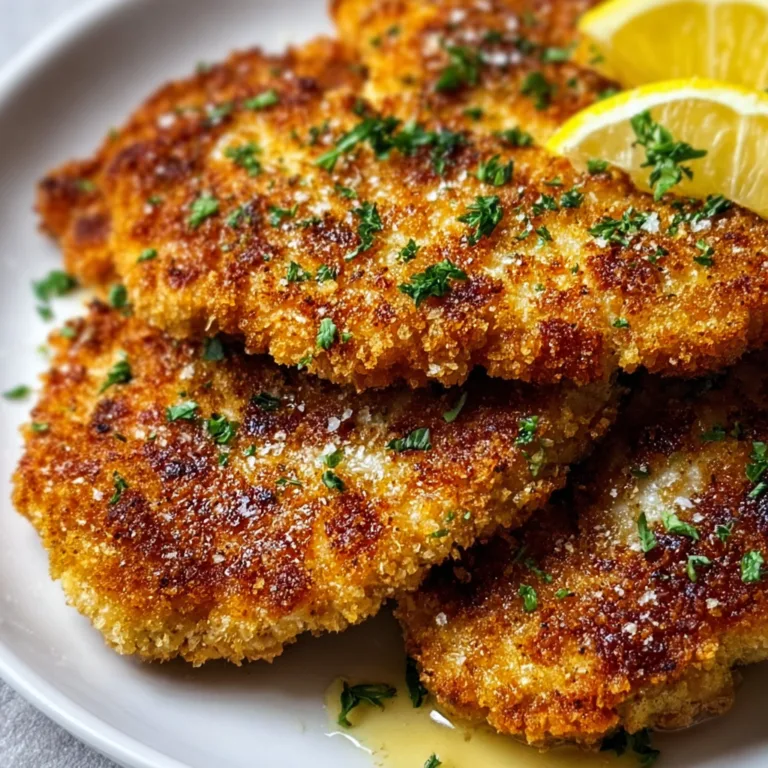
Crispy Italian Chicken Cutlets Recipe
These Crispy Italian Chicken Cutlets are golden, crunchy, and full of classic Italian flavor. Thin chicken cutlets are coated in seasoned breadcrumbs and pan-fried until perfectly crispy. This easy dinner recipe pairs wonderfully with pasta, salad, or roasted vegetables.
- Total Time: 25 minutes
- Yield: 4 servings
Ingredients
2 large chicken breasts, sliced into thin cutlets
1/2 cup all-purpose flour
2 large eggs
1 cup Italian seasoned breadcrumbs
1/4 cup grated Parmesan cheese
1 teaspoon garlic powder
1/2 teaspoon salt
1/2 teaspoon black pepper
1/4 cup olive oil for frying
Lemon wedges for serving
Fresh parsley, chopped for garnish
Instructions
1. Place chicken cutlets between plastic wrap and gently pound them to even thickness.
2. Prepare three shallow bowls for breading.
3. Add flour to the first bowl.
4. Beat eggs in the second bowl.
5. Mix breadcrumbs, Parmesan cheese, garlic powder, salt and black pepper in the third bowl.
6. Coat each chicken cutlet first in flour, then dip in egg, then press into the breadcrumb mixture.
7. Heat olive oil in a large skillet over medium heat.
8. Add the breaded chicken cutlets and cook for 3–4 minutes per side until golden brown and crispy.
9. Transfer the cooked cutlets to a plate lined with paper towels.
10. Garnish with chopped parsley and serve with lemon wedges.
Notes
Use panko breadcrumbs for extra crispiness.
Serve with spaghetti marinara or a fresh Italian salad.
You can bake the cutlets at 400°F for about 18–20 minutes for a lighter version.
Store leftovers in the refrigerator for up to 3 days.
- Prep Time: 15 minutes
- Cook Time: 10 minutes
- Category: Dinner
- Method: Skillet
- Cuisine: Italian
Why You’ll Love This Crispy Italian Chicken Cutlets
Perfect Texture Contrast
The secret to perfection lies in the contrast between the crispy exterior and juicy interior. I pound the chicken breasts to an even thickness (about ¼ inch) which ensures they cook quickly and evenly. The three-step breading process—flour, egg wash, then seasoned breadcrumbs—creates that restaurant-quality crust that audibly crunches when you cut into it. Last Sunday, my daughter closed her eyes after the first bite and declared, “This is better than the Italian place downtown!” The panko and Italian breadcrumb mixture provides extra crispiness, while a touch of Parmesan adds nutty depth that elevates the entire dish.
Versatile and Family-Friendly
These chicken cutlets please everyone from picky eaters to culinary enthusiasts. The mild, universally appealing flavor profile makes them perfect for kids, while adults appreciate the subtle herb notes and perfect seasoning. I love how adaptable they are—serve them simply with lemon wedges for a light dinner, or transform them into chicken Parmesan with marinara and mozzarella. They’re equally delicious hot from the skillet or at room temperature for picnics. When my nephew visited (the one who “doesn’t eat anything”), he asked for seconds and then requested the recipe for his mom!
Essential Tips & Tricks
Preparation Perfection
Proper pounding is non-negotiable for evenly cooked cutlets. I place the chicken between plastic wrap to prevent splattering and use the flat side of a meat mallet with gentle, even strokes. Work from the center outward until you reach that ideal ¼-inch thickness. For the breading station, I use pie plates or shallow bowls arranged in assembly-line fashion—flour first, then beaten eggs with a splash of water, finally the seasoned breadcrumb mixture. Using one hand for dry ingredients and one for wet prevents the dreaded “breaded fingers” that can make the process messy. This organized approach makes the process nearly as smooth as making my garlic butter steak.
Cooking Techniques
The perfect fry requires maintaining the right oil temperature—around 350°F. Too hot, and the coating burns before the chicken cooks; too cool, and the cutlets absorb excess oil. I use a combination of olive oil and butter for flavor, adding the butter after the oil is hot to prevent burning. Watch for a golden-brown color and resist the urge to flip repeatedly—once is enough. After cooking, let the cutlets rest on a wire rack, not paper towels, to maintain that coveted crispiness. The rack allows air circulation underneath, preventing steam from softening your perfect crust. I learned this trick after years of soggy-bottomed cutlets!
Serving Ideas & Creative Variations
Classic Pairings
These golden cutlets shine alongside traditional Italian accompaniments. A simple arugula salad dressed with lemon and olive oil provides a peppery contrast to the rich chicken. For a heartier meal, serve with spaghetti aglio e olio or a bright tomato sauce. My family’s favorite pairing is roasted garlic mashed potatoes and broccolini with red pepper flakes. The combination of creamy, spicy, and crispy textures makes for a memorable dinner. Don’t forget a glass of Pinot Grigio for adults! For an elegant touch, top each cutlet with a small handful of dressed microgreens and a drizzle of good balsamic glaze, similar to how I finish my crispy bacon honey roasted potatoes.
Creative Twists
Transform these versatile cutlets into entirely different meals with simple additions. For Chicken Milanese, top with an arugula, cherry tomato, and red onion salad dressed with lemon vinaigrette. Create chicken Parmesan by adding marinara and mozzarella, then broiling until bubbly. For a twist, make chicken katsu sandwiches with shredded cabbage and tonkatsu sauce on milk bread. My recent discovery was cutting cooled cutlets into strips for the most incredible Caesar salad upgrade ever. You can also slice them for wraps or grain bowls with Mediterranean ingredients like hummus, cucumber, and olives. The possibilities are truly endless!
Storage & Troubleshooting Guide
Proper Storage Methods
For maximum freshness, cool cutlets completely before refrigerating in an airtight container with parchment paper between layers to prevent sticking. They’ll maintain quality for 3-4 days refrigerated. For longer storage, freeze fully cooled cutlets in a single layer on a baking sheet, then transfer to freezer bags with parchment dividers. They’ll keep for up to 3 months. To reheat refrigerated cutlets, use a 375°F oven for 10-15 minutes on a wire rack to restore crispiness. From frozen, add 5-7 minutes. Avoid microwaving unless you’re prepared for soggy results—I learned this the hard way when rushing lunch last month!
Troubleshooting Common Issues
If your breading falls off during cooking, you likely missed a crucial step. Ensure chicken is thoroughly patted dry before starting, and press the breadcrumbs firmly onto the chicken. The three-step process must be followed in order: flour (to dry the surface), eggs (to provide sticking power), then breadcrumbs. For pale, soggy cutlets, your oil wasn’t hot enough—look for shimmering oil and a test breadcrumb that sizzles immediately. If cutlets are browning too quickly but remain raw inside, your heat is too high or cutlets too thick. Adjust temperature and pound thinner next time. Remember that crowding the pan lowers oil temperature dramatically, so fry in batches for consistent results.
Frequently Asked Questions
Can I make Crispy Italian Chicken Cutlets without frying?
Yes! Bake breaded cutlets at 425°F for 15-20 minutes on a wire rack over a baking sheet. Spray with olive oil before baking for better browning. Air fryers also work beautifully at 375°F for about 12 minutes.
How do I keep my breading from falling off?
Pat chicken completely dry before starting. Ensure full coverage at each breading station and press breadcrumbs firmly onto the chicken. Let breaded cutlets rest 10-15 minutes before frying to help coating adhere.
Can I prepare these cutlets in advance?
Absolutely! Bread cutlets up to 24 hours ahead and refrigerate uncovered on a wire rack. This actually helps the coating adhere better. Alternatively, freeze raw breaded cutlets for up to a month.
What’s the best oil for frying chicken cutlets?
Use oils with high smoke points like vegetable, canola, or grapeseed. For flavor, I prefer a combination of olive oil with a tablespoon of butter added after the oil heats up.
What can I use instead of breadcrumbs?
Crushed cornflakes, cracker crumbs, or panko work well. For gluten-free options, use gluten-free breadcrumbs or crushed rice Chex. Almond flour mixed with Parmesan makes a delicious low-carb alternative.
Final Thoughts
These Crispy Italian Chicken Cutlets represent comfort food at its finest—simple ingredients transformed through technique into something extraordinary. The contrast between the crunchy coating and juicy meat creates that perfect bite that keeps you coming back for more. I hope you’ll try these in your kitchen and experience the joy of serving a dish that looks and tastes like it came from a fine Italian restaurant. Share your creations on Pinterest and tag me—I’d love to see your golden-brown masterpieces! From my kitchen to yours, buon appetito!