

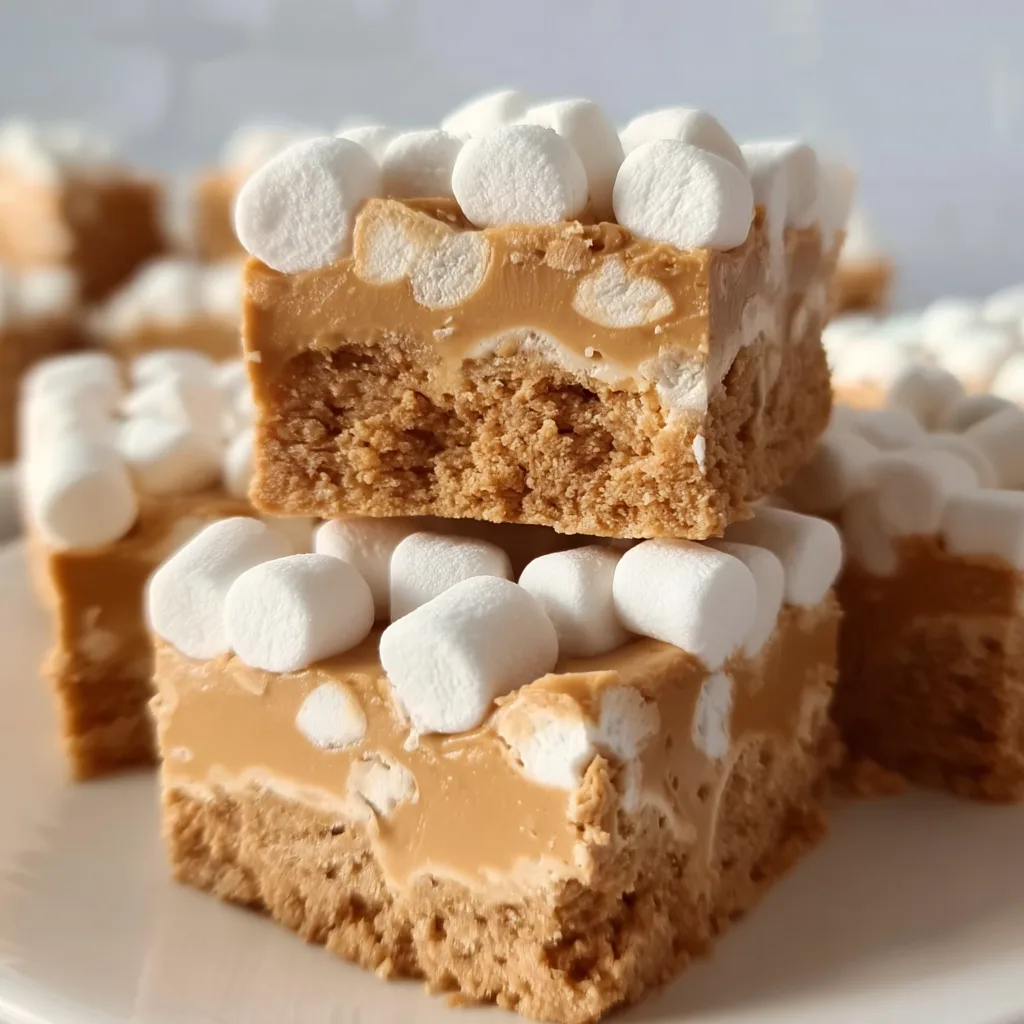
No-Bake Peanut Butter Marshmallow Squares have become my absolute lifesaver for last-minute gatherings. The way the creamy peanut butter melds with the gooey marshmallows creates this perfect harmony of textures that’s simply irresistible. I discovered this recipe during a power outage last summer when my oven was out of commission, but my sweet tooth was definitely not! These squares have that nostalgic childhood flavor with a grown-up twist that makes them perfect for any occasion.
Recipe
Print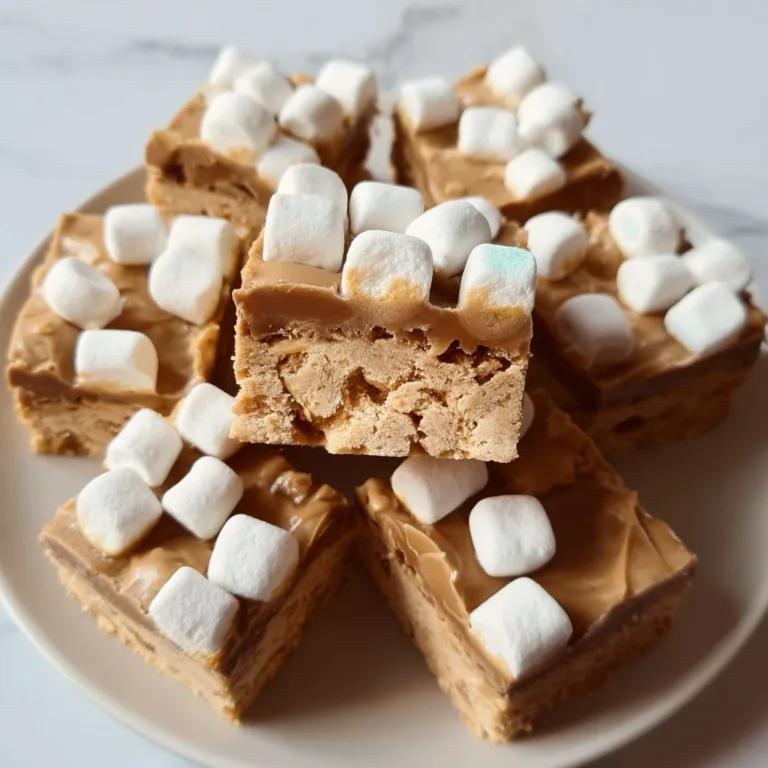
Delicious No-Bake Peanut Butter Marshmallow Squares Recipe
These chewy, gooey no-bake peanut butter marshmallow squares are the easiest treat to whip up when you need something sweet and nostalgic. Perfect for potlucks, holidays, or just because.
- Total Time: 15 mins
- Yield: 16 squares
Ingredients
1/2 cup unsalted butter
1 cup smooth peanut butter
1 (300g) bag butterscotch chips
4 cups mini marshmallows
Pinch of salt
1 tsp vanilla extract
Instructions
1. Line an 8×8 inch pan with parchment paper and set aside.
2. In a medium saucepan, melt butter and peanut butter over low heat until smooth.
3. Stir in butterscotch chips until fully melted and combined.
4. Remove from heat and let cool for 5–7 minutes, then stir in vanilla and a pinch of salt.
5. Gently fold in mini marshmallows until evenly coated.
6. Pour mixture into the prepared pan, pressing down lightly with a spatula.
7. Chill in the fridge for 2 hours until firm, then cut into squares and serve.
Notes
Letting the mixture cool before adding marshmallows prevents them from melting.
Store squares in an airtight container in the fridge for up to 1 week.
You can swap butterscotch chips for white chocolate chips for a twist.
- Prep Time: 10 mins
- Cook Time: 5 mins
- Category: Dessert
- Method: No-Bake
- Cuisine: American
- Diet: Vegetarian
Why You’ll Love These No-Bake Peanut Butter Marshmallow Squares
Quick Preparation With Maximum Flavor
These squares come together in under 15 minutes of active time, making them perfect for busy weeknights or unexpected guests. The beauty lies in their simplicity—melted butter and peanut butter create a velvety base that hugs each marshmallow in a warm embrace. I love how the kitchen fills with that nutty aroma as the ingredients melt together. The squares firm up in the refrigerator while you go about your day, requiring zero babysitting. Perfect for those of us who want impressive treats without standing over a hot oven!
Simple Ingredients You Already Have
What I adore most about this recipe is that it uses pantry staples you likely already have on hand. No special shopping trip required! The base needs just butter, peanut butter, and graham crackers, while the filling is primarily marshmallows and a touch of vanilla. When my nephew unexpectedly stayed over last weekend, we whipped these up with what we had in the cupboard, and he declared them “better than birthday cake!” The basic ingredients transform into something magical when combined, proving that sometimes the simplest recipes yield the most delightful results.
Essential Tips & Tricks
Getting the Perfect Texture Every Time
The secret to success lies in the temperature of your ingredients. I’ve learned (the hard way!) that melting the peanut butter and butter together over low heat prevents the mixture from becoming grainy. Remove it from heat just as everything melts smoothly together—overheating can cause separation. For the marshmallow layer, fold them in gently while the mixture is warm but not hot. This creates that perfect chewy-yet-soft texture that makes these squares irresistible. If you want extra decadence, try the technique I use in my Snickerdoodle Cobbler for creating layers of flavor.
Customizing to Your Taste Preferences
These squares are incredibly versatile and forgiving. If you prefer a more pronounced peanut butter flavor, opt for the natural, unsweetened variety which has a deeper taste. For a touch of sophistication, add a sprinkle of flaky sea salt on top—the contrast with the sweetness is divine! My neighbor is allergic to peanuts, so we’ve successfully made these with almond butter and even cookie butter. Each variation brings its own character to the dessert. For a holiday twist, press festive sprinkles onto the top layer while it’s still slightly soft.
Serving Ideas & Creative Variations
Perfect Pairings for Any Occasion
These squares are chameleons on a dessert table, fitting in at both casual gatherings and more formal affairs. I love serving them slightly chilled with a scoop of vanilla ice cream for a delightful temperature contrast. At my last book club, I paired them with a bold coffee, and the combination was heavenly! For kids’ parties, cut them into fun shapes using cookie cutters, or serve alongside fresh berries for a pop of color and freshness. They’re also fantastic additions to dessert charcuterie boards—I arrange them near some S’mores Roll Ups for a nostalgic treat corner.
Seasonal Twists to Keep It Fresh
The basic recipe is your canvas for seasonal creativity! In fall, I fold in a handful of candy corn or mini chocolate pumpkins. Winter holidays call for crushed peppermint candies or a drizzle of white chocolate. Spring brings opportunities for pastel-colored marshmallows and a light lemon zest in the base. Summer versions shine with freeze-dried strawberries mixed in or a layer of chocolate ganache on top. The versatility means this one recipe can appear different every time you make it, keeping family and friends guessing about your secret ingredient combinations.
Storage & Troubleshooting Guide
Keeping Your Squares Fresh
These treats maintain their best texture when stored in an airtight container in the refrigerator for up to one week. I like to place parchment paper between layers to prevent sticking. For longer storage, they freeze beautifully for up to three months—just wrap individual squares tightly in plastic wrap, then aluminum foil. The day I’m serving, I transfer them from the freezer to the refrigerator in the morning. They’ll be perfectly thawed by afternoon, with that ideal chewy-firm consistency that makes them so addictive. Room temperature works for serving, but they’ll be slightly softer.
Fixing Common Issues
If your squares seem too soft or aren’t setting properly, the most likely culprit is insufficient cooling time. I always give them at least four hours in the refrigerator—overnight is even better! If they’re crumbly when cutting, your knife might be the problem. I run mine under hot water, then wipe it dry between cuts for clean edges. Too sweet? Balance with a pinch of salt in the base mixture next time. Not sweet enough? A thin chocolate ganache topping adds richness. Remember that humidity affects setting time, so on particularly muggy days, you might need extra refrigeration before serving.
Frequently Asked Questions
Can I make No-Bake Peanut Butter Marshmallow Squares ahead of time?
Absolutely! These squares actually improve with time as flavors meld. Make them up to 3 days ahead and keep refrigerated for best results. They’ll be perfect for your event with zero day-of stress.
Are these suitable for freezing?
Yes! Wrap individual squares in plastic wrap then foil and freeze for up to 3 months. Thaw in the refrigerator overnight before serving for that perfect chewy texture.
Can I substitute the graham crackers?
Definitely! Digestive biscuits, vanilla wafers, or even chocolate cookies work beautifully. Each creates a slightly different flavor profile while maintaining that wonderful texture.
How do I prevent the marshmallows from melting completely?
Let your peanut butter mixture cool for 3-5 minutes before folding in the marshmallows. This keeps them soft and gooey without disappearing into the mixture completely.
What’s the best way to cut these squares neatly?
Use a warm, clean knife and wipe between cuts. Refrigerating the squares until firmly set (at least 4 hours) also helps create those picture-perfect edges.
Final Thoughts
These No-Bake Peanut Butter Marshmallow Squares have become my go-to recipe when I need something foolproof yet impressive. There’s something magical about the way the creamy peanut butter base supports those pillowy marshmallows—creating a treat that’s greater than the sum of its parts. I love watching people’s faces light up with that first bite, as childhood nostalgia meets sophisticated flavor. Whether you’re a seasoned baker or kitchen novice, these squares welcome you with open arms and simple steps. Find more inspiration for your next kitchen adventure on Pinterest!