

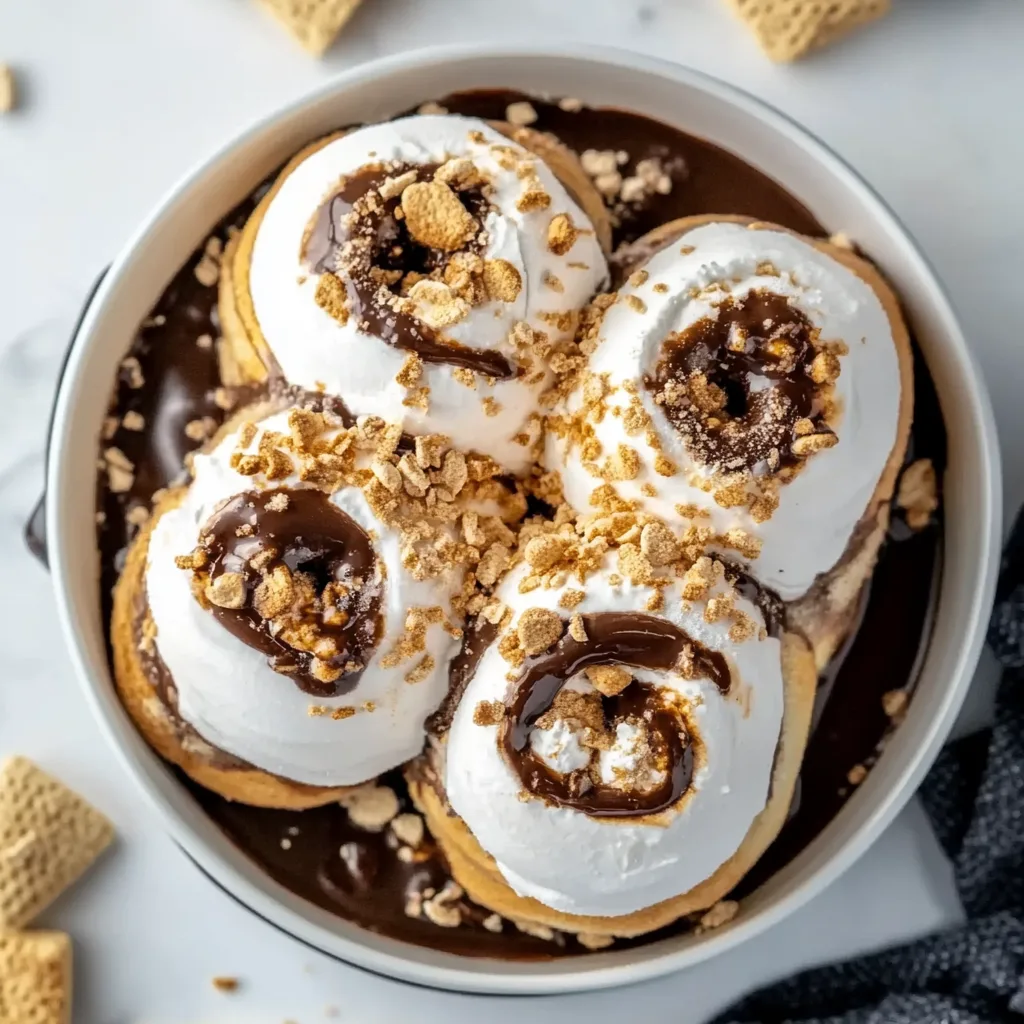
S’mores Roll-Ups are the answer to your campfire cravings without the actual campfire! As someone who’s always looking for ways to bring the outdoors in, I’ve fallen head over heels for this genius twist on a classic treat. These gooey, chocolatey roll-ups capture all the magic of traditional s’mores but with a fun, portable spin that’s perfect for parties, movie nights, or satisfying that sweet tooth on a random Tuesday. The best part? They’re ridiculously simple to make, even when you’re craving that perfect dessert but don’t want to fuss with a complicated recipe.
Table of Contents
Recipe
Print
Easy & Delicious S’mores Roll-Ups Recipe | Perfect Sweet Snack
These S’mores Roll-Ups are a fun twist on the classic campfire treat! Tortillas are stuffed with marshmallows, chocolate, and graham crackers, then pan-fried in cinnamon sugar butter until golden and gooey. Perfect for dessert, snacks, or party fun!
- Total Time: 20 minutes
- Yield: 6 roll-ups
Ingredients
6 flour tortillas (soft taco size)
1 cup mini marshmallows
1/2 cup chocolate chips or chopped chocolate
1/2 cup crushed graham crackers
2 tbsp butter (for sealing & frying)
**For Cinnamon Sugar Coating:**
2 tbsp butter, melted
1/4 cup granulated sugar
1 tsp ground cinnamon
Instructions
1. Lay tortillas flat and fill each with marshmallows, chocolate, and crushed graham crackers down the center.
2. Roll up tightly like a burrito, tucking in the sides.
3. Heat 2 tbsp butter in a skillet over medium heat.
4. Place roll-ups seam side down and cook 2–3 minutes per side, turning until golden and crisp.
5. In a shallow bowl, mix sugar and cinnamon.
6. Brush roll-ups with melted butter and immediately roll in cinnamon sugar to coat.
7. Let cool slightly before serving—they’ll be hot and gooey inside!
Notes
Serve with a drizzle of chocolate or a scoop of vanilla ice cream.
Swap chocolate chips for Nutella or peanut butter for fun variations.
Use gluten-free tortillas to make this celiac-friendly.
- Prep Time: 10 minutes
- Cook Time: 10 minutes
- Category: Dessert, Snack, Kids
- Method: Pan-Fried
- Cuisine: American
- Diet: Vegetarian
Why You’ll Love These S’mores Roll-Ups
Perfect Balance of Flavors and Textures
There’s something almost magical about the combination of melty chocolate, gooey marshmallow, and crispy graham flavor all wrapped in a toasted tortilla. The contrast between the crunchy exterior and the molten filling creates a sensory experience that’s downright addictive. I still remember the first time I made these for my niece’s sleepover – the look of pure joy on those little faces as they bit into warm, chocolatey goodness was priceless! The tortilla gets this beautiful golden crispness that mimics the toasted marshmallow experience, but with more structural integrity for less messy eating.
Quick and Kid-Friendly Preparation
One of the biggest wins with these S’mores Roll-Ups is how incredibly simple they are to prepare. Unlike traditional s’mores that require outdoor equipment and perfect marshmallow toasting technique, these roll-ups come together in minutes with minimal kitchen skills required. My 7-year-old nephew can practically make them by himself (with supervision around the stove, of course). The assembly process is actually part of the fun – kids love spreading the marshmallow fluff and sprinkling chocolate chips before the exciting rolling and sealing stage. It’s a perfect rainy day activity that ends with a delicious reward!
Essential Tips & Tricks
Getting the Perfect Seal and Crunch
The secret to exceptional S’mores Roll-Ups lies in achieving that perfect seal that keeps all the gooey goodness inside. I learned the hard way (hello, messy stovetop!) that brushing the edges with a little water before rolling creates a foolproof seal. For maximum crispiness, make sure your pan is properly preheated before adding your roll-ups. I like to use a medium-high heat that gives the tortillas a beautiful golden color without burning them. A light brush of melted butter on the outside creates that irresistible toasty flavor that mimics the campfire experience. Trust me, these little details make all the difference!
Choosing the Right Ingredients
Not all ingredients are created equal when it comes to creating the ultimate S’mores Roll-Ups experience. I strongly recommend using fresh, soft tortillas – the fresher they are, the better they’ll roll without cracking. For the filling, a high-quality chocolate makes a noticeable difference. While chocolate chips work perfectly, chopping up your favorite chocolate bar creates pockets of melty goodness that’s divine. If you’re feeling adventurous, try swapping traditional chocolate for white chocolate or adding a thin layer of peanut butter for an extra flavor dimension that’ll blow your mind!
Serving Ideas & Creative Variations
Perfect Pairings and Presentation
S’mores Roll-Ups are stunning on their own, but a few thoughtful additions can elevate them to dessert masterpiece status. I love serving them with a small scoop of vanilla ice cream while they’re still warm – the contrast of cold ice cream against the hot roll-up is simply heavenly. For presentation, try cutting them diagonally and arranging them on a platter with fresh berries and a light dusting of powdered sugar. For dinner parties, I’ve served them with tiny glasses of chocolate milk or coffee for dipping. The most important thing is serving them fresh from the pan when they’re at their crispy, gooey best!
Exciting Flavor Twists
While classic s’mores flavors are unbeatable, experimenting with variations keeps this treat exciting. My personal favorite twist is adding thin banana slices with the chocolate for a banana split s’mores roll-up that’s absolutely divine. Raspberry jam adds a fruity tartness that balances the sweetness perfectly. For fall gatherings, try adding a sprinkle of cinnamon and a few tiny marshmallows to create a cozy seasonal treat that pairs beautifully with hot apple cider. For adults, a tiny splash of Baileys or Kahlúa mixed into the marshmallow fluff creates a sophisticated twist that’s perfect for after-dinner indulgence.
Storage & Troubleshooting Guide
Making Ahead and Reheating
While S’mores Roll-Ups are best enjoyed fresh, you can prepare them ahead with a few smart techniques. For make-ahead convenience, assemble them completely but stop before cooking, then wrap individually in plastic wrap and refrigerate for up to 24 hours. When you’re ready to serve, simply unwrap and cook as directed. Already cooked roll-ups can be stored in an airtight container for about a day, though they’ll lose some crispness. To reheat, avoid the microwave which will make them soggy – instead, a quick 2-3 minutes in a 350°F oven will restore much of their original texture and gooey center.
Fixing Common Problems
Even the simplest recipes can sometimes go awry, but most S’mores Roll-Ups issues have easy fixes. If your roll-ups are leaking filling during cooking, you likely need to improve your sealing technique – try using a bit more water on the edges and pressing firmly when rolling. For tortillas that crack when rolling, warming them briefly in the microwave (10-15 seconds) makes them more pliable. If your chocolate isn’t melting properly, chop it into smaller pieces or use a combination of chips and finely chopped chocolate. And remember, if the outside is browning too quickly before the filling melts, simply lower your heat and be patient!
Frequently Asked Questions
Can I make S’mores Roll-Ups gluten-free?
Absolutely! Use certified gluten-free tortillas and verify your chocolate and marshmallow fluff are gluten-free. The taste and texture remain nearly identical to the original version.
What’s the best chocolate to use for S’mores Roll-Ups?
Semi-sweet chocolate chips or chopped milk chocolate bars work best. They melt beautifully while maintaining some structure, creating that perfect gooey center.
Can I make these in advance for a party?
You can assemble them up to 24 hours ahead and refrigerate uncooked. Cook just before serving for the best texture and warm, melty experience.
How do I prevent the filling from leaking out?
Avoid overfilling, leave a half-inch border around edges, and seal thoroughly by brushing edges with water before rolling tightly.
Can I bake S’mores Roll-Ups instead of pan-frying them?
Yes! Arrange on a baking sheet, brush with butter, and bake at 350°F for 8-10 minutes until golden and crispy.
Final Thoughts
S’mores Roll-Ups have become my go-to dessert when I want to bring smiles without spending hours in the kitchen. They capture that magical campfire experience in a convenient, customizable format that works for everything from casual family movie nights to elegant dinner parties. The beauty lies in their simplicity and the way they transport you back to childhood with each crispy, gooey bite. I’d love to see your S’mores Roll-Ups creations – tag me on Pinterest with your favorite variations and serving ideas!