

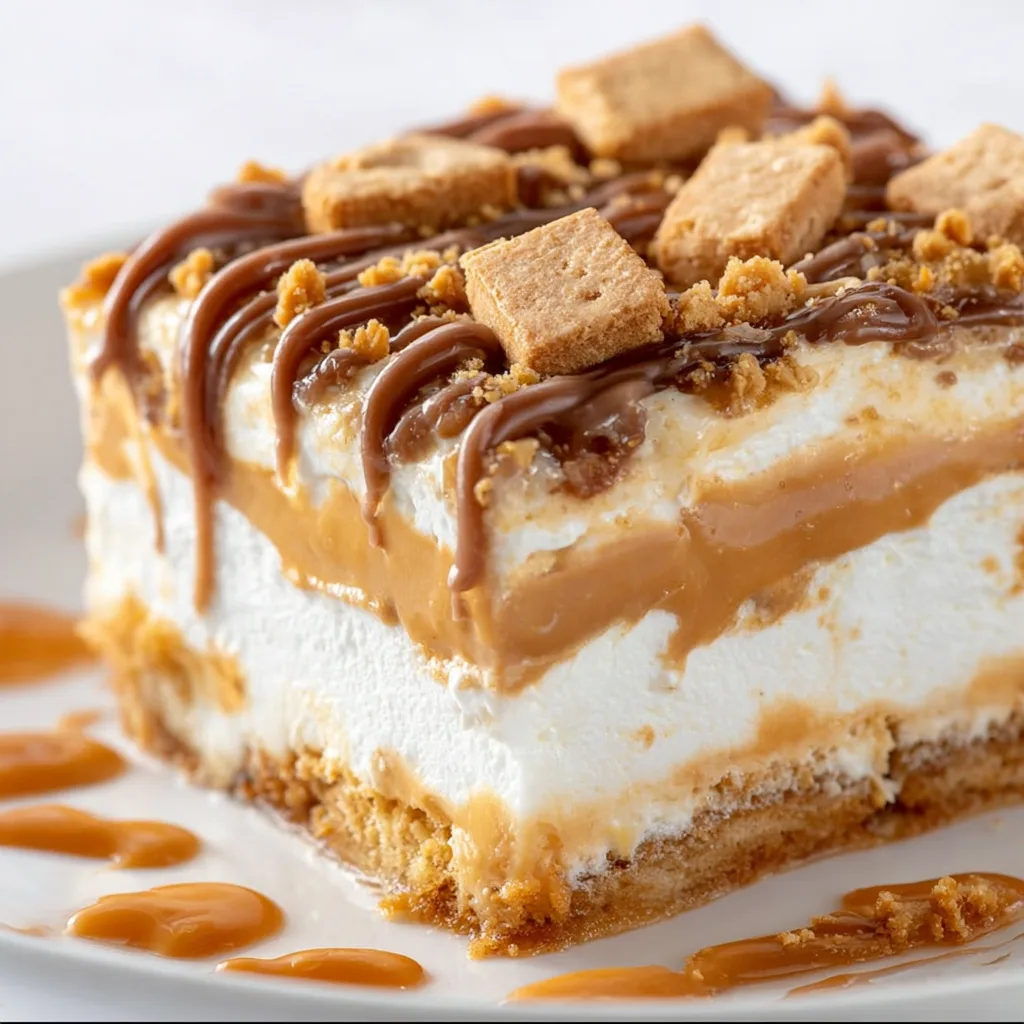
There’s something magical about the way peanut butter transforms any dessert into a comfort food masterpiece. My Peanut Butter Layered Delight brings together creamy peanut butter, velvety cream cheese, and chocolate cookie crumbs in a no-bake dessert that’s both elegant and nostalgic. I first created this for my sister’s birthday when the summer heat made turning on the oven unthinkable. The cool, silky layers disappeared so quickly that I’ve been perfecting the recipe ever since. If you love the classic combination of peanut butter and chocolate like I do, this dreamy dessert will become your new go-to for potlucks and family gatherings.
Recipe
Print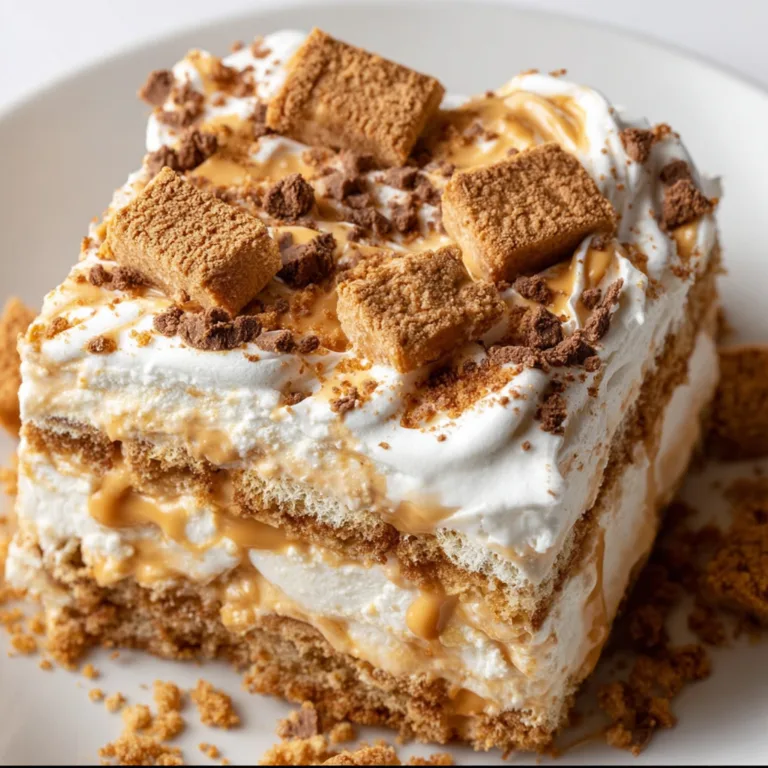
Peanut Butter Layered Delight Recipe
This easy Peanut Butter Layered Delight is a rich no-bake dessert with layers of chocolate pudding, peanut butter cream cheese, whipped topping, and a crunchy cookie crust. It’s creamy, comforting, and always a crowd favorite.
- Total Time: 20 mins + chill
- Yield: 9 squares
Ingredients
For the crust:
2 cups crushed chocolate sandwich cookies (like Oreos)
1/4 cup melted butter
For the peanut butter layer:
8 oz cream cheese, softened
1 cup creamy peanut butter
1 cup powdered sugar
1 cup whipped topping (like Cool Whip)
For the chocolate layer:
1 (3.9 oz) package instant chocolate pudding
1 1/2 cups cold milk
Topping:
1 1/2 cups whipped topping
Crushed peanuts or chocolate shavings for garnish
Instructions
1. Mix cookie crumbs and melted butter, then press firmly into a 9×9-inch pan. Chill while you prepare the filling.
2. In a bowl, beat cream cheese, peanut butter, and powdered sugar until smooth. Fold in 1 cup whipped topping. Spread over crust.
3. In a separate bowl, whisk together pudding mix and milk for 2 minutes. Let sit for 5 minutes to thicken. Spread over peanut butter layer.
4. Top with remaining whipped topping and garnish with peanuts or chocolate shavings.
5. Refrigerate for at least 4 hours or overnight before slicing and serving.
Notes
Use chocolate graham crackers or digestive biscuits as a crust alternative.
Make ahead a day in advance for even better texture.
Keep chilled until ready to serve.
- Prep Time: 20 mins
- Cook Time: 0 mins
- Category: Dessert, No-Bake
- Method: No-Bake
- Cuisine: American
- Diet: Vegetarian
Why You’ll Love This Peanut Butter Layered Delight
Perfect Balance of Flavors and Textures
The contrasting layers in this dessert create a symphony of textures that make each bite exciting. The buttery chocolate cookie base provides a satisfying crunch against the silky peanut butter cream cheese layer. I’ve carefully balanced the sweetness so the natural nuttiness of the peanut butter shines through without becoming cloying. What I love most is how the cool whipped topping melts slightly on your tongue, creating this moment where all the flavors merge together. Even my friend who claims not to like desserts had seconds of this one, which I count as the ultimate compliment!
Make-Ahead Convenience
This dessert is a time-management dream for busy hosts. You can prepare it up to two days before your event, and it actually improves as the flavors meld in the refrigerator. I’ve found that making it the night before allows the cookie base to soften slightly, making it easier to cut perfect squares. The layers stay distinct and beautiful, making for an impressive presentation with minimal day-of effort. Last Christmas, I prepared three pans in advance, which left me free to focus on the main dishes while still serving a showstopper dessert.
Essential Tips & Tricks
Achieving Perfect Layers
The secret to those Instagram-worthy layers lies in patience and temperature control. Start with cream cheese that’s properly softened—I leave mine out for at least an hour before mixing. When spreading each layer, use an offset spatula for even distribution and clean edges. For the cleanest look, chill each layer for 15-20 minutes before adding the next. I learned this the hard way when I rushed once and ended up with swirled layers instead of distinct ones. While still delicious, the visual impact wasn’t quite the same as when you get those perfect defined layers.
Customizing Sweetness Levels
The flexibility of this recipe is what makes it a true keeper. If you prefer a less sweet dessert, reduce the powdered sugar by 1/4 cup in the peanut butter layer—the cream cheese provides enough tang to balance the flavors. For a more indulgent version, fold mini chocolate chips into the peanut butter layer or drizzle melted chocolate between layers. I’ve made this for my nephew who loves extra peanut butter flavor, so I sometimes add an additional 2 tablespoons to the mix and reduce the sugar slightly to maintain balance.
Serving Ideas & Creative Variations
Presentation Techniques
Transform this humble dessert into a show-stopping centerpiece with thoughtful presentation. For dinner parties, I cut smaller squares and serve them on white plates with a light dusting of cocoa powder and a tiny dollop of whipped cream. For a fun twist, try serving in individual clear glass jars to showcase the beautiful layers. Add height by garnishing with chocolate curls, a drizzle of melted peanut butter, or a single raspberry for color contrast. My guests always reach for their phones to snap pictures before digging in when I present it this way.
Seasonal Adaptations
This versatile dessert easily transforms with the seasons. For summer gatherings, fold fresh sliced strawberries or raspberries between the peanut butter and whipped layers for a fruity twist. In fall, try adding a thin layer of apple butter or sprinkling cinnamon into the whipped topping. During winter holidays, I crush peppermint candies on top or add a splash of peppermint extract to the whipped layer. The basic structure remains the same, but these small tweaks keep the dessert feeling fresh and appropriate year-round.
Storage & Troubleshooting Guide
Proper Storage Methods
To maintain the perfect texture of your layered delight, cover tightly with plastic wrap directly touching the surface to prevent condensation from forming. This dessert keeps beautifully in the refrigerator for up to five days, though the cookie layer will continue to soften slightly over time. If you need to make it further in advance, you can freeze it for up to one month—just thaw overnight in the refrigerator before serving. I’ve found that cutting into squares before freezing makes it easier to thaw only what you need.
Fixing Common Issues
Even experienced bakers encounter challenges! If your peanut butter layer seems too firm to spread, add a tablespoon of milk and mix until you reach a spreadable consistency. For a too-soft layer that doesn’t hold its shape, refrigerate for 15 minutes before continuing. If your whipped topping deflates, it may have been overmixed—fold in an additional 1/2 cup of fresh whipped topping to restore volume. Dark spots on the top layer usually indicate the dessert wasn’t covered properly during refrigeration, but can easily be disguised with additional whipped topping or garnishes.
Frequently Asked Questions
Can I use crunchy peanut butter instead of creamy?
Yes! Crunchy peanut butter adds delightful texture contrast. You may need to add 1-2 tablespoons of milk to achieve the same spreadable consistency as the creamy version.
Is there a way to make this Peanut Butter Layered Delight gluten-free?
Absolutely! Simply substitute the chocolate cookie base with gluten-free chocolate cookies or a mixture of gluten-free graham crackers and cocoa powder.
How far in advance can I make this dessert?
This dessert can be made up to 2 days in advance and kept refrigerated. The flavors actually improve as they meld together overnight.
Can I substitute the whipped topping with real whipped cream?
Yes, but stabilize your whipped cream with 1 tablespoon of powdered sugar and 1/2 teaspoon of vanilla per cup of cream to help it hold its shape longer.
What’s the best way to get clean cuts when serving?
Run your knife under hot water and wipe clean between each cut. For perfect squares, refrigerate the dessert for at least 4 hours before cutting.
Final Thoughts
This Peanut Butter Layered Delight has become my signature dessert for good reason. It strikes that perfect balance between sophisticated and comforting, impressive and approachable. I love watching people’s eyes light up when they take their first bite and discover all the contrasting textures and flavors. The best part is how adaptable it is to different occasions and preferences while maintaining its essential character. Whether you’re an experienced baker or just starting out, this no-bake wonder delivers reliable results that will have everyone asking for your secret. Find more of my favorite layered desserts on Pinterest.