

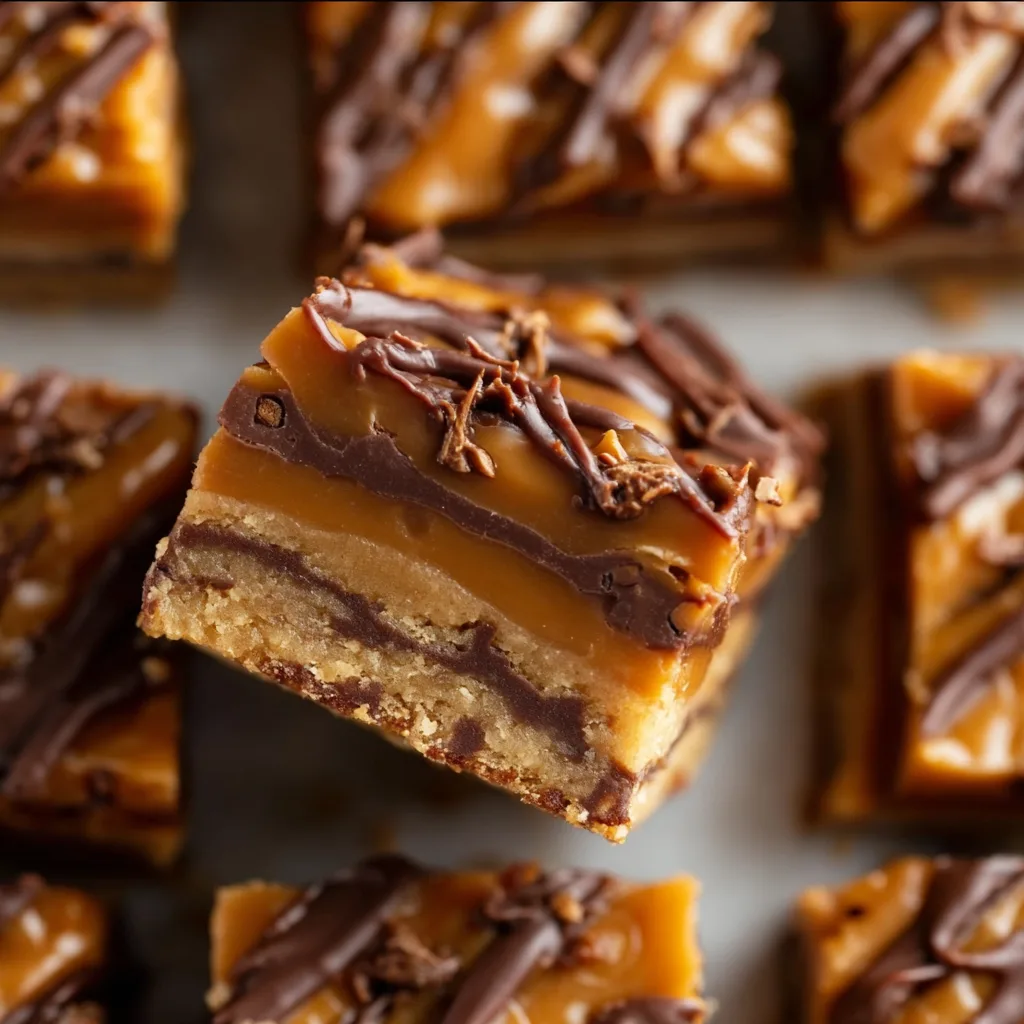
These Caramel Bars have completely transformed my dessert game, friends! There’s something almost magical about the way buttery shortbread, gooey caramel, and rich chocolate come together in perfect harmony. The first time I made these for my family gathering last fall, my nephew declared them “better than any candy bar” – which might be the highest praise a dessert can receive! If you love the sweet-salty combination that makes caramel treats irresistible, these bars will become your new go-to recipe.
Recipe
Print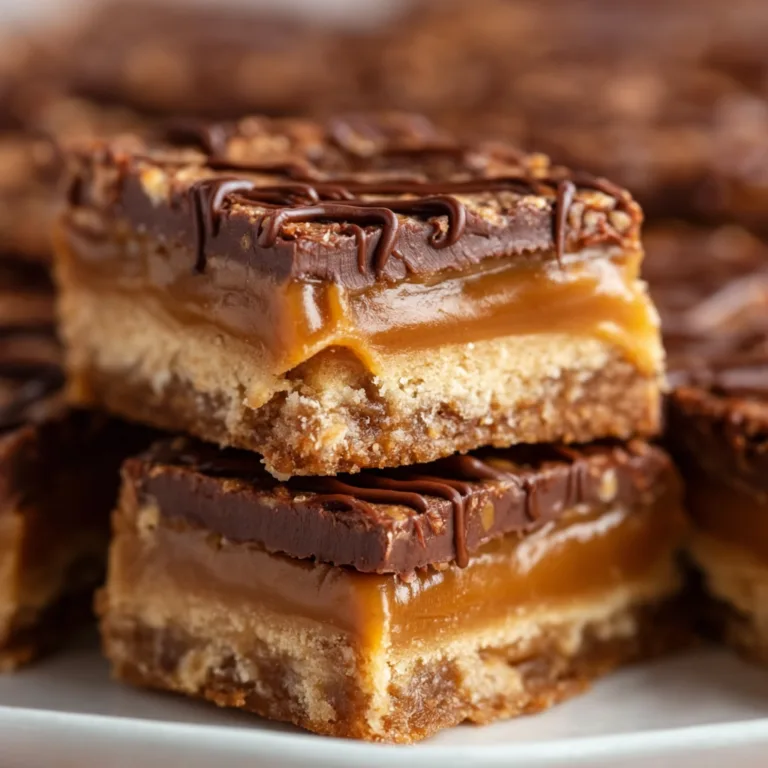
Delicious Caramel Bars Recipe
These Delicious Caramel Bars are rich, buttery, and layered with gooey caramel and a soft cookie crust. This easy and chewy homemade dessert is perfect for parties, holidays, or whenever you crave a sweet indulgent treat.
- Total Time: 1 hour 30 minutes
- Yield: 16 bars
Ingredients
For the crust and topping:
1 cup unsalted butter, softened
1 cup brown sugar, packed
1/2 cup granulated sugar
2 large eggs
1 teaspoon vanilla extract
2 1/2 cups all-purpose flour
1 teaspoon baking soda
1/2 teaspoon salt
For the caramel layer:
1 bag (11 oz) soft caramel candies, unwrapped
1/4 cup heavy cream
1/2 cup semi-sweet chocolate chips (optional)
Instructions
1. Preheat oven to 350°F and line a 9×13-inch baking pan with parchment paper.
2. In a large bowl, cream together butter, brown sugar, and granulated sugar until fluffy.
3. Add eggs and vanilla extract. Mix until combined.
4. In a separate bowl, whisk flour, baking soda, and salt.
5. Gradually add dry ingredients to wet mixture and mix until dough forms.
6. Press half of the dough evenly into the bottom of the prepared pan.
7. Bake for 10 minutes until lightly set.
8. While crust bakes, melt caramel candies with heavy cream in a saucepan over low heat, stirring until smooth.
9. Pour melted caramel evenly over the baked crust.
10. Sprinkle chocolate chips over caramel if using.
11. Crumble remaining dough over the top.
12. Return to oven and bake for 18–22 minutes until golden brown.
13. Cool completely before slicing into bars.
Notes
Allow bars to cool fully for clean slices.
Refrigerate briefly to help caramel set faster.
Use sea salt on top for a salted caramel twist.
Store in an airtight container for up to 5 days.
- Prep Time: 20 minutes
- Cook Time: 30 minutes
- Category: Dessert
- Method: Baked
- Cuisine: American
- Diet: Vegetarian
Why You’ll Love These Caramel Bars
Perfect Balance of Flavors and Textures
These caramel bars deliver the most satisfying textural experience – a crisp shortbread base that provides the perfect foundation for the star of the show: that luscious, amber caramel layer. I’m absolutely obsessed with how the caramel sets to this perfect chewy consistency that’s not too firm and not too runny. The chocolate topping adds that final decadent touch, creating a dessert that hits all the right notes. When you take that first bite and feel the layers giving way under your teeth – shortbread crumbling, caramel pulling, chocolate snapping – it’s a moment of pure dessert bliss.
Make-Ahead Convenience
One thing I absolutely adore about these caramel bars is their impressive shelf life. Last month, I made a batch on Sunday for a Thursday book club, and they were still perfectly delicious! The flavors actually develop and meld together beautifully over time. Plus, they’re ideal for gift-giving since they travel well and don’t require refrigeration for short periods. I’ve packaged these in cute little boxes with ribbon for holiday gifts, and the recipients always text me for the recipe within hours. For busy weeks, you can make these in advance and have a show-stopping dessert ready whenever you need it.
Essential Tips & Tricks
Mastering the Caramel Layer
The key to perfect caramel bars lies in achieving that ideal caramel consistency. I learned this the hard way after one batch turned rock-hard! Use a heavy-bottomed saucepan to prevent hot spots that can burn your caramel. When cooking the caramel, patience is everything – rush this step and you’ll end up with either a too-pale, undercooked layer or a bitter, burnt mess. Watch for that deep amber color that signals caramel perfection. I always keep a glass of ice water nearby to test the consistency – a drop of caramel should form a soft, pliable ball when dropped in. This simple trick has saved my caramel countless times and works just as well as any fancy candy thermometer.
Cutting and Serving Techniques
Achieving those picture-perfect squares requires a bit of technique. After the bars have completely cooled (and I mean completely – give them at least 2 hours), I pop them in the refrigerator for about 20 minutes before cutting. This firms everything up just enough for clean cuts without cracking the chocolate. Use a large, sharp knife dipped in hot water and wiped dry between cuts. I once tried to rush this process for a last-minute gathering and ended up with delicious but messy caramel bar chunks! Take your time with the cutting process, and you’ll be rewarded with professional-looking treats that are as beautiful as they are delicious.
Serving Ideas & Creative Variations
Elegant Dessert Plating Options
Transform these humble caramel bars into an elegant dessert worthy of any special occasion. I love to place a perfectly cut square on a small dessert plate with a drizzle of extra caramel sauce and a sprinkle of flaky sea salt. For dinner parties, I’ve paired these with a small scoop of vanilla bean ice cream and fresh berries for a color contrast that makes the plate pop. The caramel bars also work beautifully alongside a dessert charcuterie board with fresh fruits, nuts, and complementary cookies like those cinnamon sugar soft pretzels everyone loves. The combination of textures and flavors creates a memorable dessert experience.
Flavor Twist Inspirations
While the classic caramel bar is perfection, I can’t help but experiment with exciting flavor variations. My current obsession is adding a teaspoon of espresso powder to the caramel for a subtle coffee undertone that complements the sweetness. For holiday gatherings, try infusing the caramel with orange zest or a cinnamon stick (just remove before pouring). Swapping dark chocolate for the topping and adding a sprinkle of chili powder creates a sophisticated Mexican chocolate variation that’s unexpected and delicious. For nut lovers, pressing toasted pecans or hazelnuts into the chocolate layer adds wonderful crunch and nutty depth.
Storage & Troubleshooting Guide
Optimal Storage Methods
Proper storage techniques ensure your caramel bars remain as delicious as the day you made them. At room temperature in an airtight container, they’ll stay perfect for up to 5 days – just place parchment paper between layers to prevent sticking. For longer storage, refrigerate for up to two weeks, though the texture of the shortbread may soften slightly. I discovered by accident that these freeze beautifully! After making too many for a bake sale, I froze the extras and found they thawed perfectly. Just wrap them individually in plastic wrap, then foil, and freeze for up to three months. Thaw overnight in the refrigerator for best results.
Common Problems and Solutions
Even experienced bakers encounter caramel challenges occasionally! If your caramel layer turns out too hard, you likely cooked it at too high a temperature or for too long. Next time, reduce the heat and cook just until you reach that amber color. For caramel that’s too soft, you didn’t reach a high enough temperature – cook it a bit longer next time. Chocolate topping cracking? You’re probably cutting the bars when they’re too cold. Let them come closer to room temperature before slicing. And if your shortbread base crumbles, it likely needed more time to set before adding the caramel – always cool completely before proceeding to the next layer.
Frequently Asked Questions
Can I make caramel bars without a candy thermometer?
Absolutely! Watch for a deep amber color and use the ice water test – a drop of caramel should form a soft ball when dropped in ice water. Your eyes and this simple test work perfectly.
How do I prevent the caramel from crystallizing?
Don’t stir once the sugar dissolves! Swirl the pan gently instead, and brush down the sides with a wet pastry brush to remove sugar crystals.
Can I use store-bought caramel sauce instead?
Store-bought caramel sauce typically won’t set properly for these bars. The homemade caramel creates that perfect chewy texture that makes these caramel bars special.
How far in advance can I make these for a party?
These bars keep beautifully for up to 5 days at room temperature or two weeks refrigerated. Make them 2-3 days ahead for the best flavor development.
Why did my shortbread base turn out too crumbly?
Your butter might have been too warm. Use cold butter and don’t overmix. Press firmly into the pan and bake until just golden for the perfect shortbread base.
Final Thoughts
These caramel bars have become my signature dessert for good reason – they deliver impressive flavor with relatively simple techniques. The combination of buttery shortbread, chewy caramel, and smooth chocolate creates something truly special that friends and family request again and again. I’ve shared these treats at everything from casual backyard gatherings to elegant dinner parties, and they never fail to impress. For more delicious recipes and variations on these caramel bars, visit my Pinterest collection where I’m always adding new ideas!