

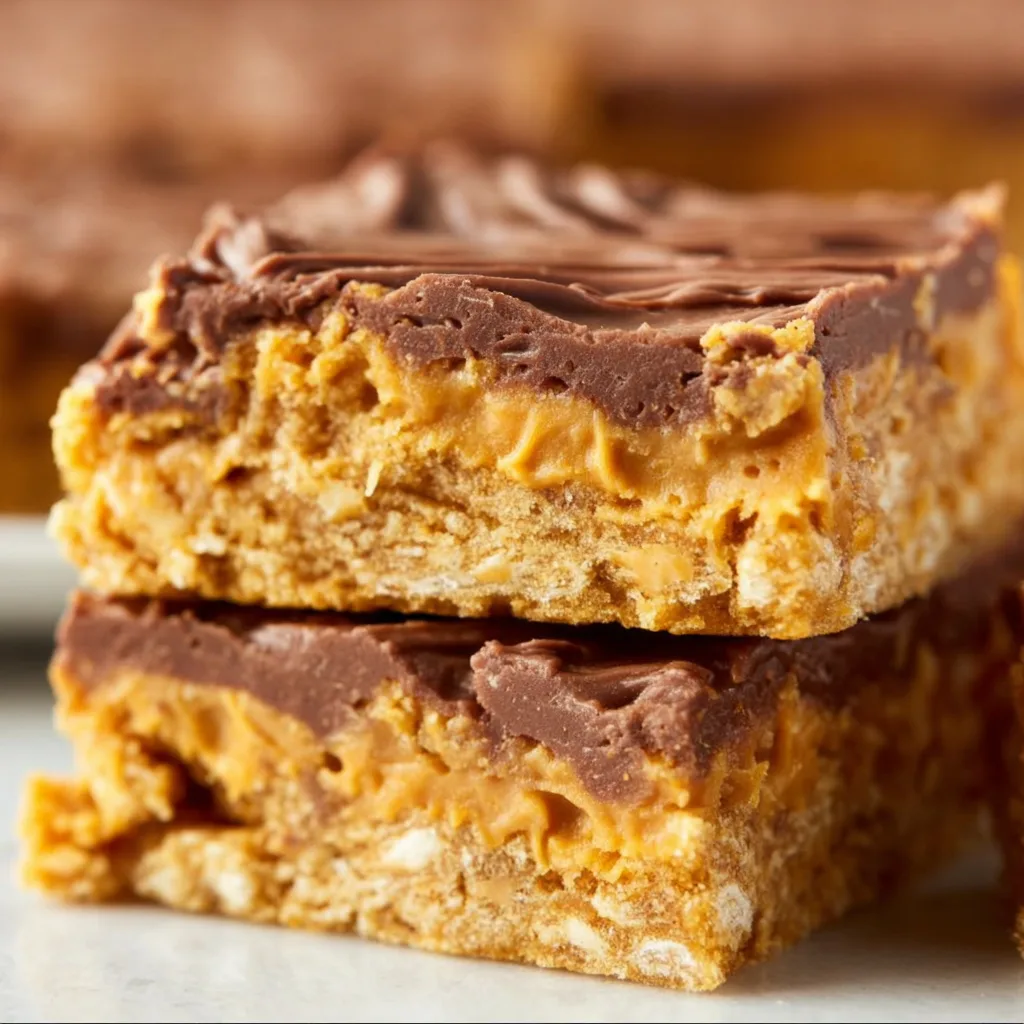
Classic Peanut Butter Lunch Lady Cookie Bars have been my secret weapon for potlucks and family gatherings for years. These nostalgic treats combine a buttery cookie base with creamy peanut butter frosting that takes me straight back to elementary school cafeteria days. I discovered this recipe while flipping through my grandmother’s handwritten recipe cards, and I’ve been perfecting it ever since. The beauty lies in their simplicity—just a few pantry staples transform into something truly magical that’ll have everyone asking for the recipe. Let me show you how to make these irresistible treats that never fail to disappear from the plate.
Recipe
Print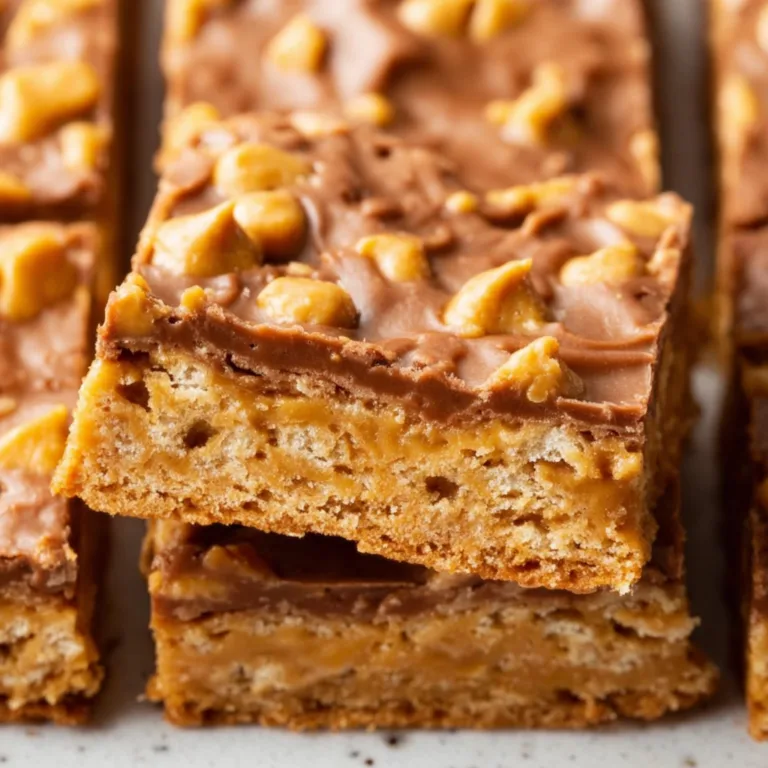
Classic Peanut Butter Lunch Lady Cookie Bars Recipe
Classic Peanut Butter Lunch Lady Cookie Bars are soft, chewy, and topped with rich chocolate frosting. These nostalgic school-style cookie bars are easy to make, packed with peanut butter flavor, and perfect for an after-school snack or dessert.
- Total Time: 40 minutes
- Yield: 24 bars
Ingredients
For the cookie bars:
1 cup unsalted butter, softened
1 cup creamy peanut butter
1 cup granulated sugar
1 cup brown sugar, packed
2 large eggs
1 teaspoon vanilla extract
2 cups all-purpose flour
1 teaspoon baking soda
1/2 teaspoon salt
For the chocolate frosting:
1/2 cup unsalted butter
1/4 cup milk
1/4 cup unsweetened cocoa powder
3 cups powdered sugar
1 teaspoon vanilla extract
Instructions
1. Preheat oven to 350°F and grease a 9×13-inch baking pan.
2. In a large bowl, cream together butter, peanut butter, granulated sugar, and brown sugar until light and fluffy.
3. Add eggs and vanilla extract. Mix until combined.
4. In a separate bowl, whisk together flour, baking soda, and salt.
5. Gradually add dry ingredients to wet ingredients and mix until just combined.
6. Spread batter evenly into prepared baking pan.
7. Bake for 20–25 minutes until edges are golden and center is set.
8. While bars bake, prepare frosting.
9. In a saucepan over medium heat, melt butter with milk and cocoa powder, stirring until smooth.
10. Remove from heat and whisk in powdered sugar and vanilla until creamy.
11. Spread warm frosting over slightly cooled cookie bars.
12. Allow frosting to set before slicing into squares.
Notes
Do not overbake to keep bars soft and chewy.
Frost while bars are still slightly warm for easy spreading.
Store in an airtight container for up to 5 days.
Chill briefly before cutting for cleaner slices.
- Prep Time: 15 minutes
- Cook Time: 25 minutes
- Category: Dessert
- Method: Baked
- Cuisine: American
- Diet: Vegetarian
Why You’ll Love These Classic Peanut Butter Lunch Lady Cookie Bars
Perfect Balance of Textures and Flavors
There’s something almost magical about that first bite—the soft, chewy base giving way to the creamy peanut butter frosting. I still remember the first time I made these for my neighborhood block party; people literally gasped when they tasted them. The cookie layer has just enough density to support the frosting without being heavy, while the peanut butter topping melts on your tongue with that perfect sweet-salty balance. What makes these truly special is how the vanilla in the base complements the rich nuttiness of the frosting, creating a harmony of flavors that’s greater than the sum of its parts.
Nostalgic Comfort in Every Square
These bars transport me straight back to childhood lunch trays and the anticipation of dessert day. There’s something deeply comforting about recreating those cafeteria classics at home—but honestly, these are even better! The aroma that fills your kitchen as they bake is worth making them for alone—warm vanilla and butter creating that unmistakable cookie scent that draws everyone to the kitchen. I love watching people’s faces light up with recognition when they taste them, often followed by, “These taste just like the ones from school, but better!” That nostalgic connection makes these more than just cookies; they’re edible memories.
Essential Tips & Tricks
Mastering the Perfect Base
The foundation of exceptional lunch lady cookie bars starts with properly creaming your butter and sugar. I learned this the hard way after several batches of too-dense bars! Room temperature butter is non-negotiable—I take mine out at least an hour before baking. Beat until the mixture is genuinely light and fluffy (about 3-4 minutes), which incorporates air for that perfect texture. Another game-changer is measuring your flour correctly by spooning it into the measuring cup and leveling it off. Too much flour creates dry, crumbly bars that miss that authentic lunch lady magic. The dough should feel soft but not sticky when pressed.
Frosting Secrets for Success
The peanut butter frosting is where these bars truly shine, and timing is everything. Always let the bars cool completely before frosting—a mistake I made in my early days that resulted in melty, messy (though still delicious) bars. For the silkiest texture, beat the frosting ingredients until they’re ultra-smooth and fluffy, about 2-3 minutes. I like adding the powdered sugar gradually to prevent clouds of sugar dust while achieving the perfect consistency. For an extra touch of nostalgia like those found in my sourdough discard cinnamon quick bread, sprinkle a few chopped peanuts or mini chocolate chips on top before the frosting sets for both visual appeal and textural contrast.
Serving Ideas & Creative Variations
Beyond the Basic Square
While these bars are perfect on their own, I love creating dessert boards centered around them for gatherings. Try cutting them into smaller bite-sized squares and arranging them alongside fresh berries, chocolate-dipped pretzel rods, and little cups of cold milk. For a more elegant presentation, use a warm knife to cut perfect squares, then drizzle with a thin stream of melted chocolate or caramel sauce. During the holidays, I serve these alongside my snickerdoodle cobbler for a dessert table that always impresses. You can also stack them in a clear glass container with parchment between layers for a stunning visual centerpiece.
Flavor Twists on the Classic
While the traditional version holds a special place in my heart, I love experimenting with variations. For chocolate lovers, try adding a thin layer of ganache between the cookie base and peanut butter frosting—simply melt 1/2 cup chocolate chips with 1/4 cup cream and spread it over the cooled base before adding the frosting. For a seasonal fall twist, mix 1/2 teaspoon of cinnamon and a pinch of nutmeg into the cookie dough. My honey-roasted peanut butter swap creates a more complex flavor profile that adults especially appreciate. For a touch of saltiness, sprinkle flaky sea salt on top just before serving.
Storage & Troubleshooting Guide
Keeping Them Fresh for Days
These bars stay wonderfully fresh when stored properly, making them perfect for make-ahead treats. Keep them in an airtight container at room temperature for up to 3 days—any longer and they should go in the refrigerator, where they’ll last about a week. I like to place parchment paper between layers to prevent sticking. If you’re planning further ahead, these freeze beautifully! Wrap individual portions in plastic wrap, then aluminum foil, and freeze for up to 3 months. Just thaw them at room temperature for about an hour before serving, and they’ll taste nearly as perfect as the day you made them.
Fixing Common Baking Issues
Even experienced bakers encounter challenges! If your bars turn out too dry, you likely used too much flour or overbaked them. Next time, measure your flour more carefully and watch the baking time closely—they should come out with just a hint of golden color around the edges. If your frosting is too thick to spread easily, add milk a teaspoon at a time until you reach the perfect consistency. Conversely, if it’s too thin, gradually add more powdered sugar. For bars that crumble when cut, try chilling them in the refrigerator for 30 minutes before slicing with a sharp knife that you wipe clean between cuts.
Frequently Asked Questions
Can I make Classic Peanut Butter Lunch Lady Cookie Bars ahead of time?
Absolutely! Make them up to 3 days ahead and store in an airtight container at room temperature. They actually taste even better on day two when the flavors have had time to meld.
Can I substitute crunchy peanut butter for smooth?
Yes! Crunchy peanut butter creates a more textured frosting with little bits of peanut throughout. Just ensure it’s the same amount by weight for proper consistency.
How do I know when the bars are done baking?
Look for slightly golden edges while the center remains soft. A toothpick inserted should come out with a few moist crumbs but no wet batter.
Why did my frosting separate or become grainy?
This usually happens when the butter is too warm. Make sure it’s room temperature but not melting, and beat thoroughly until smooth before adding other ingredients.
Can these bars be made gluten-free?
Yes! Replace the all-purpose flour with a 1:1 gluten-free baking blend. The texture may be slightly different, but they’ll still be delicious.
Final Thoughts
These Classic Peanut Butter Lunch Lady Cookie Bars represent everything I love about baking—simple ingredients transformed into something extraordinary that brings people together. There’s something magical about watching someone bite into one of these bars and seeing that moment of pure joy wash over their face. Whether you’re making them for a school bake sale, family gathering, or just because it’s Tuesday, these bars deliver comfort and happiness in every bite. I’d love to see your creations on Pinterest if you give them a try!