

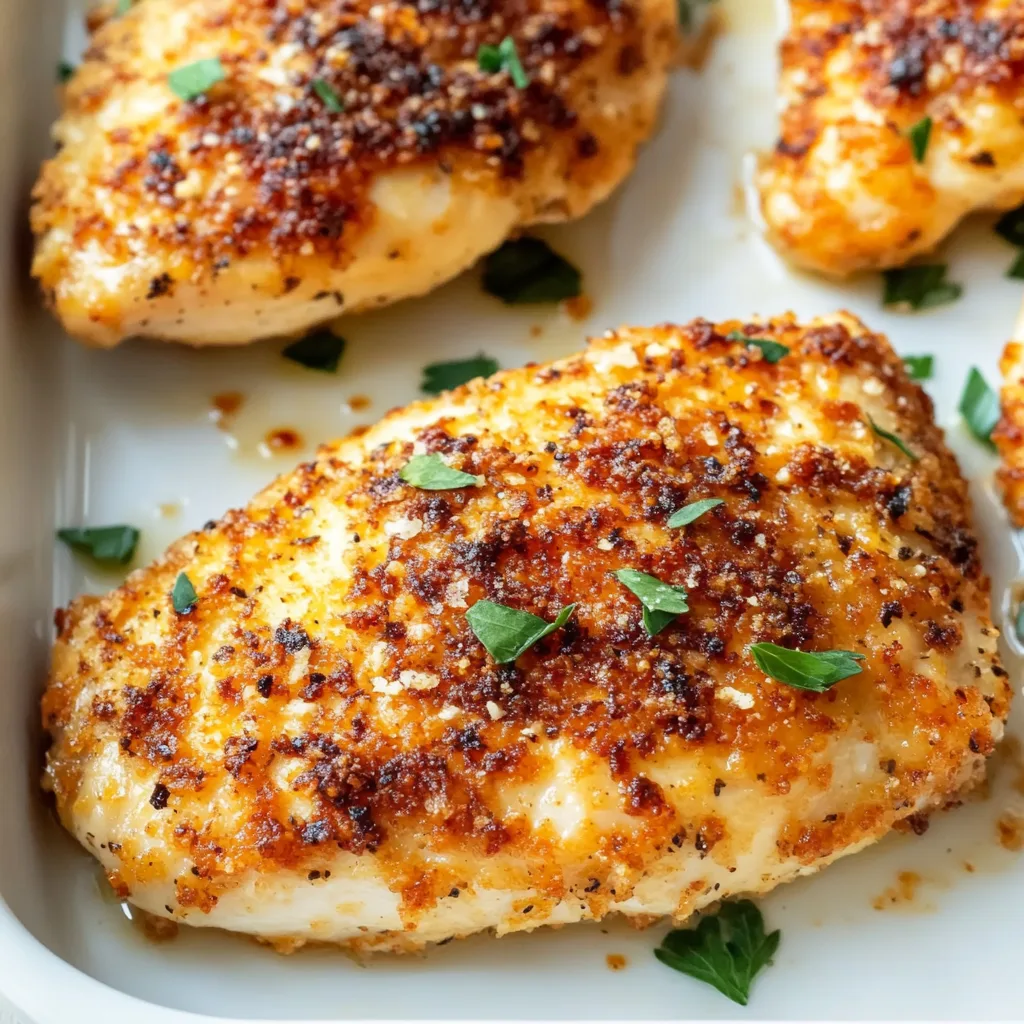
Crispy Baked Ranch Chicken has become my absolute go-to dinner when I need something that’s both impressive and effortless. There’s something magical about the way the tangy ranch seasoning creates this irresistible crust that keeps the chicken perfectly juicy inside. I discovered this recipe during a particularly chaotic Tuesday when I had exactly 10 minutes to prep dinner before a video call. Now it’s in my regular rotation alongside other quick favorites. The best part? You probably already have everything you need in your pantry!
Recipe
Print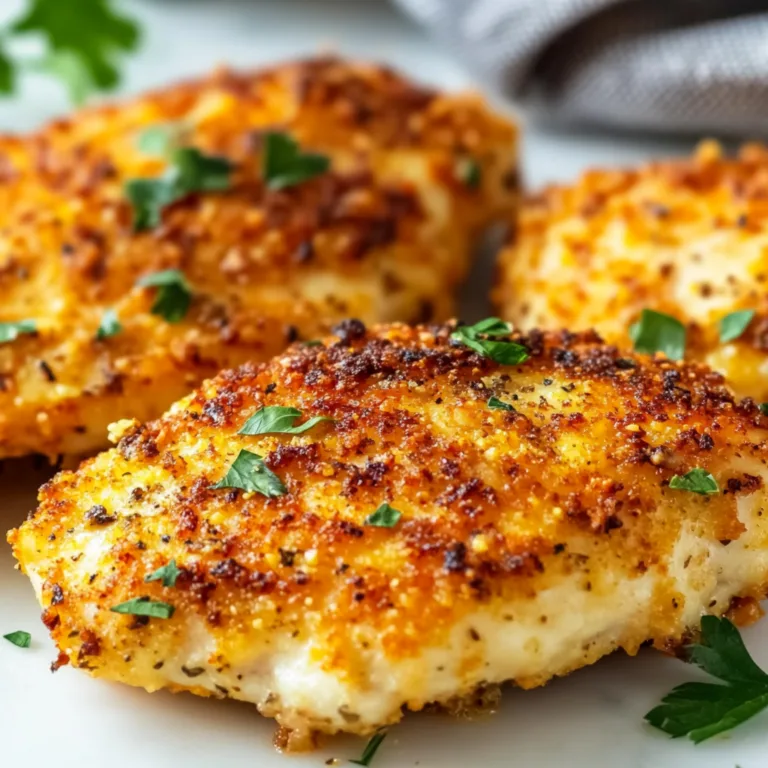
Crispy Baked Ranch Chicken Recipe | Easy & Delicious Oven-Baked Chicken
This Crispy Baked Ranch Chicken is juicy, flavorful, and oven-fried to golden perfection! Coated in ranch-seasoned crumbs, it’s an easy weeknight dinner the whole family will devour.
- Total Time: 40 minutes
- Yield: 4 servings
Ingredients
• Chicken:
4 boneless, skinless chicken breasts or thighs
1/2 cup mayonnaise or Greek yogurt (for coating)
• Breading:
1 cup panko breadcrumbs
1/2 cup grated Parmesan cheese
1 packet ranch seasoning mix (or 2 tbsp homemade)
1/2 tsp paprika
1/4 tsp black pepper
• Cooking Spray or Olive Oil (for crisping)
Instructions
1. Preheat oven to 400°F. Line a baking sheet with parchment paper or foil and place a wire rack on top (optional, for extra crispness).
2. In a shallow bowl, mix panko, Parmesan, ranch seasoning, paprika, and black pepper.
3. Brush chicken with mayonnaise or Greek yogurt on all sides.
4. Dredge each piece in breadcrumb mixture, pressing to adhere well.
5. Place coated chicken on baking rack or sheet. Lightly spray tops with cooking spray or drizzle with oil.
6. Bake for 25–30 minutes, until golden and internal temp reaches 165°F.
7. Let rest 5 minutes before serving.
Notes
• For extra ranch flavor, marinate chicken in buttermilk and ranch seasoning for 1–2 hours before breading.
• Works great with chicken tenders for a kid-friendly version.
• Leftovers are perfect for sandwiches, salads, or wraps.
- Prep Time: 10 minutes
- Cook Time: 30 minutes
- Category: Main Dish, Chicken
- Method: Baked
- Cuisine: American
Why You’ll Love This Crispy Baked Ranch Chicken
Perfect Texture Combination
The contrasting textures in this dish are what make it truly special. The exterior develops this gorgeous golden crust that makes the most satisfying crunch when you bite into it, while the interior stays incredibly tender and juicy. I still remember the first time my nephew tried it—his eyes went wide as he exclaimed, “It’s crunchy AND soft!” That’s exactly what makes this recipe magic. The panko breadcrumbs create a much airier, crispier coating than regular breadcrumbs, and when combined with the ranch seasoning, you get this flavor-packed crust that’s impossible to resist.
Foolproof and Family-Friendly
What I adore about this recipe is how incredibly forgiving it is, even for kitchen novices. Unlike fried chicken that requires temperature monitoring and splatter management, this baked version is practically impossible to mess up. The oven does all the work! It’s become my most-requested dish when friends bring their kids over because even the pickiest eaters devour it. The familiar ranch flavor appeals to children while still being sophisticated enough for adults. Plus, the prep is so straightforward that my 12-year-old niece can make it independently—a true testament to its simplicity.
Essential Tips & Tricks
Perfecting the Coating Process
The secret to the ultimate crispy coating is in the three-station setup. I arrange my dredging stations in a specific order: seasoned flour, egg wash, and finally the panko-ranch mixture. This creates the perfect foundation for that crave-worthy crust. A game-changing tip I learned from a chef friend: after coating the chicken, let it rest on a wire rack for 10-15 minutes before baking. This allows the coating to adhere better and results in that restaurant-quality crunch. For extra flavor, I sometimes add a tablespoon of grated parmesan to the panko mixture, similar to what I do in my Garlic Butter Steak recipe.
Temperature and Timing Secrets
The perfect baking temperature is non-negotiable for crispy success. I’ve experimented extensively and found that 425°F (220°C) is the sweet spot—hot enough to crisp the coating but not so hot that the exterior burns before the chicken cooks through. Another crucial tip: use a meat thermometer! Chicken breasts should reach 165°F (74°C) at their thickest point. For even cooking, pound thicker chicken breasts to an even thickness before coating. I made this mistake once when rushing and ended up with overcooked edges and an undercooked center—a lesson well learned!
Serving Ideas & Creative Variations
Complementary Side Dishes
The versatility of this Crispy Baked Ranch Chicken means it pairs beautifully with both light and hearty sides. During summer, I love serving it with a crisp apple slaw—the tangy-sweet crunch creates the perfect contrast to the savory chicken. In cooler months, roasted garlic mashed potatoes or a simple mac and cheese make this a cozy comfort meal. For a healthier option, roasted Brussels sprouts with a drizzle of balsamic glaze add a sophisticated touch. The chicken also makes an incredible topper for a Caesar salad, turning a side into a complete meal. For a truly indulgent experience, pair it with my Creamy Lemon Garlic Scallops for a surf and turf dinner.
Exciting Flavor Twists
While the classic ranch version holds a special place in my heart, I love experimenting with variations. For a spicy kick, add a tablespoon of buffalo sauce to the egg wash—it infuses the chicken with a subtle heat that’s absolutely addictive. My Italian-inspired version uses Italian seasoning and a sprinkle of red pepper flakes in the panko mixture. For a tropical twist, add a tablespoon of coconut flakes to the breadcrumbs and serve with a mango salsa. The beauty of this recipe is its adaptability! I’ve even created a gluten-free version using crushed rice Chex instead of panko that my celiac friend says is the best chicken she’s had in years.
Storage & Troubleshooting Guide
Proper Storage Methods
To maintain that coveted crispiness, proper storage is essential. If you have leftovers (which rarely happens in my house!), allow the chicken to cool completely before refrigerating. Instead of stacking pieces, arrange them in a single layer in an airtight container with paper towels between layers to absorb moisture. Refrigerated chicken will keep for 3-4 days. For reheating, avoid the microwave which will make your crispy coating soggy. Instead, place the chicken on a wire rack over a baking sheet and reheat at 350°F for 10-15 minutes until warmed through and re-crisped.
Solving Common Problems
The most frequent issue people encounter is a coating that won’t stick properly. If your breading falls off during cooking, it’s usually because the chicken was too wet before the flour step. Always pat chicken completely dry with paper towels first! Another common problem is uneven browning. For perfectly golden chicken, rotate your baking sheet halfway through cooking and make sure pieces aren’t touching. If your coating isn’t crisping up, your oven temperature might be off (many run cooler than the setting indicates). Try increasing by 25°F or using the convection setting if available.
Frequently Asked Questions
Can I use chicken thighs instead of breasts for Crispy Baked Ranch Chicken?
Absolutely! Thighs work beautifully and often stay juicier. Adjust cooking time to about 5-7 minutes longer since thighs have more fat and moisture.
How do I keep the coating from getting soggy?
Use a wire rack on your baking sheet so air circulates underneath. This prevents steam from making the bottom soggy while baking.
Can I prepare this ahead of time?
You can coat the chicken up to 8 hours ahead and refrigerate uncovered. This actually helps the coating adhere better before baking.
Is there a dairy-free version of this recipe?
Yes! Use dairy-free ranch seasoning mix and substitute the egg wash with aquafaba (chickpea liquid) for a completely dairy-free version.
What’s the best way to check if my chicken is done?
Always use a meat thermometer inserted into the thickest part. Crispy Baked Ranch Chicken is perfect at 165°F, ensuring it’s safe but still juicy.
Final Thoughts
This Crispy Baked Ranch Chicken has become more than just a recipe in my household—it’s a reliable solution for those nights when I want something impressive without the effort. The combination of that perfectly seasoned crispy exterior with juicy, tender chicken creates a dish that feels special enough for company but easy enough for weeknights. I’ve watched friends’ eyes light up at first bite, and there’s something deeply satisfying about that moment. Whether you stick with the classic version or explore the variations, I hope this Crispy Baked Ranch Chicken brings as much joy to your table as it has to mine!