

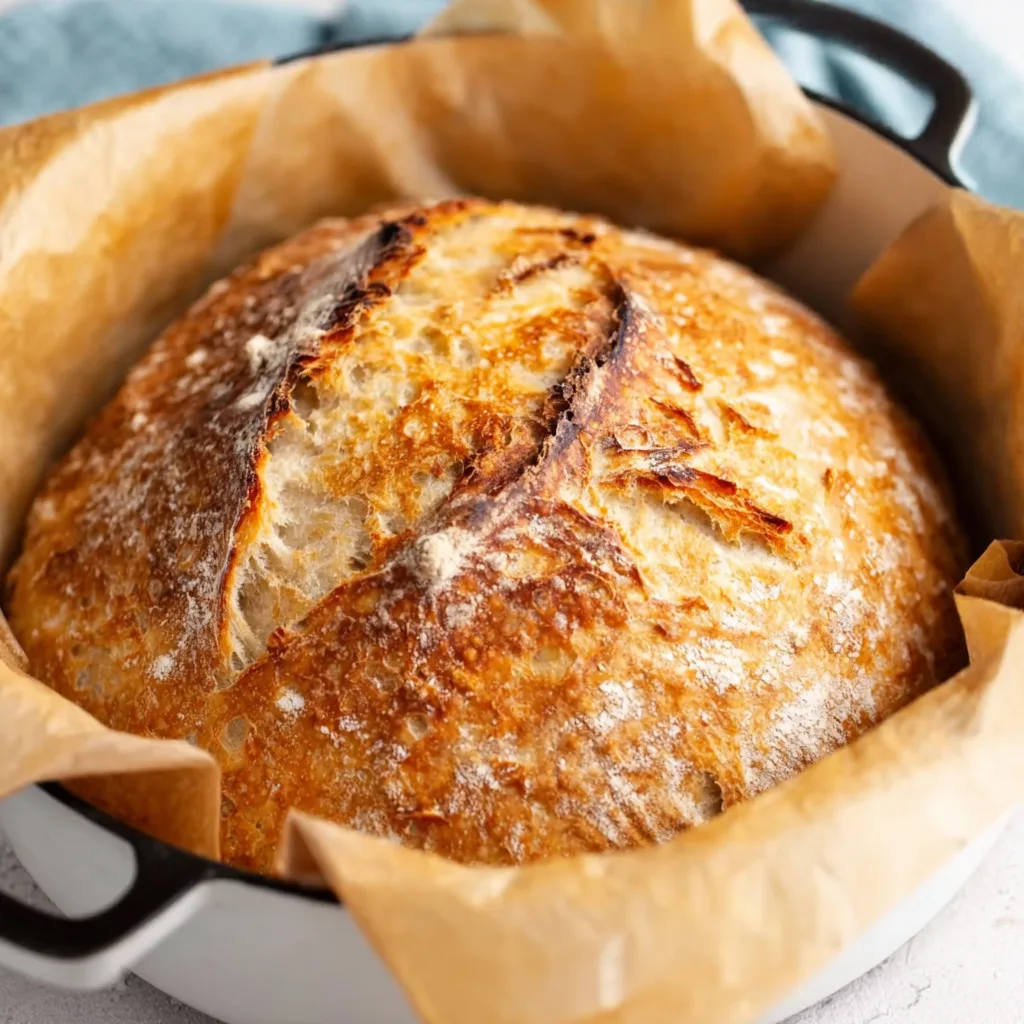
Dutch Oven No Knead Crusty Bread has completely transformed my home baking game. The first time I pulled that golden, crackling loaf from my oven, the entire kitchen filled with an aroma that transported me straight to my favorite artisan bakery. With just a few simple ingredients and minimal hands-on time, you’ll create bakery-quality bread with a crispy crust and tender, airy interior. The best part? The magic happens while you sleep – no kneading, no fuss, just incredible bread that will make you feel like a professional baker.
Recipe
Print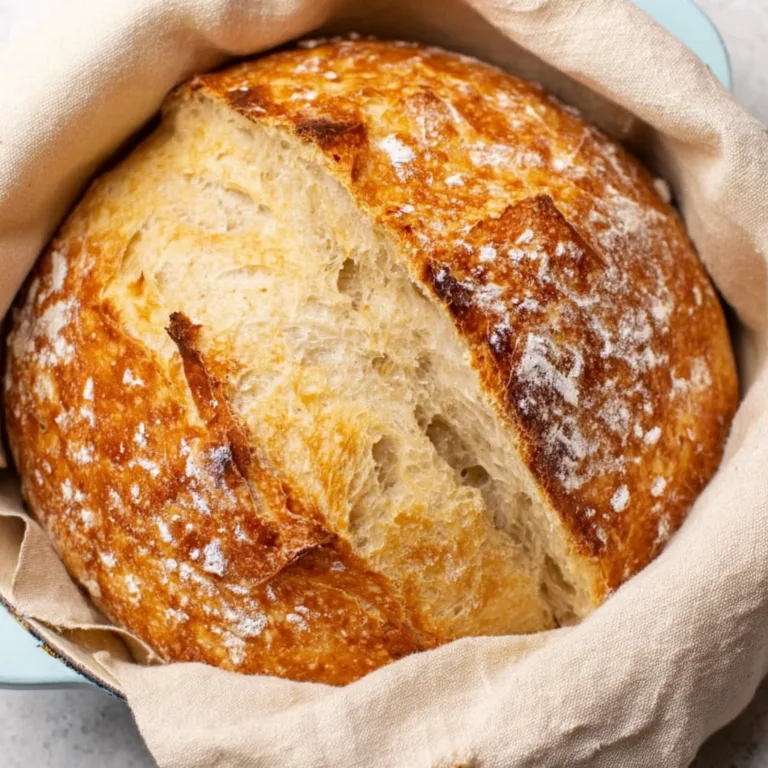
Easy Dutch Oven No Knead Crusty Bread Recipe
This Easy Dutch Oven No Knead Crusty Bread is golden, crispy on the outside, and soft and airy inside. With just four simple ingredients and no kneading required, this homemade artisan loaf delivers bakery-style results right from your kitchen.
- Total Time: 13 hours
- Yield: 1 loaf (8 slices)
Ingredients
3 cups all-purpose flour
1 1/2 teaspoons salt
1/2 teaspoon active dry yeast
1 1/2 cups warm water
Instructions
1. In a large bowl, whisk together flour, salt, and yeast.
2. Pour in warm water and stir until a shaggy dough forms.
3. Cover bowl tightly with plastic wrap and let sit at room temperature for 12–18 hours.
4. Preheat oven to 450°F.
5. Place a Dutch oven with lid inside the oven and heat for 30 minutes.
6. Lightly flour a surface and shape dough into a round ball.
7. Place shaped dough onto parchment paper.
8. Carefully remove hot Dutch oven from oven.
9. Lift dough using parchment paper and place into the hot Dutch oven.
10. Cover with lid and bake for 30 minutes.
11. Remove lid and bake an additional 10–15 minutes until deep golden brown.
12. Remove bread and cool on a wire rack before slicing.
Notes
Do not skip the long resting time for proper texture.
Use bread flour for a chewier crumb.
Allow bread to cool completely before slicing.
Store at room temperature for up to 3 days.
- Prep Time: 10 minutes
- Cook Time: 45 minutes
- Category: Bread
- Method: Baked
- Cuisine: Artisan
- Diet: Vegetarian
Why You’ll Love This Dutch Oven No Knead Crusty Bread
Effortless Technique with Professional Results
This bread recipe is truly revolutionary for home bakers. Unlike traditional bread that demands vigorous kneading and careful timing, this method relies on a long, slow fermentation that develops gluten naturally. The process creates those beautiful air pockets and complex flavors without any arm workout! I still remember my grandmother’s surprise when I served her a slice – “You made this?” she asked incredulously. The dutch oven creates the perfect environment, trapping steam to develop that signature crackling crust that makes your heart skip when you tear into it.
Simple Ingredients, Complex Flavors
What makes this bread so magical is how just four basic ingredients – flour, water, salt, and yeast – transform into something extraordinary. The slow fermentation develops a subtle tang reminiscent of sourdough without the maintenance of a starter. I love how the extended rest creates depth of flavor that simply can’t be rushed. Each bite offers a perfect balance of chewy interior and shattery crust. The best part? You likely have everything you need in your pantry right now, making this an economical alternative to $7 artisan loaves.
Essential Tips & Tricks
Getting the Perfect Crust
The secret to that bakery-quality crust lies in creating the right baking environment. Preheating your dutch oven is absolutely crucial – I learned this the hard way after a disappointing first attempt! The screaming hot cast iron creates instant steam when the dough hits it, developing that gorgeous, crackling exterior. For maximum crustiness, remove the lid during the final 15 minutes of baking to allow the bread to develop a deep golden color. A light dusting of flour on top before baking creates that rustic, artisanal appearance that makes homemade bread so Instagram-worthy.
Mastering the Long Fermentation
The extended rise is where the magic happens in this recipe. Temperature plays a crucial role – cooler rooms require longer fermentation, while warmer kitchens speed things up. I’ve found that 12-18 hours is the sweet spot for developing those complex flavors without over-fermenting. Don’t panic if your dough looks wet and bubbly – that’s exactly what you want! The high hydration creates those beautiful air pockets. For best results, use room temperature water and give your dough at least 12 hours to work its magic before shaping.
Serving Ideas & Creative Variations
Perfect Pairings for Your Crusty Loaf
There’s something deeply satisfying about tearing into a still-warm slice of homemade bread. I love serving it slightly warm with a generous smear of salted butter that melts on contact. For dinner parties, I create a simple olive oil dipping station with flaky salt and cracked pepper. This bread also makes an exceptional foundation for bruschetta or crostini – the sturdy texture holds up beautifully to toppings. For a cozy winter meal, nothing beats dipping crusty chunks into hearty soups like my Creamy Tuscan Tortellini or using it to sop up rich sauces.
Flavor Variations to Try
Once you’ve mastered the basic recipe, it’s time to experiment with creative additions! My personal favorite is adding 2 tablespoons of rosemary and a handful of roasted garlic cloves to the dough before the long rise. For a Mediterranean twist, try olives and sun-dried tomatoes with a sprinkle of herbs de Provence. Cheese lovers should definitely try folding in 1 cup of sharp cheddar or Gruyère – the cheese creates delightful pockets of melty goodness throughout. For breakfast bread, cinnamon and dried fruits create a subtly sweet loaf perfect for toasting.
Storage & Troubleshooting Guide
Keeping Your Bread Fresh
Homemade bread without preservatives is best enjoyed within 2-3 days. I store mine cut-side down on a wooden cutting board covered with a clean kitchen towel for the first day – this preserves that crackling crust better than plastic bags. For longer storage, slice the entire loaf once cooled and freeze in a ziplock bag with parchment between slices. This way, you can pull out just what you need and toast directly from frozen. To refresh day-old bread, sprinkle with water and warm in a 350°F oven for 5-10 minutes – it’ll taste nearly as good as fresh-baked!
Fixing Common Problems
If your bread turns out dense or flat, the most likely culprit is expired yeast. I always test mine by dissolving a pinch in warm water with sugar – it should foam within 5-10 minutes. Too-wet dough that spreads instead of holding shape usually means excess hydration – add a bit more flour during shaping. For a pale, soft crust, your dutch oven likely wasn’t hot enough before adding the dough. And if your bread sticks to the pot, try a piece of parchment paper as a sling. Remember that bread-making improves with practice – each “mistake” teaches you something for your next perfect loaf!
Frequently Asked Questions
Can I use active dry yeast instead of instant yeast?
Yes! Simply dissolve active dry yeast in the warm water for 5-10 minutes before mixing with flour. You may need to increase the amount by about 25% compared to instant yeast.
Why is my Dutch Oven No Knead Crusty Bread dense instead of airy?
This usually indicates insufficient fermentation time or old yeast. Ensure your dough rises at least 12 hours and check that your yeast is fresh and active.
Can I refrigerate the dough to slow down fermentation?
Absolutely! Refrigeration creates an even slower fermentation, developing more complex flavors. Shape cold dough straight from the fridge, but allow extra time for the final rise.
What size Dutch oven works best?
A 5-6 quart Dutch oven is ideal. Too large and your bread will spread too thin; too small and it may not have room to rise properly during baking.
Can I make this bread without a Dutch oven?
While a Dutch oven creates the best results, you can use a covered ceramic casserole dish or baking on a preheated pizza stone with a pan of water in the oven for steam.
Final Thoughts
This Dutch Oven No Knead Crusty Bread has become my signature recipe, the one friends always request and family members rave about. There’s something profoundly satisfying about creating such an impressive loaf with so little effort. I find myself making it weekly now, each time appreciating the beautiful simplicity of transforming basic ingredients into something extraordinary. Whether you’re a baking novice or experienced bread maker, this recipe deserves a permanent place in your repertoire. Find more inspiration for your bread baking adventures on Pinterest.