

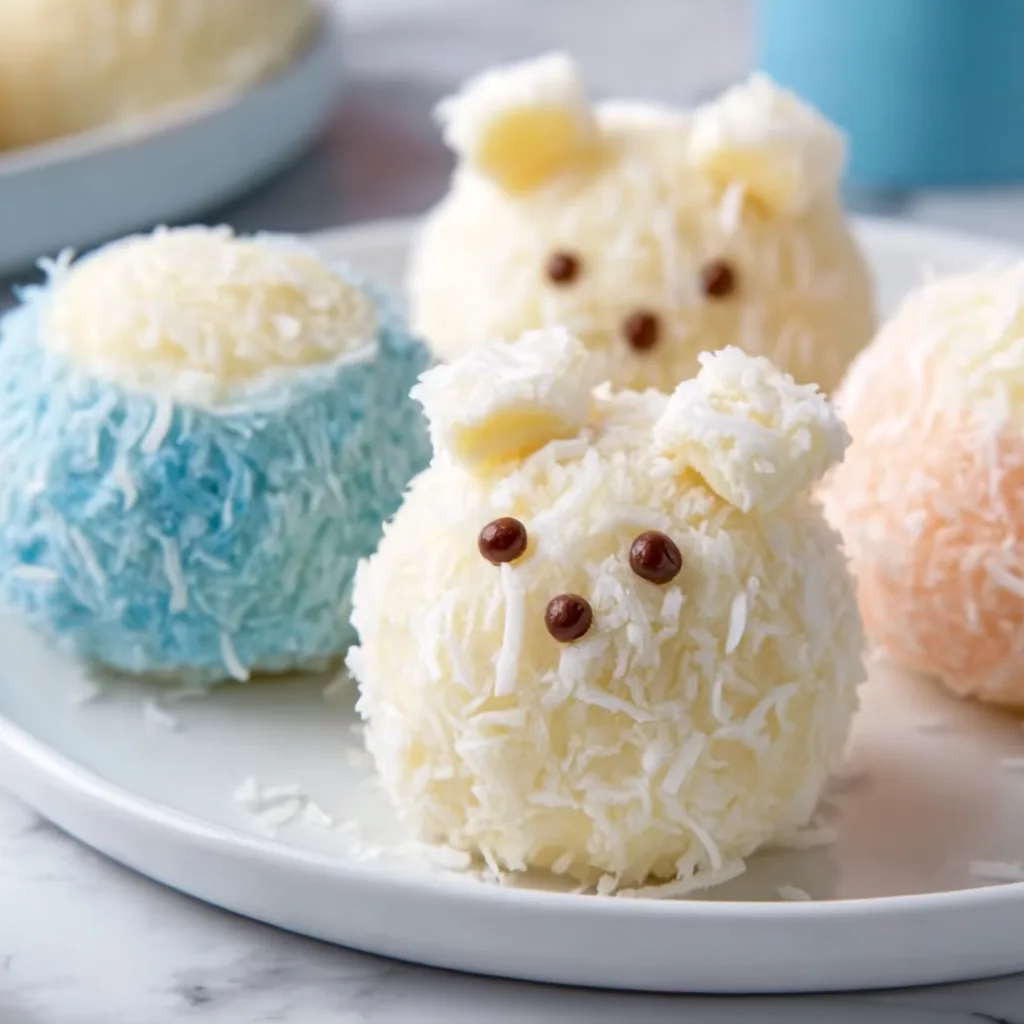
Easter Bunny Coconut Tails are the perfect sweet treat to brighten your holiday table this spring! These adorable coconut-covered delights combine the rich creaminess of sweetened condensed milk with the tropical flavor of shredded coconut, all shaped into the cutest little bunny tails that will have everyone smiling. I discovered this recipe during my first Easter hosting duties and haven’t stopped making them since. The best part? They’re surprisingly simple to create but look impressively festive, making them perfect for holiday gatherings or weekend baking with the kids.
Recipe
Print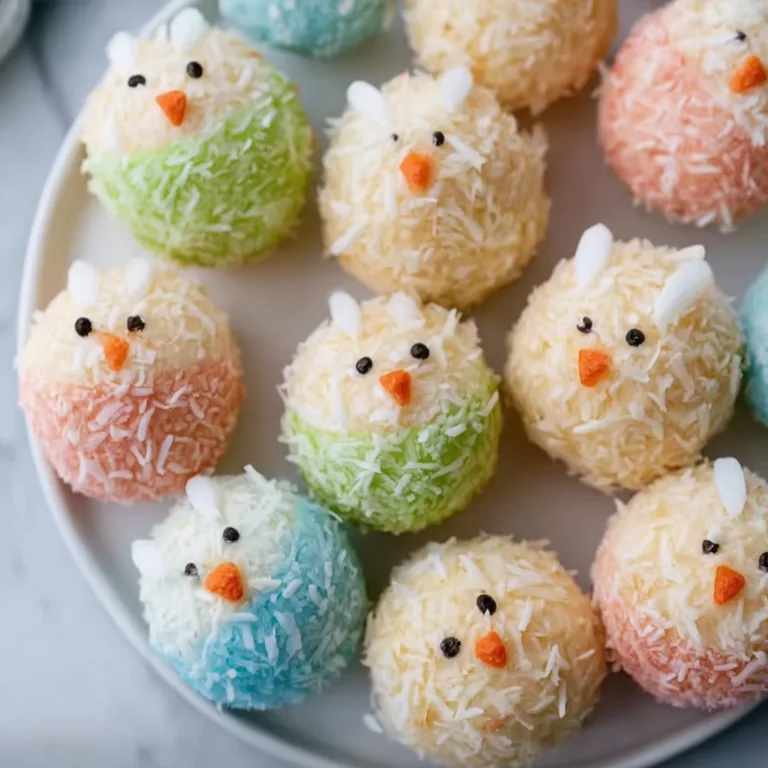
Easter Bunny Coconut Tails Recipe
These Easter Bunny Coconut Tails are sweet, chewy, and coated in soft coconut flakes. A fun and easy no-bake treat that’s perfect for Easter celebrations and kids will love them.
- Total Time: 40 minutes
- Yield: 12 pieces
Ingredients
For the Coconut Balls:
2 cups shredded coconut
1/2 cup sweetened condensed milk
1 teaspoon vanilla extract
For Coating:
1 cup extra shredded coconut
Optional:
White chocolate for dipping
Pink food coloring (for decoration)
Instructions
1. In a bowl, mix shredded coconut, sweetened condensed milk, and vanilla extract until well combined.
2. Scoop small portions and roll into oval or ball shapes.
3. Roll each piece in extra shredded coconut to coat.
4. Optional: dip half of each coconut tail in melted white chocolate.
5. Place on a tray and chill in the refrigerator for 30 to 60 minutes until firm.
6. Decorate with a touch of pink coloring if desired and serve.
Notes
Use fine shredded coconut for better texture.
Chill before serving for best consistency.
Add a drop of coconut extract for stronger flavor.
Perfect for Easter dessert tables and kids treats.
- Prep Time: 10 minutes
- Cook Time: 0 minutes
- Category: Dessert
- Method: No-Bake
- Cuisine: American
- Diet: Vegetarian
Why You’ll Love These Easter Bunny Coconut Tails
Perfect Balance of Sweetness and Texture
These bunny tails offer the most delightful textural experience – crisp coconut coating on the outside giving way to a soft, melt-in-your-mouth center. The sweetened condensed milk creates a fudge-like interior that pairs beautifully with the coconut’s natural tropical flavor. I love how the slight chewiness of the coconut flakes contrasts with the creamy center, creating that perfect bite every time. My niece described them as “cloud cookies with a crunch,” which I think captures their unique appeal perfectly. They’re sweet without being overwhelming, making them appealing to both kids and adults alike.
No-Bake Simplicity
One of the biggest perks of these Easter treats is that they’re completely no-bake! When you’re juggling multiple holiday dishes, the last thing you need is another recipe competing for oven space. These bunny tails require just a mixing bowl, your hands, and some refrigeration time. I made these last Easter while simultaneously preparing a ham and several side dishes without breaking a sweat. The hands-on time is minimal – about 15 minutes to mix and shape – which means you can easily fit this recipe into your busy holiday schedule or even make them with impatient little helpers who don’t want to wait for oven timers.
Essential Tips & Tricks
Getting the Perfect Consistency
The key to perfect bunny tails lies in achieving the right moisture balance in your mixture. If your dough feels too sticky to handle, add additional powdered sugar or coconut flour one tablespoon at a time until it reaches a moldable consistency. Conversely, if it seems too dry and crumbly, a tiny splash of cream or extra condensed milk works wonders. I learned this the hard way last Easter when my kitchen was particularly warm, making the mixture too soft to shape properly. Chilling the mixture for 15-20 minutes before rolling can also help tremendously if you’re working in a warm environment or if your hands tend to warm the dough quickly.
Rolling Techniques for Perfect Bunny Tails
Creating uniform, round bunny tails is easier with a few simple tricks. Use a small cookie scoop or measuring spoon (about 1 tablespoon size) to portion the mixture consistently. Roll the portions between your palms with a light touch – too much pressure will make them dense rather than fluffy. For the final coconut coating, I’ve found that placing the coconut in a small bowl and gently rolling the balls works better than pressing the coconut on by hand. For a special holiday touch, you can add a drop of pink or pastel food coloring to some of the coconut for colored “bunny tails” that look absolutely adorable on your Easter dessert platter.
Serving Ideas & Creative Variations
Presentation Magic
Transform these simple treats into a showstopping Easter display with thoughtful presentation details. I love arranging them in paper cupcake liners inside a vintage egg carton for a rustic farmhouse feel. Alternatively, nestle them in a basket lined with artificial Easter grass, or create a “bunny garden” display by placing them around a centerpiece of chocolate bunnies and spring flowers. Last Easter, I tucked tiny paper bunny ears into a few of the coconut tails, and the kids went absolutely wild for them! For an elegant adult gathering, try serving them on a slate cheese board with fresh berries and mint leaves for a pop of color.
Flavor Twists and Additions
While the classic coconut version is divine, don’t be afraid to experiment with flavor variations. Adding 1-2 tablespoons of lemon zest creates a bright, citrusy version perfect for spring. For chocolate lovers, mix in 2 tablespoons of cocoa powder and mini chocolate chips for a chocolate-coconut combination. My personal favorite variation involves adding a teaspoon of almond extract and rolling some of the balls in finely chopped pistachios for a sophisticated flavor profile. You could even create a dessert charcuterie board featuring different flavored bunny tails, allowing guests to sample various combinations.
Storage & Troubleshooting Guide
Proper Storage Methods
These Easter Bunny Coconut Tails stay fresh when stored properly, maintaining their delightful texture for up to a week. Keep them in an airtight container in the refrigerator, separating layers with parchment paper to prevent sticking. They’re actually best enjoyed slightly chilled, as this helps maintain their shape and gives them that perfect fudgy-yet-firm consistency. If you need to make them further in advance, they freeze beautifully for up to a month. Just thaw them in the refrigerator overnight before serving. I’ve found that bringing them to room temperature for about 10 minutes before serving gives them the perfect texture.
Common Issues and Solutions
If your bunny tails start to dry out after a few days, place a small piece of bread in the storage container – it works like magic to restore moisture! For bunny tails that are too soft or losing their shape, a quick 30-minute chill in the freezer will firm them right up. Sometimes the coconut coating might not stick properly; the solution is to lightly dampen your hands with water before rolling the balls in coconut. If you notice any color transfer from dyed coconut, store different colored varieties separately or wrap each individually in small pieces of wax paper to preserve their distinct appearance.
Frequently Asked Questions
Can I make Easter Bunny Coconut Tails ahead of time?
Absolutely! Make them up to 3 days ahead and store in the refrigerator, or freeze for up to a month. They actually develop more flavor after a day of chilling.
Are these suitable for people with gluten intolerance?
Yes, these treats are naturally gluten-free as long as you check that your coconut and other ingredients are processed in gluten-free facilities.
How can I color the coconut for more festive Easter Bunny Coconut Tails?
Place shredded coconut in a zip-top bag with 1-2 drops of food coloring and shake until evenly distributed. Spread on a plate to dry slightly before using.
Can I use coconut cream instead of sweetened condensed milk?
Not recommended as a direct substitute. Coconut cream lacks the sweetness and thickness needed for proper consistency.
What’s the best coconut to use for this recipe?
Use sweetened shredded coconut for the mixture and unsweetened coconut flakes for rolling for the perfect balance of sweetness and texture.
Final Thoughts
These Easter Bunny Coconut Tails have become a cherished tradition in my home, bringing smiles to everyone who tries them. Their simplicity belies how special they feel – a little touch of magic that perfectly captures the joy of the season. I love how they bring together generations, with grandparents appreciating the nostalgic coconut flavor while children delight in their playful appearance. Whether you’re an experienced baker or just starting out, these bunny tails offer a rewarding, stress-free treat that embodies the spirit of spring celebrations. Find more of my seasonal recipes on Pinterest.