

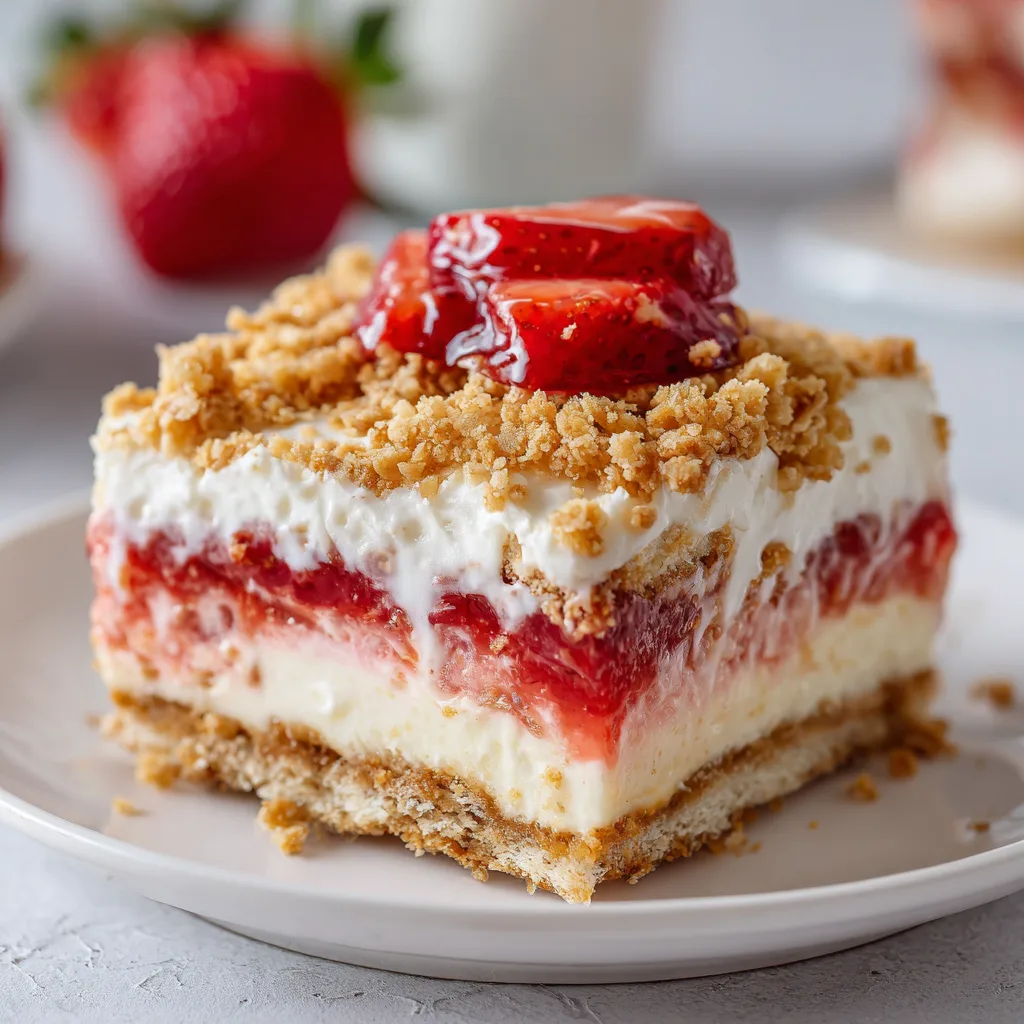
These Easy Strawberry Cheesecake Crunch Bars have become my absolute summer salvation. When the temperature soars and I’m craving something sweet but refuse to turn on the oven, these no-bake treats come to my rescue. The buttery graham cracker base, velvety cream cheese filling, and that irresistible strawberry topping with golden cookie crumbles create pure magic in every bite. I first made these for my sister’s backyard gathering, and they disappeared faster than I could snap a photo for Mug Meal Magic!
Recipe
Print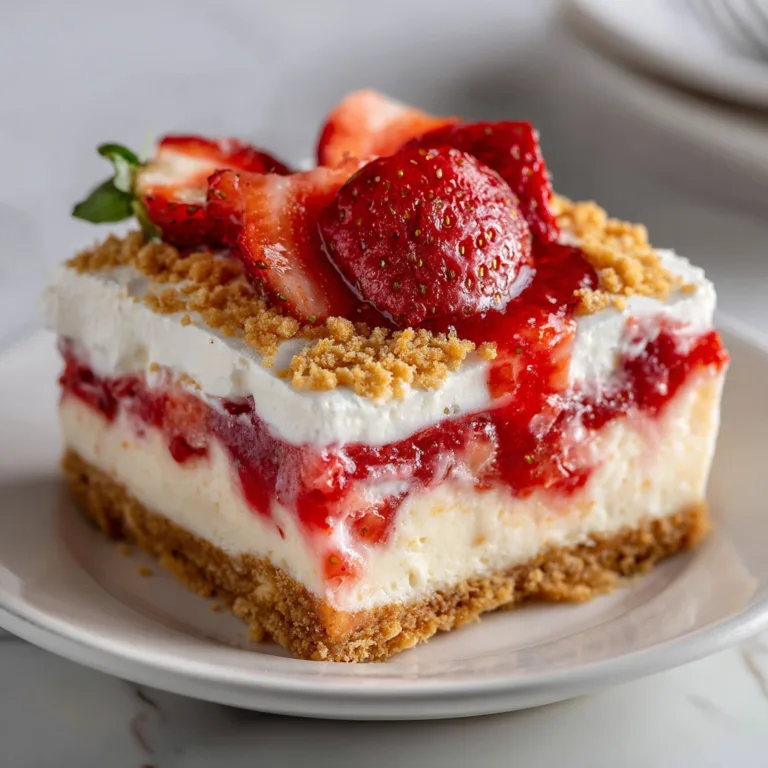
Easy Strawberry Cheesecake Crunch Bars Recipe
These no-bake strawberry cheesecake crunch bars are layered with a buttery golden Oreo crust, creamy cheesecake filling, and strawberry crunch topping. Quick to make and absolutely addictive!
- Total Time: 20 mins
- Yield: 9 bars
Ingredients
For the crust:
24 golden Oreos, crushed
1/4 cup melted butter
For the cheesecake layer:
8 oz (225g) cream cheese, softened
1/2 cup powdered sugar
1 tsp vanilla extract
1 1/2 cups whipped topping (like Cool Whip)
For the crunch topping:
1/2 cup freeze-dried strawberries, crushed
8 golden Oreos, crushed
2 tbsp melted butter
Instructions
1. Line an 8×8-inch baking dish with parchment paper.
2. Mix crushed Oreos with melted butter and press into the bottom of the pan to form a crust. Chill in the freezer for 10 minutes.
3. In a bowl, beat cream cheese, powdered sugar, and vanilla until smooth. Fold in whipped topping.
4. Spread the cheesecake layer evenly over the chilled crust.
5. For the topping, mix crushed freeze-dried strawberries, golden Oreos, and melted butter. Sprinkle generously over the cheesecake layer.
6. Refrigerate for at least 2 hours or until firm enough to slice.
7. Cut into bars and serve chilled.
Notes
Use a food processor to crush cookies and strawberries finely.
For extra flavor, add a few chopped fresh strawberries to the cheesecake filling.
Store bars in the fridge up to 4 days, or freeze for longer storage.
- Prep Time: 20 mins
- Cook Time: 0 mins
- Category: Dessert
- Method: No-Bake
- Cuisine: American
- Diet: Vegetarian
Why You’ll Love These Easy Strawberry Cheesecake Crunch Bars
Perfect Balance of Textures and Flavors
There’s something utterly satisfying about the contrasting textures in these bars. The graham cracker crust provides that perfect foundation—slightly sweet with a gentle snap. Then comes the silky cream cheese layer that melts on your tongue with just the right balance of sweetness and tang. What truly elevates these bars is the fresh strawberry topping, where juicy berries mingle with crunchy cookie bits. I love how the strawberries add that perfect hint of tartness that cuts through the richness, creating a dessert that never feels too heavy even on the hottest summer day.
Quick Prep with Maximum Impact
Let’s be honest—sometimes we want impressive desserts without the fuss. These bars require just 15 minutes of active preparation, making them perfect for last-minute gatherings or satisfying sudden sweet cravings. The hardest part? Waiting for them to chill! I’ve found myself checking the refrigerator every half hour like an impatient child. What I adore most about this recipe is how the simple ingredients transform into something that looks and tastes like it came from a fancy bakery. The vibrant red strawberry layer creates an eye-catching finish that guarantees compliments before anyone takes their first bite.
Essential Tips & Tricks
Perfecting the Base and Filling
For the most stable and delicious crust, make sure your graham crackers are crushed finely and evenly. I use my food processor, but a ziplock bag and rolling pin work wonderfully too—plus it’s great for releasing any pent-up energy! The butter should be completely melted and mixed thoroughly with the crumbs to ensure they hold together perfectly. For the creamiest filling, bring your cream cheese to room temperature before mixing. Cold cream cheese leads to lumps that no amount of mixing will smooth out. I learned this the hard way during a midnight baking session when impatience got the better of me. A touch of lemon juice brightens the filling beautifully without overwhelming the delicate flavors.
Strawberry Layer Secrets
The strawberry topping is where you can really make these bars shine. Choose ripe, fragrant berries for the best flavor—those pale, giant supermarket strawberries simply won’t deliver the same punch. Hull and slice them evenly for both visual appeal and consistent texture. For a glossier finish, brush the arranged strawberries with a thin layer of warmed strawberry jam. This not only enhances the appearance but intensifies the berry flavor. The cookie crumble should be added just before serving to maintain maximum crunch. I’ve found that vanilla cookies work best, but don’t hesitate to experiment with other varieties like gingersnaps for a surprising flavor twist.
Serving Ideas & Creative Variations
Elegant Presentation Options
Transform these humble bars into a showstopping dessert with thoughtful presentation. Cut them into precise squares using a knife dipped in hot water and wiped clean between cuts for restaurant-quality edges. For individual servings, try cutting smaller pieces and arranging them on dessert plates with a light dusting of powdered sugar and a fresh mint leaf. I love serving these at summer dinner parties with a small dollop of lightly whipped cream on the side. For special occasions, place each bar in a colorful cupcake liner and arrange on a tiered stand—this simple trick elevates them instantly and makes for easier handling at outdoor gatherings.
Seasonal and Dietary Adaptations
These bars are wonderfully adaptable to various dietary needs and seasonal availability. For a gluten-free option, simply substitute the graham crackers with gluten-free cookies or a nut-based crust. The filling works beautifully with dairy-free cream cheese alternatives for lactose-intolerant guests. When strawberries aren’t at their peak, try other berries like raspberries or blackberries, or even sliced peaches in late summer. For a tropical twist, mango and passion fruit create an exotic variation that transports you straight to vacation mode. During winter months, I’ve even made these with spiced poached pears for a cozy holiday version that pairs perfectly with mulled wine.
Storage & Troubleshooting Guide
Keeping Bars Fresh and Delicious
To maintain optimal freshness, store these bars in an airtight container in the refrigerator for up to 3 days. The crust may soften slightly over time, but the flavor remains delicious. For longer storage, these bars freeze surprisingly well—simply place them on a baking sheet until solid, then wrap individually in plastic wrap and store in a freezer bag for up to 1 month. Thaw in the refrigerator overnight before serving. I’ve found that adding the cookie crumble just before serving, rather than before storage, helps maintain that satisfying crunch factor. For potlucks or picnics, transport them in a cooler with ice packs to keep them firm in warm weather.
Fixing Common Issues
If your filling seems too soft, it likely needs more chilling time. Pop the bars back into the refrigerator for at least an hour before cutting. For a filling that’s too firm or dense, your cream cheese might have been too cold during mixing. Next time, ensure it’s properly softened, and consider adding a tablespoon of heavy cream for a lighter texture. If your crust crumbles when cutting, it may need more butter to bind it together. Press it firmly into the pan before adding the filling layer. For strawberries that release too much juice and make the topping watery, try macerating them with a little sugar and draining excess liquid before arranging them on the bars.
Frequently Asked Questions
Can I make these Easy Strawberry Cheesecake Crunch Bars ahead of time?
Absolutely! Prepare them up to 24 hours in advance, but add the cookie crumble just before serving to maintain the perfect crunch.
What’s the best cream cheese to use?
Full-fat cream cheese yields the richest results. Allow it to reach room temperature for a smooth, lump-free filling.
Can I use frozen strawberries?
Fresh strawberries work best for texture and appearance. If using frozen, thaw completely and drain excess liquid to prevent a soggy topping.
How do I get clean cuts when slicing?
Use a sharp knife dipped in hot water and wiped clean between each cut. Refrigerate the bars thoroughly before slicing.
Can I make these without a springform pan?
Yes! Line a regular baking dish with parchment paper with overhang on all sides to easily lift out the entire dessert before cutting.
Final Thoughts
These Easy Strawberry Cheesecake Crunch Bars have become my go-to dessert for virtually any occasion. There’s something magical about the way they balance creamy, crunchy, and fruity elements in each perfect bite. Whether you’re hosting a summer barbecue or simply treating yourself after a long day, these bars deliver maximum satisfaction with minimal effort. I’d love to see your creations if you try this recipe—tag me on Pinterest with your beautiful bars!