

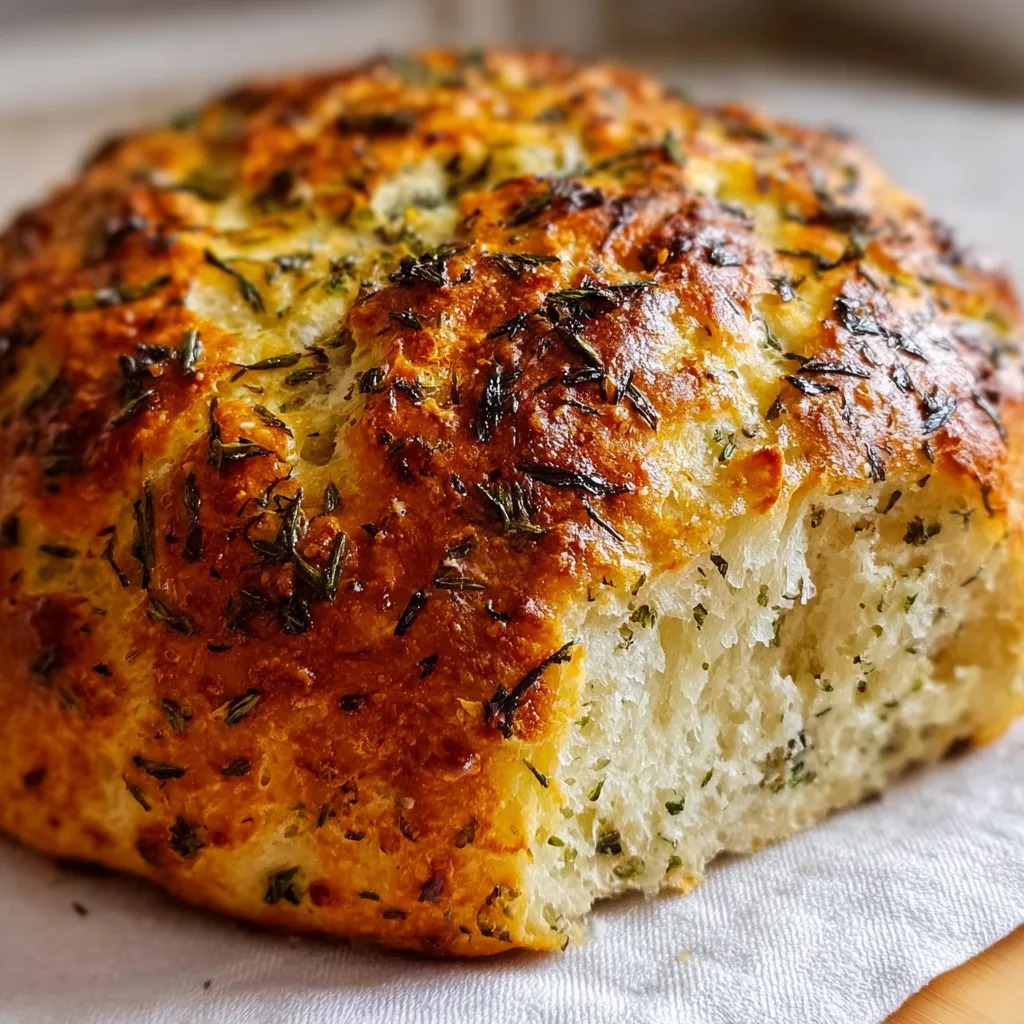
There’s something magical about Garlic Herb Dutch Oven Bread that transforms your kitchen into the coziest spot in the house. The moment that heavenly aroma of fresh herbs and roasted garlic fills your home, everything else fades away. I discovered this recipe during a particularly harsh winter when comfort food became my sanctuary. The crispy, crackling crust giving way to a pillowy, tender interior creates an experience that store-bought bread simply can’t match. It’s remarkably simple yet impressive enough for special occasions—exactly the kind of recipe I treasure at Mug Meal Magic.
Recipe
Print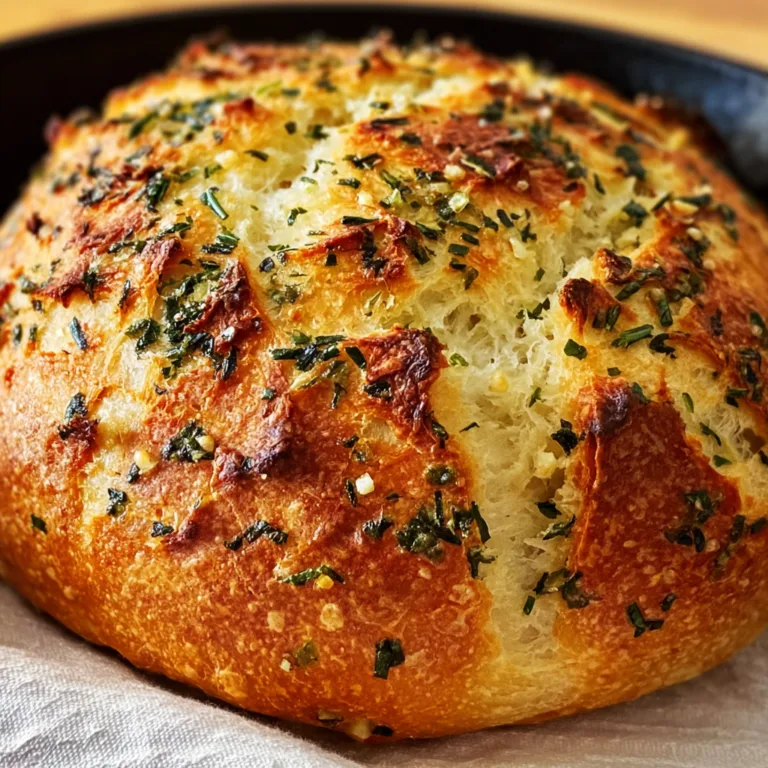
Garlic Herb Dutch Oven Bread Recipe
This Garlic Herb Dutch Oven Bread is a rustic, crusty artisan loaf packed with savory garlic and herbs. With a soft, fluffy interior and golden crispy crust, this easy homemade bread requires minimal effort and delivers bakery-quality results right from your kitchen.
- Total Time: 2 hours
- Yield: 1 loaf (8 slices)
Ingredients
3 cups all-purpose flour
1 1/2 teaspoons salt
1 teaspoon sugar
2 teaspoons instant yeast
1 1/4 cups warm water
3 cloves garlic, minced
1 tablespoon olive oil
1 teaspoon dried rosemary
1 teaspoon dried thyme
1/2 teaspoon dried oregano
Optional:
Extra flour for dusting
Fresh herbs for garnish
Instructions
1. In a large bowl, combine flour, salt, sugar, and instant yeast.
2. Add warm water and mix until a sticky dough forms.
3. Stir in minced garlic, olive oil, rosemary, thyme, and oregano.
4. Cover the bowl with plastic wrap or a towel and let the dough rise for 1–2 hours until doubled in size.
5. Preheat oven to 450°F (230°C) and place a Dutch oven inside to heat for 20–30 minutes.
6. Turn the dough onto a floured surface and gently shape into a ball.
7. Carefully remove the hot Dutch oven and place parchment paper inside.
8. Transfer dough into the Dutch oven.
9. Cover with lid and bake for 30 minutes.
10. Remove lid and bake for an additional 10–15 minutes until golden brown and crusty.
11. Remove bread and let cool on a wire rack before slicing.
Notes
Use fresh garlic for the best flavor.
Do not over-handle the dough to keep it light and airy.
Preheating the Dutch oven is key for a crispy crust.
Store at room temperature for up to 2 days or freeze for longer storage.
- Prep Time: 10 minutes
- Cook Time: 45 minutes
- Category: Bread
- Method: Baking
- Cuisine: American
- Diet: Vegetarian
Why You’ll Love This Garlic Herb Dutch Oven Bread
No-Fuss Artisan Results
You don’t need a professional bakery to create bakery-worthy bread. This recipe delivers restaurant-quality results with minimal effort—just a few minutes of hands-on time and basic ingredients you likely already have. The magic happens in the Dutch oven, which creates the perfect environment for bread to rise and develop that coveted crackling crust. I was genuinely shocked the first time I pulled this bread from my oven; it looked like something I’d pay $8 for at a fancy bakery! The combination of fresh herbs and garlic creates layers of flavor that develop beautifully during the slow fermentation process.
Perfect for Beginners
If you’ve been intimidated by bread-making, this recipe will change everything. There’s no complicated kneading technique to master or precise temperature monitoring. The long rise time does all the work for you, developing gluten naturally while you go about your day. I remember being terrified of bread recipes until I tried this method. The dough is forgiving—slightly wetter than traditional bread dough but much easier to handle. The herbs and garlic not only add incredible flavor but also help mask any small imperfections, making this an ideal confidence-building recipe for novice bakers.
Essential Tips & Tricks
Getting the Perfect Crust
The secret to that crackling, artisan-style crust lies in both moisture and heat. Preheating your Dutch oven is absolutely non-negotiable—it creates the initial blast of heat that helps the bread spring up beautifully. I like to place my Dutch oven in the cold oven, then set it to 450°F and let them heat up together for at least 30 minutes. For extra crispiness, remove the lid during the final 15 minutes of baking to allow the crust to deepen to a gorgeous golden brown. This technique creates that satisfying “tap sound” when you knock on the finished loaf, similar to the beautiful loaves in my Sourdough Discard Cinnamon Quick Bread recipe.
Herb & Garlic Infusion Methods
For maximum flavor impact, use a combination of dried and fresh herbs. Dried herbs provide concentrated flavor in the dough, while fresh herbs create beautiful specks of color and aromatic bursts. I prefer rosemary, thyme, and oregano, but feel free to customize based on what you have. For the garlic, roasting a whole head until soft and caramelized creates a mellow, sweet flavor that permeates the bread beautifully. Alternatively, sauté minced garlic in olive oil until fragrant, then cool completely before incorporating into your dough. This infused oil adds an extra dimension of flavor that makes this bread absolutely irresistible.
Serving Ideas & Creative Variations
Perfect Pairings
This Garlic Herb Dutch Oven Bread elevates any meal from ordinary to memorable. Serve thick, warm slices alongside hearty soups like my Italian Penicillin Soup for the ultimate comfort food experience. The bread’s crispy exterior and soft interior make it perfect for dipping in good olive oil sprinkled with flaky salt and fresh cracked pepper. It also makes an incredible base for bruschetta—just toast slices, rub with a garlic clove, and top with diced tomatoes, basil, and a drizzle of balsamic glaze. For an easy appetizer that always impresses, serve alongside a wheel of baked brie with honey and fig jam.
Flavor Twists
While the classic garlic and herb combination is divine, this versatile recipe welcomes creative adaptations. For a Mediterranean twist, add sun-dried tomatoes, olives, and a sprinkle of feta to the dough before the final rise. A sweet-savory version with caramelized onions and gruyere cheese creates an incredible base for gourmet grilled cheese sandwiches. During fall, I love adding chopped fresh apples, walnuts, and a hint of cinnamon for a harvest-inspired loaf that pairs beautifully with butternut squash soup. The possibilities are endless—just be sure any add-ins are patted dry to avoid adding too much moisture to the dough.
Storage & Troubleshooting Guide
Keeping Your Bread Fresh
To maintain that perfect texture, store your Garlic Herb Dutch Oven Bread properly. For short-term storage (1-2 days), wrap the cooled loaf in a clean kitchen towel or place it cut-side down on a cutting board. This preserves the crust better than plastic bags, which trap moisture and soften that beautiful exterior. For longer storage, slice the entire loaf once completely cooled, then freeze in an airtight container with parchment paper between slices. This allows you to grab just what you need—toast frozen slices directly from the freezer for nearly fresh-baked taste up to three months later.
Common Issues & Solutions
If your bread isn’t rising properly, temperature is usually the culprit. Yeast thrives between 75-85°F, so place your dough in a warm spot like near (not on) a preheating oven or in an oven with just the light on. If your crust isn’t as crispy as desired, try adding a small oven-safe dish of water to the bottom rack while baking to create steam. For a dough that’s too sticky to handle, resist adding much extra flour—instead, use wet hands or a bench scraper coated with olive oil. Remember that this is a relatively wet dough by design; it creates those beautiful air pockets that make artisan bread so special.
Frequently Asked Questions
Can I make Garlic Herb Dutch Oven Bread without a Dutch oven?
Yes! A heavy oven-safe pot with a tight-fitting lid works well. Alternatively, use a baking stone or sheet with a separate oven-safe bowl inverted over the dough for the first 30 minutes of baking.
How do I know when my bread is fully baked?
The bread should reach an internal temperature of 200-205°F. It should sound hollow when tapped on the bottom and have a deep golden-brown crust.
Can I prepare the dough ahead of time?
Absolutely! The slow rise develops flavor, so refrigerate the dough for up to 3 days. Bring to room temperature for 1-2 hours before shaping and baking.
What’s the best way to incorporate garlic into my Dutch oven bread?
Roasted garlic provides the best flavor—roast a whole head until soft, then mash cloves into the dough. Alternatively, use garlic-infused olive oil in the dough.
Why did my Garlic Herb Dutch Oven Bread collapse when I scored it?
This typically happens when dough is over-proofed. Next time, reduce rising time or test readiness by gently poking—it should spring back slowly but not completely.
Final Thoughts
This Garlic Herb Dutch Oven Bread has become my signature recipe—the one friends always request when I’m bringing something to a gathering. There’s something deeply satisfying about creating something so beautiful and delicious with such simple ingredients. The process connects me to generations of bakers before me, while the modern Dutch oven method makes it accessible even on busy days. I hope this recipe brings the same joy to your kitchen as it has to mine. If you try this recipe, I’d love to see your results on Pinterest!