

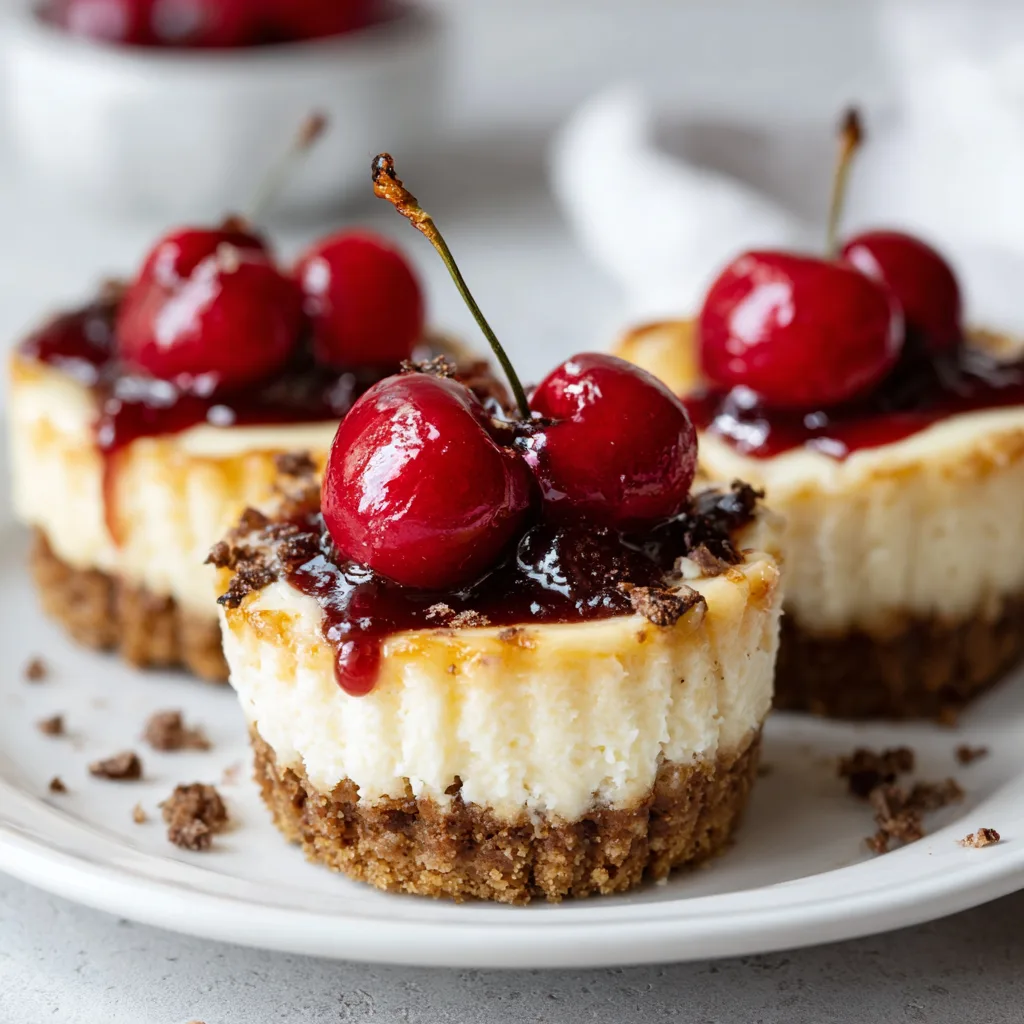
Mini Cherry Cheesecakes have become my absolute obsession this season! There’s something magical about that perfect bite-sized balance of creamy cheesecake filling, buttery graham cracker crust, and that sweet-tart cherry topping that makes my heart sing. I’ve been perfecting these little delights for years, and they’ve become my go-to dessert for everything from casual family gatherings to elegant dinner parties. The best part? They’re surprisingly simple to make but look incredibly impressive when served. Let me share my foolproof recipe with you!
Recipe
Print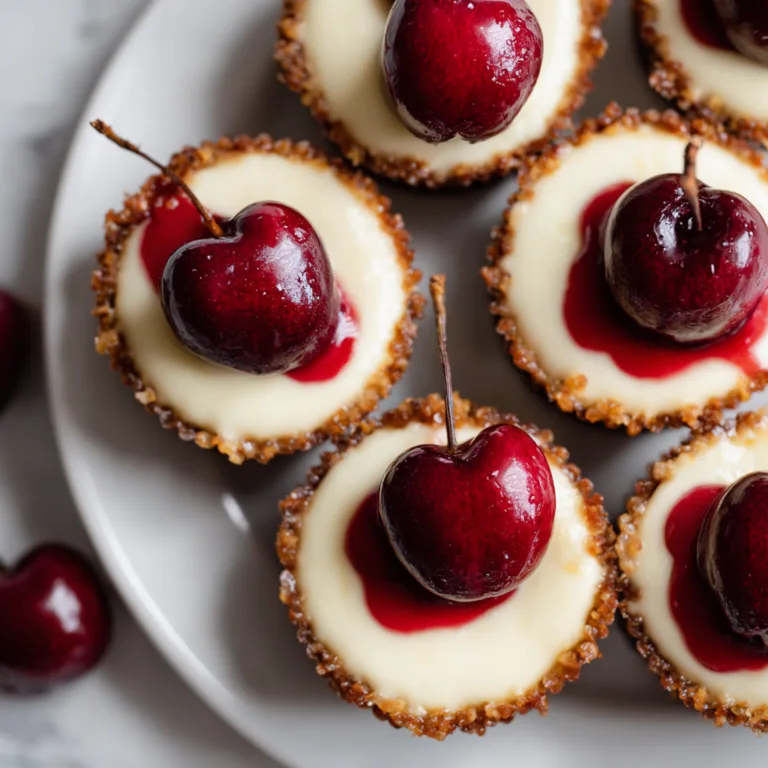
Delicious Mini Cherry Cheesecakes Recipe | Easy & Creamy Desserts
These mini cherry cheesecakes are rich, creamy, and perfectly portioned for parties or anytime cravings. With a buttery graham crust, silky cheesecake filling, and sweet cherry topping, they’re as easy as they are irresistible!
- Total Time: 2 hours 35 minutes (with chill)
- Yield: 9 mini cheesecakes
Ingredients
**Crust:**
3/4 cup graham cracker crumbs
2 tbsp sugar
3 tbsp melted butter
**Cheesecake Filling:**
8 oz cream cheese, softened
1/4 cup granulated sugar
1 egg
1/2 tsp vanilla extract
1 tbsp sour cream (optional, for extra creaminess)
**Topping:**
1/2 cup canned cherry pie filling
Optional: fresh mint or zest for garnish
Instructions
1. Preheat oven to 325°F (160°C). Line a muffin tin with 9 paper cupcake liners.
2. Mix graham crumbs, sugar, and melted butter in a bowl. Press 1 tbsp into each liner. Bake crusts for 5 minutes, then cool slightly.
3. In a bowl, beat cream cheese and sugar until smooth. Add egg, vanilla, and sour cream. Beat just until blended.
4. Spoon cheesecake mixture evenly over crusts, about 2/3 full.
5. Bake for 15–17 minutes, or until centers are just set. Cool in pan, then chill at least 2 hours.
6. Top each mini cheesecake with a spoonful of cherry pie filling. Garnish if desired and serve cold.
Notes
• Use a mini cheesecake pan or silicone muffin liners for easier removal.
• Swap cherries for blueberry or strawberry topping if preferred.
• Cheesecakes can be made 2 days ahead—store covered in the fridge.
• Want extra richness? Use full-fat cream cheese and add a dollop of whipped cream.
- Prep Time: 15 minutes
- Cook Time: 17 minutes
- Category: Dessert
- Method: Baking
- Cuisine: American
- Diet: Vegetarian
Why You’ll Love These Mini Cherry Cheesecakes
Perfect Portion Control with Maximum Flavor
These adorable individual cheesecakes deliver all the decadent flavor of a full-sized version but in perfect portion-controlled servings. I love how each little cake provides that satisfying cheesecake experience without the commitment of a large slice. The ratio of creamy filling to crust is absolutely perfect, and the cherry topping adds just the right amount of fruity brightness. Plus, they’re so much easier to serve at gatherings—no messy cutting or serving issues! For guests who love dessert but don’t want to overindulge, these mini treats hit the sweet spot between indulgence and restraint.
Make-Ahead Convenience for Stress-Free Entertaining
One of my favorite things about these mini cherry cheesecakes is their incredible make-ahead potential. I recently made them for my sister’s birthday brunch, preparing them the night before, and they were absolutely perfect the next day! The flavors actually develop and meld beautifully overnight in the refrigerator. This make-ahead magic means you can focus on enjoying your guests instead of frantically finishing dessert. The cherry topping can be added just before serving for that fresh, vibrant presentation, or earlier if you prefer the juices to slightly infuse the cheesecake top.
Essential Tips & Tricks
Getting the Perfect Texture Every Time
The secret to achieving that silky-smooth texture lies in a few simple techniques. First, ensure all your ingredients—especially the cream cheese and eggs—are at room temperature before mixing. Cold ingredients lead to lumps that never fully incorporate. I learned this the hard way at my first holiday baking attempt! Second, don’t overmix once the eggs are added; this incorporates too much air and can cause cracks. Finally, cooling gradually is crucial—I let mine cool in the oven with the door cracked for about 30 minutes before moving to room temperature, then refrigerating. This prevents the dramatic temperature changes that cause those dreaded cracks and sinking centers.
Customizing Your Cherry Topping
While I adore the classic cherry topping (it reminds me of my grandmother’s cheesecake), you have numerous options to make it your own. For the quickest version, quality store-bought cherry pie filling works beautifully. For something more special, simmer fresh or frozen cherries with sugar, a splash of lemon juice, and a hint of almond extract until thickened. My personal favorite is adding a tablespoon of amaretto liqueur to the simmering cherries for a sophisticated twist. The cherry mixture can be made up to three days ahead and stored in the refrigerator, making your final assembly even simpler.
Serving Ideas & Creative Variations
Elegant Presentation Techniques
Transform these mini desserts into showstopping treats with simple presentation upgrades. For dinner parties, I place each mini cheesecake on a small dessert plate with a light dusting of powdered sugar and a fresh mint leaf. For brunch gatherings, try arranging them on a tiered stand with fresh berries scattered between levels. Another beautiful option is to serve them in clear glass dessert cups or shot glasses for a modern deconstructed look. You could also take inspiration from my Snickerdoodle Cobbler and add a light sprinkle of cinnamon sugar around the plate for an elegant finish.
Seasonal Flavor Adaptations
These versatile little cheesecakes can be adapted to highlight seasonal flavors throughout the year. In summer, swap cherries for fresh blueberries or strawberries. Fall calls for apple compote with cinnamon and caramel drizzle. Winter holidays shine with cranberry-orange topping or chocolate-peppermint combinations. For spring, try lemon curd with fresh berries. The base cheesecake recipe remains the same—it’s just the toppings that change! I’ve even created a pumpkin spice version by adding pumpkin purée and warm spices to the filling for Thanksgiving that disappeared faster than any pumpkin pie.
Storage & Troubleshooting Guide
Proper Storage for Maximum Freshness
To maintain that perfect creamy texture, proper storage is essential. These mini cheesecakes will keep beautifully in the refrigerator for up to 5 days when stored in an airtight container. I like to place them in a single layer, though you can carefully stack them with parchment paper between layers if needed. For longer storage, they freeze exceptionally well! Freeze them without the topping on a baking sheet until solid, then wrap individually in plastic wrap and store in a freezer bag for up to 3 months. Thaw overnight in the refrigerator and add fresh topping before serving.
Troubleshooting Common Issues
Even experienced bakers encounter occasional cheesecake challenges. If your cheesecakes crack, the likely culprits are overmixing, baking at too high a temperature, or cooling too quickly. Next time, mix just until ingredients are combined, consider using a water bath for more gentle baking, and cool gradually. For sunken centers, the cheesecakes probably needed a bit more baking time. If your crust is soggy, try pre-baking it for 5 minutes before adding the filling. And remember, even “imperfect” cheesecakes taste delicious—a strategic placement of cherry topping can hide many flaws!
Frequently Asked Questions
Can I make Mini Cherry Cheesecakes without a special pan?
Absolutely! Standard muffin tins lined with paper liners work perfectly. You can also use ramekins, small mason jars, or even sturdy silicone muffin cups for easy removal.
How do I know when my mini cheesecakes are done baking?
They’re ready when the edges are set but the centers still have a slight jiggle—like firm Jell-O. They’ll continue cooking as they cool and firm up perfectly.
Can I substitute the graham cracker crust?
Definitely! Try Oreo cookies, vanilla wafers, gingersnaps, or shortbread cookies. Just pulse in a food processor and mix with melted butter as you would with graham crackers.
What’s the best cream cheese to use?
Full-fat cream cheese yields the richest results. I recommend the block style rather than spreadable varieties, as they contain less water and produce a better texture.
How far in advance can I make these mini cherry cheesecakes?
You can make these up to 3 days ahead and refrigerate, or freeze for up to 3 months. Add the topping just before serving for the freshest appearance.
Final Thoughts
These Mini Cherry Cheesecakes have become my signature dessert for good reason—they’re the perfect balance of impressive and achievable, elegant yet comforting. I love watching guests’ faces light up when they take that first creamy, cherry-topped bite. There’s something so satisfying about creating a dessert that brings such joy with relatively little effort. Whether you’re a seasoned baker or trying cheesecake for the first time, I hope these little treasures bring as much delight to your table as they have to mine. Happy baking, friends! Find more of my favorite recipes on Pinterest.