

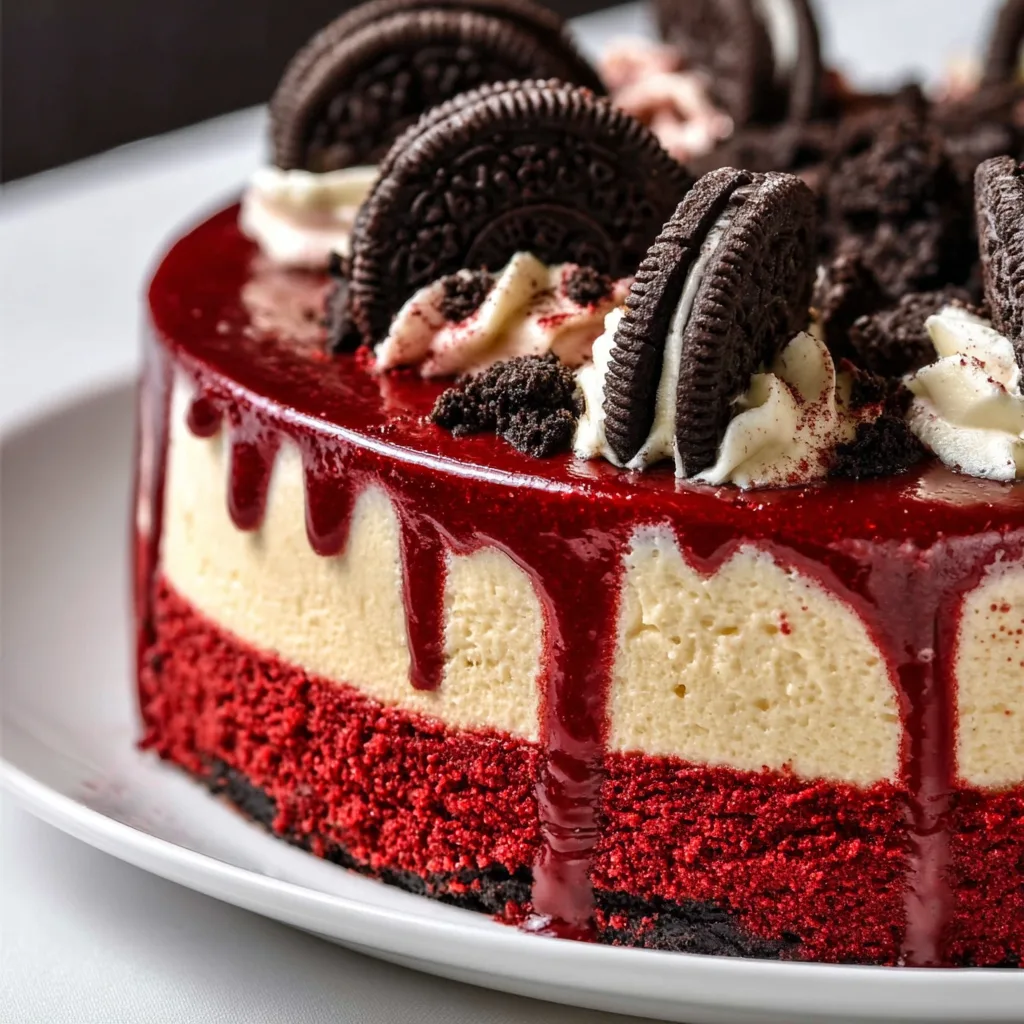
This Red Velvet Oreo Cheesecake combines two beloved desserts into one showstopping treat that’s guaranteed to impress. The vibrant red velvet base cradles a creamy cheesecake filling studded with chunks of Oreo cookies, all topped with a decadent layer of chocolate ganache. I first created this for my sister’s birthday, and it’s become our family’s most requested celebration dessert. The contrast between the tangy cream cheese, rich chocolate, and those unmistakable Oreo pieces creates a symphony of flavors that’s simply irresistible. If you love the comforting classics with a twist like I do, you’ll find this recipe from Mug Meal Magic absolutely divine.
Recipe
Print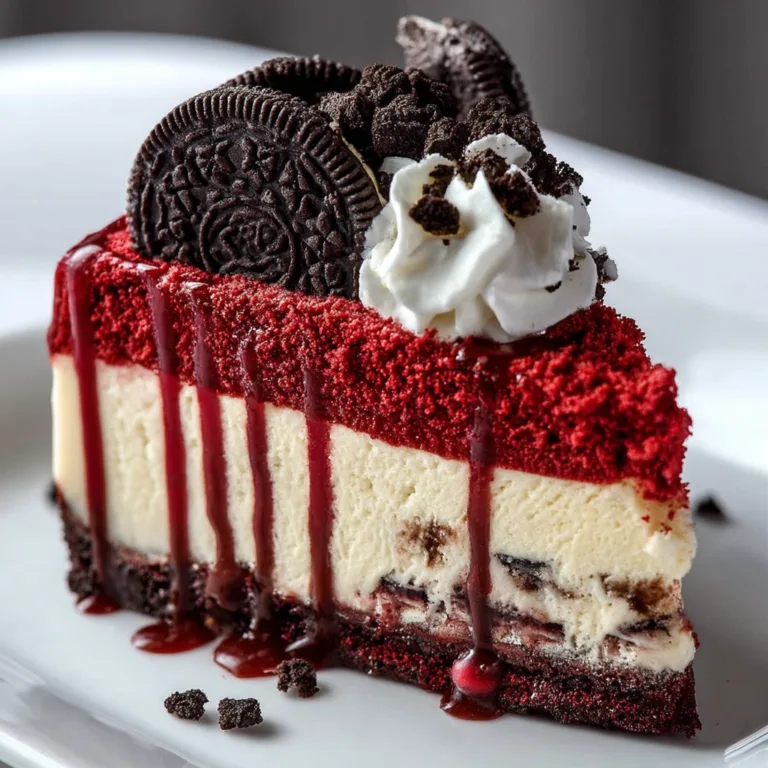
Decadent Red Velvet Oreo Cheesecake Recipe
This decadent red velvet Oreo cheesecake features a dark Oreo crust, creamy red velvet filling, and a luscious topping. A stunning dessert that combines chocolatey richness and tangy cream cheese flavor in every bite.
- Total Time: 6 hrs (including chilling)
- Yield: 12 slices
Ingredients
For the crust:
24 Oreo cookies, finely crushed
5 tbsp melted butter
For the red velvet cheesecake:
24 oz cream cheese, softened
1 cup granulated sugar
1/2 cup sour cream
3 large eggs
1/4 cup cocoa powder
1 tbsp red food coloring (liquid or gel)
1 tsp vanilla extract
1/2 tsp vinegar
Optional toppings:
Whipped cream
Crushed Oreos
White chocolate shavings
Instructions
1. Preheat oven to 325°F (160°C). Line a 9-inch springform pan with parchment and lightly grease sides.
2. Combine crushed Oreos and melted butter. Press into the bottom of the pan. Bake for 8 minutes, then cool slightly.
3. Beat cream cheese and sugar until smooth. Add sour cream, cocoa powder, red food coloring, vanilla, and vinegar. Mix until fully combined.
4. Add eggs one at a time, mixing on low speed until just incorporated. Don’t overmix.
5. Pour over crust and smooth the top. Tap to release air bubbles.
6. Bake in a water bath for 55–65 minutes until the center is just set. Cool completely, then chill at least 4 hours or overnight.
7. Top with whipped cream and crushed Oreos before serving.
Notes
Use gel food coloring for a richer red hue.
To prevent cracks, don’t skip the water bath and cooling process.
Can be made 1–2 days ahead—flavor improves as it sets.
- Prep Time: 20 mins
- Cook Time: 1 hr
- Category: Dessert
- Method: Baking
- Cuisine: American
- Diet: Vegetarian
Why You’ll Love This Red Velvet Oreo Cheesecake
Perfect Balance of Flavors and Textures
There’s something magical about the way these flavors dance together. The red velvet base offers that subtle cocoa flavor with a hint of tanginess, while the cheesecake layer brings creamy richness that melts in your mouth. What really makes this dessert special is the contrast between the smooth cheesecake and the crunchy Oreo pieces that retain just enough texture. I’ve always been a texture person—that perfect bite with both creaminess and crunch makes my heart sing! The chocolate ganache topping adds another dimension of decadence that ties everything together. Trust me, even your pickiest dessert critics will be asking for seconds.
Impressive Yet Achievable
Don’t let the gorgeous appearance fool you—this Red Velvet Oreo Cheesecake is surprisingly manageable to make. I remember the first time I attempted it, nervously checking the oven every five minutes. Now it’s my confidence dessert! The recipe breaks down into simple steps that anyone can follow, regardless of your baking experience. The dramatic color contrast between the ruby-red cake and white cheesecake swirl creates a stunning visual that looks like it came from a professional bakery. It’s the perfect dessert when you want to wow your guests without spending all day in the kitchen. The best part? People will think you spent hours perfecting it!
Essential Tips & Tricks
Mastering the Perfect Cheesecake Texture
The secret to avoiding cracks and achieving that perfectly smooth cheesecake texture starts with room temperature ingredients. I learned this the hard way after one memorable holiday disaster! Allow your cream cheese, eggs, and sour cream to sit out for at least an hour before mixing. This ensures everything blends seamlessly without overbeating, which introduces air bubbles that can cause cracks. Another game-changer is the water bath technique—place your springform pan inside a larger pan filled with hot water while baking. This gentle, moist heat helps the cheesecake bake evenly. For the creamiest result, turn off the oven when the center is still slightly jiggly (about 2 inches in diameter) and let it cool gradually inside.
Oreo Integration Strategies
The way you incorporate Oreos makes all the difference in the final texture and flavor distribution. For the optimal Oreo experience, crush some cookies finely for the crust, chop others into medium chunks for the filling, and save a few for decorative topping. When folding Oreo pieces into your cheesecake batter, use a gentle hand with a silicone spatula to prevent overmixing, which can deflate your carefully crafted texture. I’ve found that freezing the Oreo chunks for about 20 minutes before folding them in helps them maintain their integrity during baking. For an extra flavor boost, try using the seasonal flavored Oreos that complement red velvet, like peppermint during holidays or golden Oreos for a striking color contrast.
Serving Ideas & Creative Variations
Seasonal Adaptations
This Red Velvet Oreo Cheesecake adapts beautifully to different seasons with just a few thoughtful tweaks. For Valentine’s Day, I add heart-shaped chocolate decorations and a sprinkle of edible glitter. Summer gatherings call for fresh berries—the tartness of raspberries or strawberries cuts through the richness perfectly. During fall, I incorporate a hint of pumpkin spice into the cheesecake layer and use cinnamon Oreos. Winter holidays shine with a peppermint variation using crushed candy canes and mint Oreos. The versatility of this dessert makes it perfect year-round! I especially love serving it alongside a simple vanilla bean ice cream in summer or a spiced whipped cream during colder months for an extra seasonal touch.
Plating for Maximum Impact
The way you present this showstopper can elevate it from delicious to absolutely unforgettable. For elegant dinner parties, serve thin slices on chilled plates with a light dusting of cocoa powder and a small edible flower. Family gatherings call for more playful presentations—try crumbling extra Oreos around the plate with drizzles of chocolate and caramel sauces creating artistic patterns. For a modern twist, serve deconstructed portions in clear glasses, layering crumbled cake, cheesecake, and toppings for a stunning visual effect. Add a pop of color with fresh mint leaves or gold leaf for special occasions. If you’re looking for more impressive desserts with visual impact, check out my Christmas Cheesecake with Cranberry Jam for another stunning option.
Storage & Troubleshooting Guide
Perfect Preservation Methods
Proper storage is crucial for maintaining the divine texture of your Red Velvet Oreo Cheesecake. After it has completely cooled, refrigerate uncovered for about 30 minutes to set the surface, then cover with plastic wrap that doesn’t touch the top (this prevents condensation from dripping onto your masterpiece). The cheesecake stays fresh in the refrigerator for up to 5 days, though the Oreo pieces may soften slightly over time. For longer storage, freeze individual slices wrapped in plastic and foil for up to 2 months.
When ready to enjoy, thaw in the refrigerator overnight rather than at room temperature for the best texture restoration. I always slice before freezing—it’s so satisfying to have perfect portions ready whenever a craving strikes!
Troubleshooting Common Issues
Even experienced bakers encounter challenges, but most cheesecake problems have simple solutions. If you notice cracks forming during baking, immediately turn off the oven and prop the door open slightly—the gradual cooling often prevents cracks from expanding. For a sunken center, your cheesecake likely needed a few more minutes in the oven. Cover any imperfections with strategic toppings—ganache, whipped cream, or additional crushed Oreos make perfect camouflage! If your crust turns out too hard, you likely packed it too firmly—next time, press it gently with flat fingers rather than a heavy hand. For a soggy bottom, try pre-baking the crust for 10 minutes before adding filling. Remember, even “imperfect” cheesecakes are delicious!
Frequently Asked Questions
Can I make this Red Velvet Oreo Cheesecake without a springform pan?
Yes! Use a regular cake pan lined with parchment paper with long overhanging edges as “handles.” Chill thoroughly before carefully lifting out the entire cheesecake using the parchment handles.
How do I prevent my cheesecake from cracking?
Avoid overbeating the batter (which incorporates air), use a water bath while baking, and cool gradually in the turned-off oven with the door slightly ajar for about an hour.
Can I use low-fat cream cheese?
I don’t recommend it. Full-fat cream cheese provides the proper structure and creamy texture. Low-fat versions contain more moisture that can prevent proper setting.
How far in advance can I make this cheesecake?
This cheesecake can be made up to 3 days ahead and refrigerated, or frozen for up to 2 months. The flavors actually improve after a day of chilling!
What’s the best way to slice clean portions?
Dip a sharp knife in hot water, wipe dry between each cut, and clean the blade completely between slices for picture-perfect portions.
Final Thoughts
This Red Velvet Oreo Cheesecake has become my signature dessert for good reason—it combines beloved flavors in a way that’s both nostalgic and exciting. There’s something deeply satisfying about creating a dessert that makes people’s eyes light up before they’ve taken a single bite. The vibrant color, creamy texture, and those delightful pockets of Oreo cookies create an experience that’s greater than the sum of its parts. Whether you’re celebrating something special or simply craving an extraordinary treat, this cheesecake delivers on all fronts. For more inspiration, check out my collection on Pinterest where I’m always sharing new variations and serving ideas. Happy baking!