

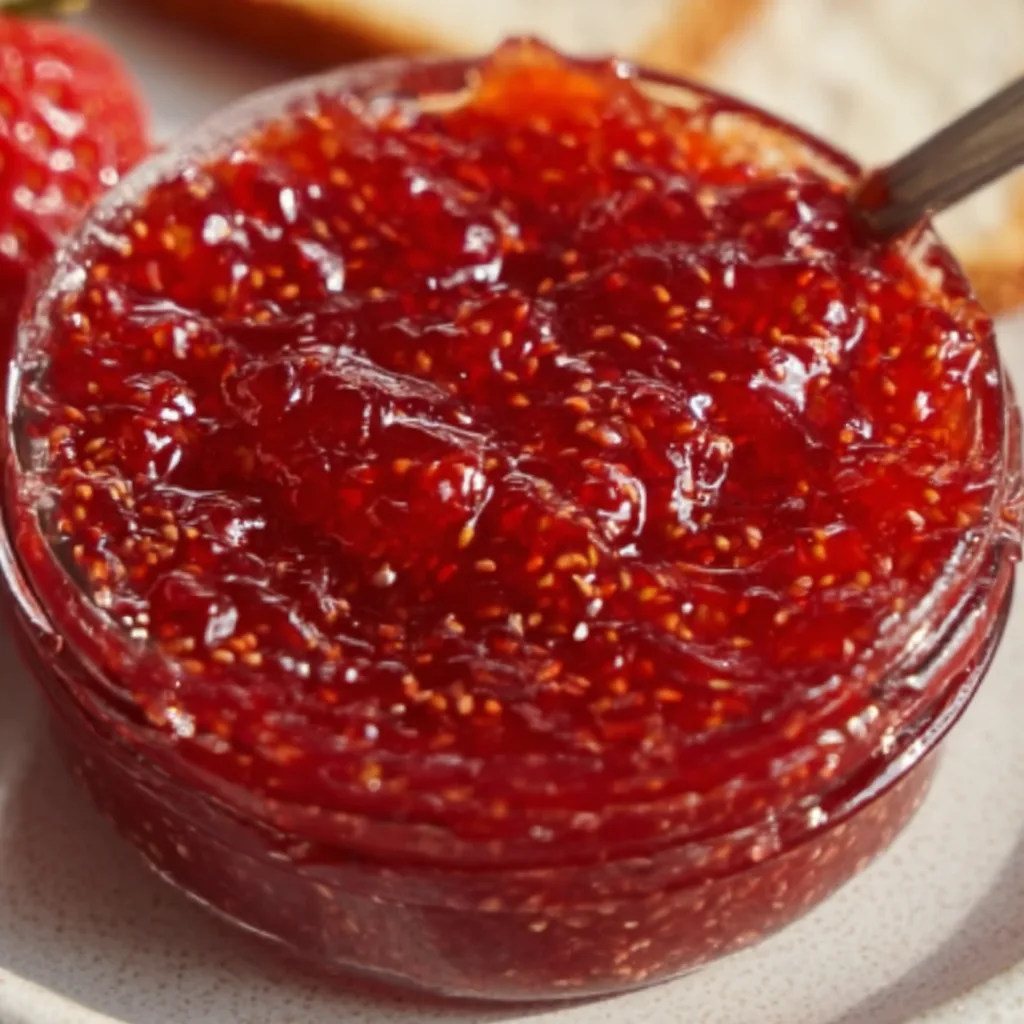
This Strawberry Freezer Jam Recipe transforms summer’s sweetest berries into a jar of pure sunshine you can enjoy year-round. There’s something magical about capturing that perfect balance of fresh, juicy strawberries suspended in a sweet, spreadable jam that tastes like it was made yesterday—even in the depths of winter. Unlike traditional canned jams, this freezer version preserves the bright, vibrant flavor and natural color of fresh strawberries. I discovered this method years ago when my neighbor’s berry patch produced a bumper crop, and I’ve been making it ever since. The best part? It takes just minutes of active time to create something that will make your morning toast feel like a special occasion.
Recipe
Print
Easy Strawberry Freezer Jam Recipe
This Easy Strawberry Freezer Jam is a fresh, sweet, and vibrant homemade jam made without cooking. Bursting with real strawberry flavor, it’s quick to prepare and perfect for spreading on toast, biscuits, or adding to desserts.
- Total Time: 24 hours 20 minutes
- Yield: 4 cups
Ingredients
2 cups fresh strawberries, hulled and crushed
4 cups granulated sugar
1 package (1.75 oz) fruit pectin (such as Sure-Jell)
3/4 cup water
Instructions
1. Wash, hull, and crush strawberries using a fork or potato masher until slightly chunky.
2. Measure exactly 2 cups of crushed strawberries into a large bowl.
3. Add sugar to the strawberries and stir well to combine.
4. Let the mixture sit for 10 minutes, stirring occasionally.
5. In a saucepan, combine fruit pectin and water.
6. Bring to a boil over medium-high heat, stirring constantly.
7. Boil for 1 minute, then remove from heat.
8. Pour the hot pectin mixture into the strawberry mixture.
9. Stir continuously for 3 minutes until sugar is mostly dissolved.
10. Pour jam into clean freezer-safe containers, leaving about 1/2 inch space at the top.
11. Let stand at room temperature for 24 hours until set.
12. Seal containers and store in the refrigerator for up to 3 weeks or freeze for up to 1 year.
Notes
Use ripe strawberries for the best flavor.
Do not reduce the sugar amount or the jam may not set properly.
Leave space in containers for expansion during freezing.
Stir thoroughly to ensure even consistency.
- Prep Time: 15 minutes
- Cook Time: 5 minutes
- Category: Condiment
- Method: No-Cook / Boiling
- Cuisine: American
- Diet: Vegetarian
Why You’ll Love This Strawberry Freezer Jam Recipe
Perfect for Beginners
If you’ve been intimidated by traditional canning methods, this strawberry freezer jam will be your new best friend. There’s no water bath canning, no special equipment, and zero risk of botulism. All you need are fresh strawberries, sugar, lemon juice, and pectin. The process is wonderfully forgiving—I once accidentally added too much lemon juice and still ended up with delicious jam! The simplicity makes it perfect for a first-time jam maker or a fun weekend project with kids. I love watching their faces light up when they smash berries and later see how their effort transforms into something so delicious.
Unbeatable Fresh Flavor
The vibrant berry flavor in freezer jam is noticeably brighter than traditional cooked jams. Since the strawberries aren’t heated for long periods, they retain their fresh-picked taste and beautiful color. This jam captures summer in a jar so perfectly that opening one in January feels like a small miracle. The texture is another highlight—slightly looser than cooked jam, with tiny bits of fruit suspended throughout. It’s exactly what jam should be: fruit-forward, sweet but not cloying, and bursting with sunshine in every spoonful.
Essential Tips & Tricks
Selecting the Best Strawberries
The secret to exceptional freezer jam starts with choosing the perfect berries. Look for fully ripe, fragrant strawberries with deep red color throughout—no white shoulders! Farmers’ markets and u-pick farms offer the freshest options, but supermarket berries work too if they’re truly ripe. I once made a batch with berries that weren’t quite ripe enough, and while still good, it lacked that intense strawberry punch. Remember that your jam can only be as good as your fruit, so this isn’t the place to compromise. Wash them gently, hull thoroughly, and remove any bruised spots before crushing.
Mastering the Setting Process
Achieving the perfect consistency requires attention to detail. First, measure ingredients precisely—this isn’t the time for eyeballing! Follow the pectin package instructions exactly, as different brands have specific requirements. Allow your jam to set at room temperature for the full recommended time (usually 24 hours) before freezing. If your jam seems too runny after setting, you can often fix it by stirring in a bit more dissolved pectin. For best results, crush your berries rather than pureeing them—I use a potato masher for perfect texture with small fruit chunks that create beautiful jewel-like specks throughout the finished jam.
Serving Ideas & Creative Variations
Beyond Toast and Biscuits
While there’s nothing wrong with the classic applications, this strawberry freezer jam deserves creative serving opportunities! Swirl it into Greek yogurt for an instant breakfast upgrade, or use it as a filling between cake layers. One of my favorite discoveries was using it as the base for a quick strawberry vinaigrette—just whisk with olive oil, balsamic vinegar, and a pinch of salt. It also makes an incredible topping for vanilla ice cream or cheesecake. For an elegant appetizer, spoon it over a block of cream cheese and serve with crackers. My friends were amazed when I served it drizzled over brie en croûte at a dinner party—the sweet-savory combination was irresistible!
Flavor Twists and Additions
The beauty of this basic recipe is how easily it accepts creative additions. Try adding fresh herbs like basil or mint (finely chopped) just before the setting stage for a sophisticated twist. A splash of balsamic vinegar deepens the flavor profile wonderfully. For a touch of elegance, infuse with vanilla bean or add a tablespoon of rose water. Citrus zest—particularly lime or orange—brightens the flavor even further. My personal favorite variation includes a tablespoon of finely minced crystallized ginger, which adds a subtle warmth and complexity that pairs beautifully with the sweet berries. These simple additions transform a basic jam into something truly special.
Storage & Troubleshooting Guide
Proper Freezing Techniques
To maintain optimal quality, use freezer-safe containers with tight-fitting lids, leaving ½-inch headspace for expansion. I prefer using wide-mouth glass jars or plastic containers specifically designed for freezing. Label each container with the date—while technically good for up to a year, the best flavor is in the first six months. For convenience, freeze some in small portions for single servings. Always thaw frozen jam in the refrigerator overnight rather than at room temperature. Once thawed, the jam will keep in the refrigerator for about three weeks. Never refreeze jam after it’s been thawed, as this affects both texture and flavor.
Common Problems and Solutions
If your jam didn’t set properly, it could be due to several factors. Using overripe strawberries (which have less natural pectin) or inaccurate measurements are common culprits. You can often fix runny jam by creating a slurry of additional pectin with a little sugar, heating it until dissolved, then stirring it into your jam. For jam that’s too firm, gently stir in a tablespoon of warm water until you reach your desired consistency. If you notice separation during storage, simply stir before serving. Crystallization (sugar crystals forming) usually happens if the sugar wasn’t fully dissolved initially—next time, stir more thoroughly before setting.
Frequently Asked Questions
Can I reduce the sugar in this strawberry freezer jam recipe?
You must use the specified amount of sugar when using regular pectin, as it’s necessary for proper setting. For lower sugar options, look for specific low-sugar or no-sugar needed pectin and follow those package directions.
How can I tell if my jam is properly set?
After the setting time (usually 24 hours), the jam should have thickened noticeably. It will still be softer than store-bought jam but shouldn’t be runny. If you place a small amount on a cold plate, it should mound slightly.
Can I use frozen strawberries instead of fresh?
Yes, but thaw and drain them first, as excess moisture can prevent proper setting. The flavor won’t be quite as vibrant as with fresh berries, but it’s a good option when fresh aren’t available.
Why did my jam develop mold in the refrigerator?
This typically happens if your containers weren’t completely clean or if the jam was contaminated during storage. Always use scrupulously clean utensils when scooping jam and never return used portions to the container.
How long does homemade strawberry freezer jam last?
In the freezer, it maintains quality for about 1 year. Once thawed and refrigerated, use within 3-4 weeks for best flavor and texture.
Final Thoughts
This strawberry freezer jam recipe offers the perfect balance of simplicity and reward—minimal effort for maximum flavor. There’s something deeply satisfying about preserving summer’s bounty in such a delicious way, creating something that brings joy months later when strawberry season is just a distant memory. I hope you’ll try this method and experience the pleasure of spreading your homemade creation on warm toast or sharing jars with friends who’ll appreciate the difference from store-bought versions. For more seasonal preserving ideas and creative recipes, visit my Pinterest collection where I’m constantly adding new inspiration for making the most of each season’s gifts.