

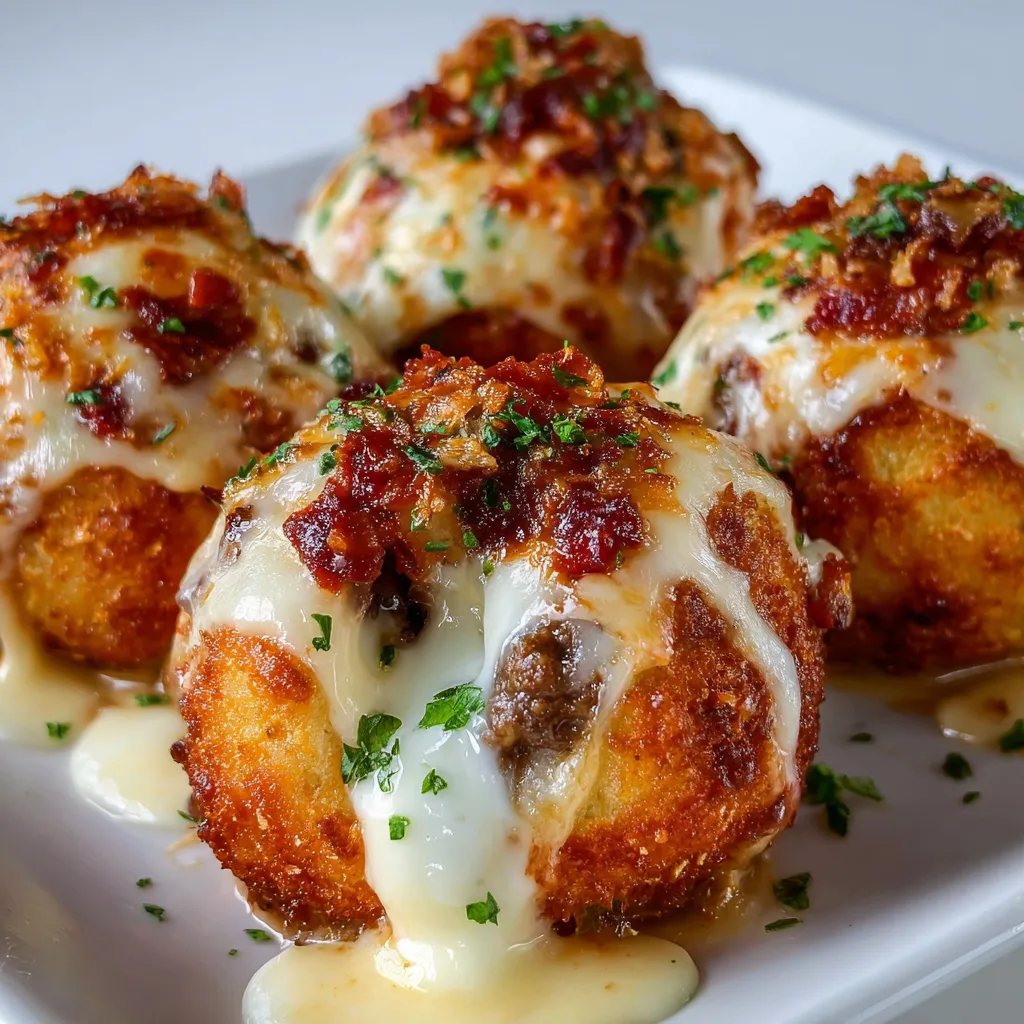
Cheesy Beef Bacon Ranch Mozzarella Bombs are the ultimate comfort food mashup that’s been stealing the spotlight at my family gatherings lately. These golden, pillowy bites burst with savory ground beef, crispy bacon, and gooey mozzarella, all kissed with tangy ranch seasoning. I discovered this recipe during a rainy Sunday afternoon when the pantry was sparse but cravings were mighty. One bite of these warm, cheese-stuffed morsels and you’ll understand why they’ve become my go-to crowd-pleaser for everything from game days to casual dinner parties. Let me show you how to create these irresistible little flavor bombs.
Recipe
Print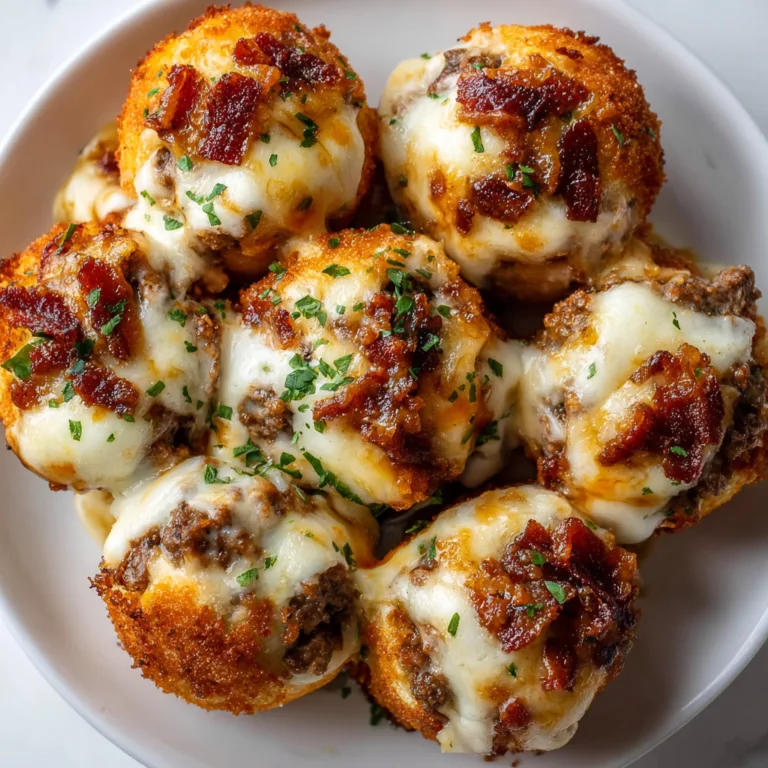
Cheesy Beef Bacon Ranch Mozzarella Bombs | Delicious Easy Appetizer Recipe
These Cheesy Beef Bacon Ranch Mozzarella Bombs are the ultimate gooey, meaty, flavor-packed appetizer! Loaded with seasoned ground beef, crispy bacon, creamy ranch, and melty mozzarella—all wrapped in golden biscuit dough. They’re perfect for parties, game day, or indulgent snacking.
- Total Time: 33
- Yield: 8 bombs
Ingredients
1/2 lb ground beef
1/2 teaspoon garlic powder
1/2 teaspoon onion powder
Salt and pepper, to taste
1/4 cup cooked bacon, chopped
2 tablespoons ranch dressing
1/2 cup shredded cheddar cheese
8 mozzarella cheese cubes
1 can refrigerated biscuit dough (8 count)
2 tablespoons butter, melted
1/2 teaspoon dried parsley (optional)
Instructions
1. Preheat oven to 375°F (190°C). Line a baking sheet with parchment paper.
2. In a skillet over medium heat, cook ground beef with garlic powder, onion powder, salt, and pepper until browned. Drain excess fat.
3. Stir in chopped bacon, ranch dressing, and shredded cheddar. Let cool slightly.
4. Flatten each biscuit dough round and place a spoonful of beef mixture and one mozzarella cube in the center.
5. Wrap dough around filling and pinch to seal. Place seam-side down on baking sheet.
6. Brush tops with melted butter and sprinkle with parsley.
7. Bake for 15–18 minutes until golden brown and cooked through.
8. Serve warm with extra ranch or marinara for dipping.
Notes
• Swap beef for ground turkey or sausage for variation.
• These bombs can be made ahead and baked fresh before serving.
• Serve with spicy ranch or garlic aioli for added zing.
- Prep Time: 15
- Cook Time: 18
- Category: Appetizer
- Method: Baked
- Cuisine: American
Why You’ll Love This Cheesy Beef Bacon Ranch Mozzarella Bombs
Perfect Flavor Combination
There’s something magical about the way these ingredients work together. The savory ground beef forms the hearty base, while crispy bacon adds that smoky, salty punch that makes everything better. The ranch seasoning isn’t just an afterthought—it infuses every bite with herby, garlicky goodness that elevates the entire experience. When you hit that pocket of melted mozzarella cheese that stretches with each bite? Pure bliss. I’ve served these at last-minute gatherings and watched even the pickiest eaters reach for seconds. The combination is comfort food perfection that satisfies those deep cravings we all get when only something cheesy and savory will do.
Quick and Convenient
Despite looking impressive, these bombs come together with surprising ease. The refrigerated biscuit dough does all the heavy lifting, creating a perfect golden shell with minimal effort. I love that I can prep the filling ahead of time, making assembly a breeze when guests arrive unexpectedly. On busy weeknights when cooking feels like a chore, these bombs save dinner—just 10 minutes of prep and they’re ready to bake. The versatility is another win; I’ve made them as appetizers, paired them with a simple salad for dinner, or packed them in lunchboxes (they reheat beautifully!). When life gets hectic, having this recipe in my back pocket has saved countless meals.
Essential Tips & Tricks
Perfecting the Filling
The key to exceptional mozzarella bombs lies in how you prepare the filling. Always drain excess fat from your beef after browning—this prevents soggy bottoms that can ruin the texture. I’ve learned to cook the ground beef until it’s just done, not overcooked, which keeps it juicy inside the bombs. For the cheese, use low-moisture mozzarella cut into ½-inch cubes rather than shredded—this creates those dramatic stretchy cheese pulls when you bite in. Adding a pinch of red pepper flakes brings a subtle heat that balances the richness. And don’t skimp on the ranch seasoning! Mix it thoroughly with the meat while it’s still warm to bloom those herbs and spices for maximum flavor impact.
Sealing and Baking Success
The most common pitfall is improper sealing, which leads to the dreaded cheese explosion. The trick is to flatten each biscuit evenly before filling, then pinch the seams firmly and roll gently between your palms to ensure complete closure. I like to place the seam-side down on the baking sheet for extra security. For that beautiful golden exterior, brush with melted butter mixed with a touch of garlic powder before baking. Keep a close eye during the last few minutes—they go from perfectly golden to overdone quickly. Let them rest 3-5 minutes after baking to allow the filling to set, just like with my Garlic Parmesan Cheeseburger Bombs, which prevents mouth-burning cheese explosions when your guests bite in.
Serving Ideas & Creative Variations
Perfect Pairings
These bombs shine brightest when served with complementary dips and sides. My favorite pairing is a cool ranch dip that echoes the seasoning inside—just mix sour cream with extra ranch seasoning and a splash of hot sauce. For a complete meal, serve alongside a crisp green salad with vinaigrette to cut through the richness. On game days, I create a spread with these bombs as the centerpiece, surrounded by veggie sticks, pickle spears, and potato wedges. For an elevated dinner experience, try them with roasted Brussels sprouts or a tomato soup for dipping. The contrast of the crispy, cheesy bombs with something fresh or acidic creates a balanced plate that keeps everyone coming back for more.
Exciting Flavor Twists
Don’t be afraid to make this recipe your own with creative variations. Swap the beef for ground turkey and add Buffalo sauce for spicy Buffalo Turkey Bombs that bring serious heat. For a breakfast spin, use breakfast sausage, scrambled eggs, and cheddar with a maple-sriracha drizzle on top. Vegetarian guests? Replace the meat with a savory mushroom and onion mixture sautéed until caramelized. My Italian-inspired version uses Italian sausage, mozzarella, and sun-dried tomatoes with Italian seasoning instead of ranch. For a fun twist, try stuffing the bombs with leftover mac and cheese mixed with bacon bits—my kids go absolutely wild for these cheesy surprises.
Storage & Troubleshooting Guide
Make-Ahead and Storage Solutions
These bombs are perfect for meal prep and can be prepared in stages to fit your schedule. The beef filling can be made up to two days ahead and stored in an airtight container in the refrigerator. For fully assembled bombs, you have options: refrigerate them unbaked for up to 24 hours (covered tightly with plastic wrap), or freeze them on a baking sheet until solid, then transfer to a freezer bag for up to 3 months. When ready to enjoy, baked bombs will keep in the refrigerator for 3-4 days—just reheat in a 350°F oven for about 10 minutes until warmed through.
For the best texture when reheating, avoid the microwave which can make the dough tough; instead, wrap loosely in foil in the oven.
Solving Common Problems
If your bombs are leaking cheese during baking, your sealing technique needs attention. Make sure to pinch firmly and roll gently between your palms to secure all edges. Too much filling is often the culprit—stick to about 1½ tablespoons of filling per bomb. Pale, doughy exterior? Your oven temperature might be too low; consider using an oven thermometer to verify. If the outside browns too quickly while the inside stays doughy, your oven is likely too hot—lower the temperature by 25 degrees and extend baking time. Bombs turning out dry? You’re probably overcooking the beef before assembly; keep it slightly underdone since it will continue cooking inside the bombs during baking.
Frequently Asked Questions
Can I make Cheesy Beef Bacon Ranch Mozzarella Bombs ahead of time?
Yes! Prepare the filling up to 2 days ahead and store refrigerated. You can also assemble the bombs completely, refrigerate for 24 hours, or freeze for up to 3 months before baking.
What’s the best cheese to use?
Low-moisture mozzarella works best as it melts beautifully without releasing too much liquid. For extra flavor, mix in a small amount of sharp cheddar or pepper jack.
Can I use homemade dough instead of refrigerated biscuits?
Absolutely! Pizza dough or homemade biscuit dough works well. Just ensure it’s rolled thin enough to fold over the filling but thick enough to contain it.
How do I prevent cheese from leaking out?
Ensure proper sealing by pinching edges firmly and rolling the sealed bomb between your palms. Place seam-side down on the baking sheet for extra security.
What can I substitute for ranch seasoning?
Italian seasoning, taco seasoning, or a blend of garlic powder, onion powder, dill, and parsley makes an excellent substitute for ranch seasoning packets.
Final Thoughts
These Cheesy Beef Bacon Ranch Mozzarella Bombs have become my secret weapon for impressing guests with minimal effort. There’s something undeniably satisfying about watching someone take that first bite—the moment when the golden exterior gives way to reveal that perfect cheese pull and savory filling. I’ve created countless variations over the years, but this core recipe remains unbeatable for its perfect balance of flavors and textures. Whether you’re feeding a hungry crowd or just treating yourself after a long day, these little pockets of joy deliver big on flavor and comfort. Don’t forget to check out more of my favorite recipes on Pinterest for endless inspiration!