

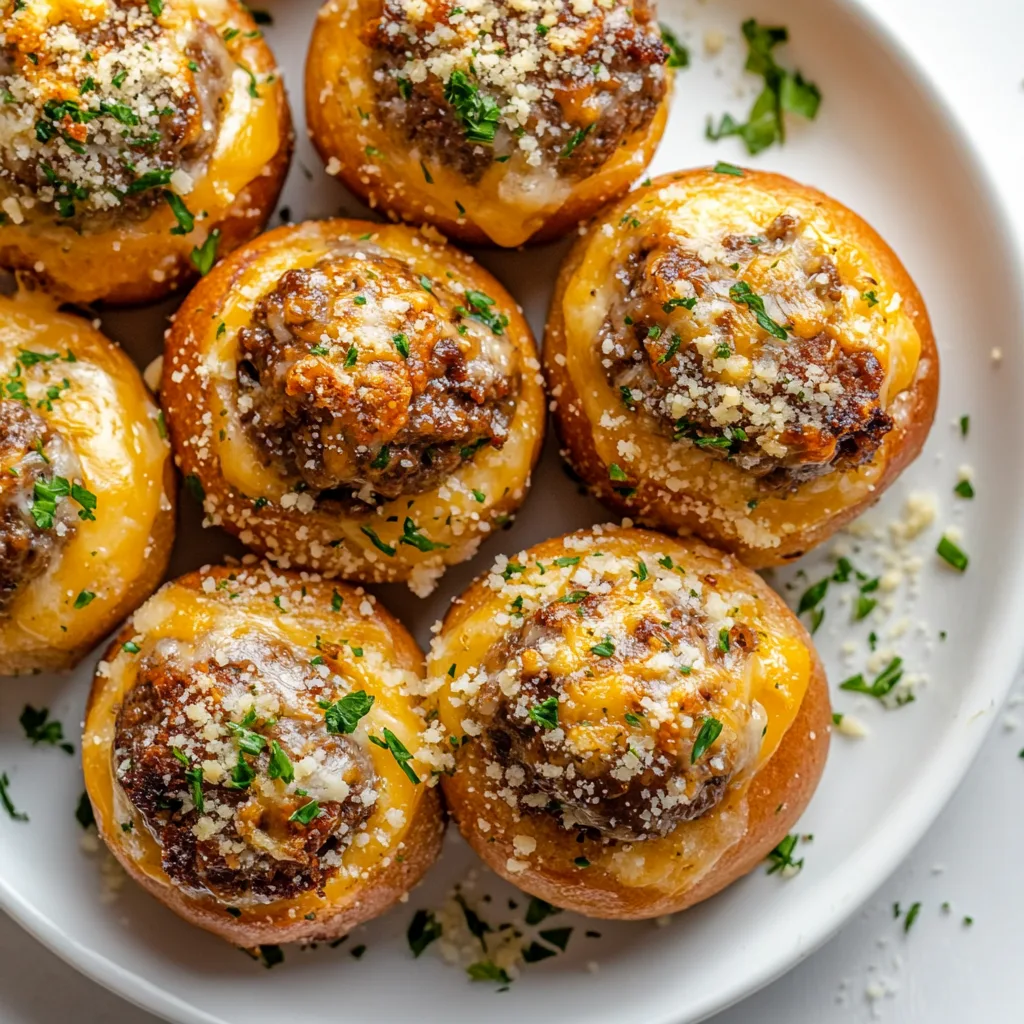
Garlic Parmesan Cheeseburger Bombs are the ultimate game-day treat that brings together all the flavors of a juicy cheeseburger in an irresistible bite-sized package. I discovered these little bundles of joy during a spontaneous Sunday gathering at my place, and they disappeared faster than I could say “touchdown!” The combination of seasoned beef, gooey cheese, and that buttery garlic-parmesan coating creates a sensory experience that’ll have everyone reaching for seconds. If you love creative comfort food like my creamy pepperoncini chicken skillet, these bombs will absolutely blow you away!
Table of Contents
Recipe
Print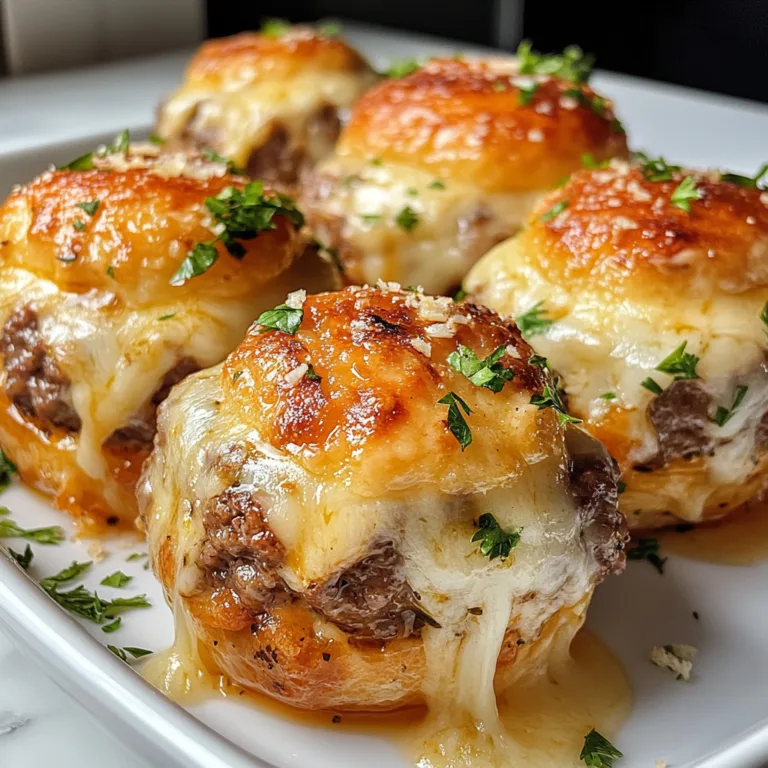
Garlic Parmesan Cheeseburger Bombs Recipe – Easy, Cheesy, and Delicious!
Garlic Parmesan Cheeseburger Bombs are biscuit-wrapped flavor explosions stuffed with seasoned ground beef and gooey cheese, brushed with a savory garlic butter topping. They’re perfect for snacks, party food, or quick dinners!
- Total Time: 33 minutes
- Yield: 8 cheeseburger bombs
Ingredients
1 lb ground beef
1/2 tsp salt
1/2 tsp pepper
1/2 tsp garlic powder
1 tbsp ketchup
1 tbsp mustard
1/2 cup shredded cheddar or cubed cheese
1 can refrigerated biscuit dough (8-count)
1/4 cup unsalted butter, melted
1 tsp minced garlic
2 tbsp grated Parmesan
1 tbsp chopped parsley (optional)
Instructions
1. Preheat oven to 375°F (190°C). Line a baking sheet with parchment paper.
2. In a skillet, cook ground beef over medium heat until browned. Drain excess fat.
3. Add salt, pepper, garlic powder, ketchup, and mustard. Stir and let cool slightly.
4. Flatten each biscuit into a 4-inch circle.
5. Place a spoonful of beef mixture and cheese in the center of each.
6. Pinch the edges together to seal and form a ball.
7. Place seam-side down on baking sheet.
8. Mix melted butter, garlic, and Parmesan. Brush over each bomb.
9. Bake for 15–18 minutes until golden brown.
10. Brush with extra garlic butter if desired and sprinkle with parsley. Serve warm.
Notes
Use different cheeses like pepper jack or mozzarella for variety.
Make them ahead and reheat in an air fryer or oven.
Serve with dipping sauces like ranch, ketchup, or burger sauce.
- Prep Time: 15 minutes
- Cook Time: 18 minutes
- Category: Appetizer, Dinner, Snack
- Method: Baking
- Cuisine: American
Why You’ll Love These Garlic Parmesan Cheeseburger Bombs
Perfect Party Food That Disappears Fast
These cheeseburger bombs have become my secret weapon for gatherings where I need to impress without spending hours in the kitchen. The handheld nature makes them perfect for mingling, and there’s something magical about biting through that golden, garlic-scented exterior to reveal the savory, cheese-filled center. I still remember the wide-eyed reactions when I first served these at my sister’s birthday – even the pickiest eaters couldn’t resist! They’re substantial enough to satisfy hungry guests but small enough that everyone can try one without filling up too quickly.
Simple Ingredients, Extraordinary Flavor
What makes these bombs truly special is how they transform everyday ingredients into something extraordinary. The garlic butter coating takes these from good to unforgettable, creating that restaurant-quality flavor that makes people think you spent hours perfecting the recipe. I love that most ingredients are probably already in your pantry or fridge – ground beef, cheese, biscuit dough, and basic seasonings. The magic happens in how these humble components come together, creating layers of flavor that build with each bite – from the savory beef to the melty cheese to that final punch of garlic-parmesan goodness.
Essential Tips & Tricks
Perfecting the Filling Process
Getting the filling-to-dough ratio just right is the key to bomb perfection. I learned the hard way that overstuffing leads to explosions in the oven (hence the name “bombs,” I suppose!). Aim for about 1½ tablespoons of filling per bomb, and make sure to really seal those edges by pinching firmly and rolling between your palms. Another game-changer was discovering that slightly chilled filling is much easier to work with than warm filling. If you’re looking for another stuffed delight that follows similar principles, my herbed ricotta stuffed chicken rolls use the same technique of proper sealing to keep all that goodness inside.
The Secret to That Irresistible Coating
The garlic-parmesan coating is what elevates these bombs from good to unforgettable. For maximum flavor impact, use freshly grated Parmesan instead of the pre-packaged kind – the difference is night and day! I like to melt the butter first, then add minced garlic and let it infuse for 1-2 minutes before brushing onto the bombs. This creates a more aromatic experience without risking burnt garlic. For an extra touch of luxury, add a tiny pinch of dried herbs like oregano or parsley to the parmesan before sprinkling. This creates beautiful flecks of color and adds another dimension of flavor.
Serving Ideas & Creative Variations
Perfect Pairings to Complete Your Meal
These bombs shine brightest when served alongside complementary sides that balance their richness. My go-to pairing is a crisp green salad with a light vinaigrette that cuts through the richness of the cheese and meat. For heartier appetites, they’re amazing alongside a bowl of creamy tomato basil soup for the ultimate comfort food experience. When serving at parties, I arrange them on a wooden board with small ramekins of dipping sauces – marinara, ranch, and honey mustard are always crowd-pleasers. The bombs stay warm longer if you place them on a preheated serving stone covered with a cloth napkin.
Exciting Flavor Twists to Try
The beauty of these bombs is how easily they can be customized to match any flavor profile you’re craving. For a Tex-Mex twist, mix taco seasoning into the beef and stuff with pepper jack cheese before topping with a cilantro-lime butter. Feeling Italian? Try adding chopped pepperoni and Italian seasoning to the filling, then serve with warm marinara for dipping. My personal favorite variation includes caramelized onions folded into the beef mixture – the subtle sweetness creates an incredible depth of flavor that makes people ask for the recipe every time. Don’t be afraid to experiment with different cheeses too – blue cheese creates a sophisticated flavor profile that’s unexpected and delicious.
Storage & Troubleshooting Guide
Making Ahead and Proper Storage
These bombs are surprisingly freezer-friendly, making them perfect for busy hosts. To make ahead, prepare the bombs completely but don’t apply the garlic butter coating. Freeze them on a baking sheet until solid, then transfer to a freezer bag. When ready to bake, add an extra 5-7 minutes to the cooking time and brush with the garlic butter mixture halfway through. For leftovers (though I rarely have any!), store in an airtight container in the refrigerator for up to 3 days. The microwave revival trick is to wrap each bomb in a slightly damp paper towel and heat for 30 seconds – this prevents the dough from becoming tough.
Solving Common Problems
If your bombs are leaking cheese during baking, the most likely culprit is inadequate sealing. Make sure to pinch the dough firmly and roll it between your palms to ensure there are no thin spots or tiny openings. Another common issue is uneven cooking – this usually happens when the bombs are different sizes. Using a cookie scoop for both the filling and the dough helps create uniform portions. If your coating is burning before the inside is cooked through, tent the pan with foil halfway through baking. And remember – if the bottoms are getting too dark, place the baking sheet on a higher rack in the oven for more gentle heat.
Frequently Asked Questions
Can I use ground turkey instead of beef for these Garlic Parmesan Cheeseburger Bombs?
Absolutely! Ground turkey works wonderfully, just add 1 tablespoon of olive oil to the mixture to maintain moisture and flavor. I recommend using turkey that’s not too lean (93/7 is perfect).
How do I prevent the cheese from leaking out?
Make sure your cheese is in the center of the meat mixture, not touching the dough. Seal thoroughly by pinching edges and rolling the ball between your palms until completely smooth.
Can these be made gluten-free?
Yes! Use your favorite gluten-free biscuit dough. The texture will be slightly different, but they’re still delicious. Just watch the baking time as gluten-free doughs sometimes cook more quickly.
What’s the best cheese to use?
Medium or sharp cheddar provides the classic cheeseburger flavor, but American cheese melts beautifully. For an upgrade, try a combination of cheddar and Gruyère for complexity.
Can I prepare Garlic Parmesan Cheeseburger Bombs in advance?
Definitely! Assemble completely, refrigerate for up to 24 hours, then brush with garlic butter just before baking. Add 2-3 minutes to the baking time if cooking from cold.
Final Thoughts
These Garlic Parmesan Cheeseburger Bombs have become my signature crowd-pleaser for good reason. They capture everything we love about comfort food – they’re indulgent yet approachable, familiar yet exciting, and they bring people together around the table. The joy on someone’s face when they bite into that perfect combination of seasoned beef, melty cheese, and garlic-parmesan coating is what makes cooking so rewarding. Whether you’re feeding a hungry game-day crowd or just treating your family to something special, these bombs deliver big flavor in a bite-sized package. Find more inspiration for your next gathering on my Pinterest board where I’m always adding new ideas!