

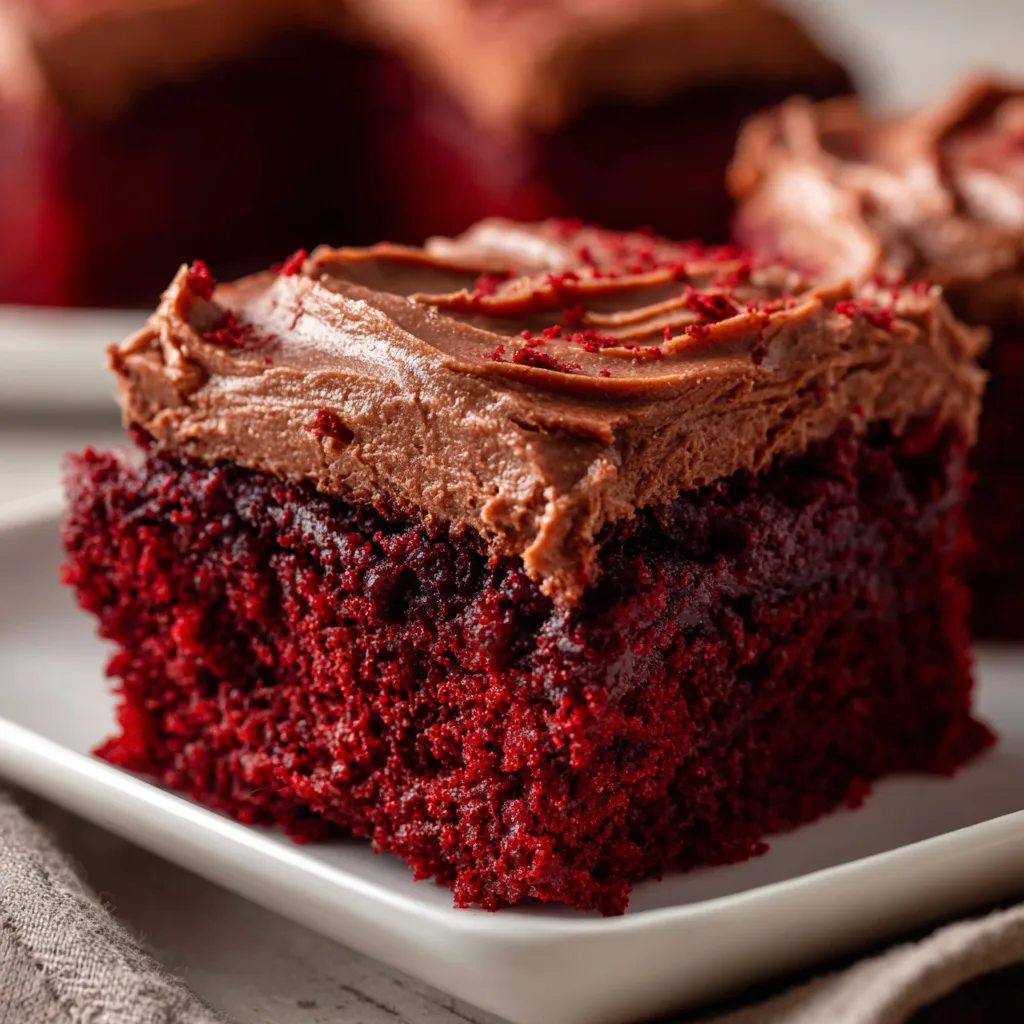
Red velvet brownies with chocolate frosting combine the best of both worlds – the deep, mysterious flavor of red velvet with the fudgy decadence of brownies, all crowned with a silky chocolate frosting that melts in your mouth. I first made these for my sister’s birthday gathering, and they disappeared faster than I could snap a photo! The vibrant red color against that dark chocolate frosting creates a stunning contrast that’s perfect for everything from Valentine’s Day to holiday gatherings, or simply when you’re craving something indulgently special.
Recipe
Print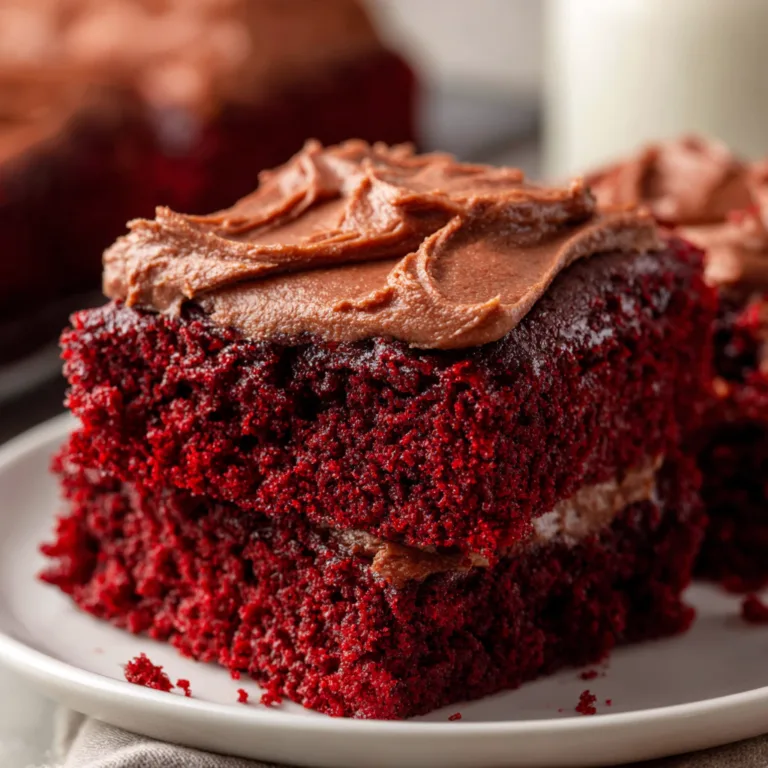
Decadent Red Velvet Brownies with Creamy Chocolate Frosting Recipe
These decadent red velvet brownies are rich, fudgy, and topped with a silky smooth chocolate frosting. The perfect dessert bar for holidays, parties, or anytime you crave a luxurious chocolate treat.
- Total Time: 1 hr (including cooling)
- Yield: 9 large brownies
Ingredients
For the brownies:
1/2 cup unsalted butter, melted
1 cup granulated sugar
2 large eggs
1 tbsp red food coloring
1 tsp vanilla extract
1/3 cup unsweetened cocoa powder
1/2 tsp salt
3/4 cup all-purpose flour
For the chocolate frosting:
1/2 cup unsalted butter, softened
1/4 cup unsweetened cocoa powder
1 1/2 cups powdered sugar
2–3 tbsp milk
1/2 tsp vanilla extract
Instructions
1. Preheat oven to 350°F (175°C). Line an 8×8-inch baking pan with parchment paper.
2. In a bowl, whisk together melted butter and sugar. Add eggs, food coloring, and vanilla. Mix until smooth.
3. Sift in cocoa powder, salt, and flour. Stir until just combined.
4. Pour batter into pan and smooth the top.
5. Bake for 25–28 minutes or until a toothpick comes out with a few moist crumbs. Cool completely.
6. To make frosting, beat butter and cocoa powder until smooth. Gradually add powdered sugar, milk, and vanilla. Beat until creamy.
7. Spread frosting over cooled brownies. Slice and serve.
Notes
For a tangy twist, top with cream cheese frosting instead of chocolate.
Store in an airtight container at room temp for up to 3 days.
Chilling helps clean slices and intensifies flavor.
- Prep Time: 15 mins
- Cook Time: 28 mins
- Category: Dessert
- Method: Baking
- Cuisine: American
- Diet: Vegetarian
Why You’ll Love This Red Velvet Brownies with Chocolate Frosting
Perfect Texture & Flavor Balance
These brownies hit that magical sweet spot between cake and brownie – slightly fudgy centers with just enough structure to hold their shape when sliced. The subtle cocoa undertones in red velvet create a sophisticated flavor that’s not overwhelmingly chocolatey. I love how the tanginess from buttermilk and vinegar balances the sweetness, giving these treats a complexity that regular brownies often lack. When you bite into one, you’ll notice how the velvety crumb practically melts on your tongue, leaving behind that distinctive red velvet flavor that keeps you coming back for just one more bite.
Stunning Visual Impact
There’s something undeniably show-stopping about these brownies. The deep crimson base creates a dramatic canvas for that glossy chocolate frosting. I still remember my niece’s wide eyes when I brought these to her school bake sale – they stood out among a table of typical treats. The contrast between layers makes for beautiful presentation with minimal effort. When you cut into them, the clean edges reveal that perfect red-and-chocolate layering that looks professionally made. These brownies photograph beautifully too, making them perfect for social media posts that will have friends begging for the recipe.
Essential Tips & Tricks
Getting The Perfect Red Velvet Color
The secret to achieving that signature red hue without using an entire bottle of food coloring lies in the chemistry. I’ve found that natural cocoa powder (not Dutch-processed) reacts with the acidic ingredients to enhance the red color. Start with 1-2 tablespoons of gel food coloring (more concentrated than liquid) and adjust as needed. My personal trick is adding the coloring to the wet ingredients first, ensuring even distribution. If you’re concerned about artificial colors, try natural alternatives like beet powder – though you’ll need more for the same intensity. The perfect red velvet should be vibrant without looking artificial.
Achieving Fudgy Brownie Texture
The key to fudgy perfection lies in not overmixing and careful baking time. I learned this the hard way after serving cakey brownies at my first dinner party! Use melted butter rather than the creaming method for denser results. Don’t skip the egg yolks – they contribute richness and that coveted chewy texture. Watch your baking time carefully; when a toothpick inserted comes out with a few moist crumbs (not wet batter), they’re done. Remember that brownies continue cooking slightly after removal from the oven. For extra insurance, I always chill my brownies before cutting – this firms them up and makes for cleaner slices.
Serving Ideas & Creative Variations
Elegant Presentation Techniques
Transform these brownies into dessert-table showstoppers with a few simple touches. Try cutting them into perfect squares and placing each on a small pool of raspberry coulis for a restaurant-worthy presentation. For holiday gatherings, I dust templates over the frosting with powdered sugar to create snowflake patterns. Another favorite trick is piping small rosettes of cream cheese frosting on each brownie and garnishing with chocolate curls or fresh berries. For casual settings, stack them on a vintage cake stand with parchment paper between layers. The contrast between the red and chocolate creates a natural elegance that needs minimal embellishment.
Flavor Variations Worth Trying
While classic red velvet brownies are divine, experimenting with flavor twists keeps things exciting. My family went wild for a peppermint version I made last Christmas with crushed candy canes sprinkled over the frosting. For coffee lovers, try adding a tablespoon of espresso powder to the brownie batter – it deepens the chocolate notes without tasting like coffee. A cream cheese swirl through the brownie batter before baking creates beautiful marbling and echoes traditional red velvet cake flavors. For special occasions, I’ve even added a thin layer of raspberry jam between the brownies and frosting, creating a chocolate-covered raspberry effect that’s absolutely irresistible.
Storage & Troubleshooting Guide
Proper Storage Methods
Keeping these brownies at their peak freshness requires proper storage. At room temperature, store them in an airtight container with parchment between layers for 3-4 days. The frosting sets firm enough to stack them, but if your kitchen is warm, refrigeration is safer. For longer storage, refrigerate for up to a week – just bring to room temperature before serving to restore that fudgy texture. These brownies also freeze beautifully for up to 3 months when wrapped individually in plastic, then stored in a freezer bag. I always make a double batch specifically to freeze – there’s nothing better than discovering a forgotten red velvet brownie treasure on a random Tuesday!
Fixing Common Mistakes
Even experienced bakers encounter issues, but most red velvet brownie problems have simple solutions. If your brownies turn out too cakey, you likely overmixed the batter or added too much flour – next time, fold ingredients gently and measure flour by weight. For brownies that sink in the middle, your oven temperature was probably too high – invest in an oven thermometer for accuracy. If the red color disappoints, remember that natural cocoa powder (not Dutch-processed) enhances the reaction. Frosting too runny? Refrigerate it for 20 minutes before spreading. My most embarrassing mistake was forgetting the vinegar once – the result was still delicious, just less “red velvet” in flavor and color.
Frequently Asked Questions
Can I make red velvet brownies without food coloring?
Yes! Use beet powder (2-3 tablespoons) or reduced beet juice as natural alternatives. The color won’t be as vibrant, but you’ll get a natural reddish hue while adding subtle earthy sweetness.
Why did my red velvet brownies turn out cakey instead of fudgy?
Overmixing the batter or adding too much flour are common culprits. Measure ingredients precisely, mix just until combined, and don’t overbake. The perfect red velvet brownies should be pulled from the oven when slightly underdone.
Can I substitute the buttermilk in this recipe?
Absolutely! Make your own by adding 1 tablespoon of lemon juice or white vinegar to 1 cup of milk and letting it sit for 5 minutes. Plain yogurt thinned with a little milk also works well.
How far in advance can I make these for a party?
These brownies actually improve with a day of rest! Make them up to 3 days ahead and store in an airtight container. The flavors meld beautifully, and the texture becomes even more fudgy.
What’s the secret to clean-cut red velvet brownies?
Refrigerate them for at least 2 hours before cutting. Use a warm knife (run under hot water and wipe dry) and clean between cuts. For perfect presentation, trim the edges before cutting into squares.
Final Thoughts
These red velvet brownies with chocolate frosting have become my signature dessert for good reason – they strike that perfect balance between sophisticated flavor and comforting indulgence. The vibrant color makes any occasion feel special, while the fudgy texture and rich chocolate frosting satisfy even the most discerning sweet tooth. Whether you’re baking for a holiday gathering or simply treating yourself on a quiet evening, these brownies deliver that magical moment when eyes close and the world melts away with each blissful bite. Find more inspiration for your baking adventures on Pinterest.